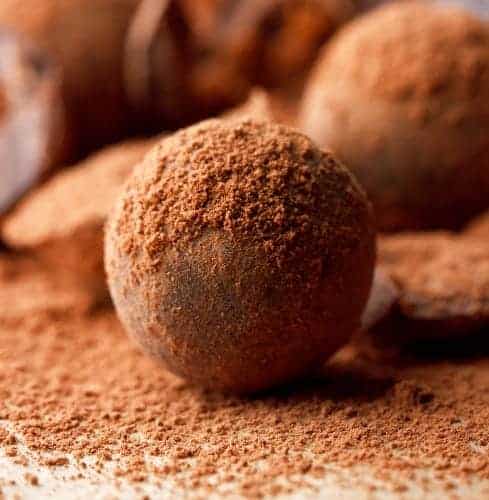
These plant-based chocolate truffles are rich, satisfying, and sneakily healthful—made without any eggs, dairy, or refined sugar. They’re no-bake and naturally sweetened with dates and maple syrup, making them a smart, feel-good treat.
If you’re into raw desserts, you can easily take these a step further: just swap the cocoa powder for raw cacao powder and use raw agave or date syrup instead of maple syrup. Either way, you’ll end up with a silky, indulgent truffle that’s pure chocolate bliss—without turning on the oven or compromising your plant-based vibes.

WANT TO SAVE THIS?
How long do chocolate truffles last?
Because these don’t have preservatives, it’s safest to keep these in the fridge in an airtight container for up to 5 days, and not leave them at room temperature for more than an hour or so.

What can I use if I don’t have maple syrup?
If you don’t have maple syrup, you can use alternatives such as coconut sugar, palm sugar, brown sugar, or molasses. You can also make your own maple syrup alternative.
Tips to Make Vegan Chocolate Truffles
Here are some tips on how to make perfect, bite-sized truffles:
- For picture-perfect truffles, use a melon baller or even a teaspoon to measure out the mixture before shaping it with your hands.
- Don’t overwork the mixture in your hands when forming the balls; keep your rolling motion light and easy.
- The point of a chocolate truffle is the chocolate, and the coatings are to accentuate the taste of the truffle, not overpower it. A light coating or dusting of any coating is all you need.
- Swap in almond flour if you want a lighter, less dense truffle. Coconut flour absorbs a lot of moisture.
- It’s important to soak the dates to help them become a paste when processed.
WANT TO SAVE THIS?

How to Make Plant-Based Chocolate Truffles
Ingredients
- ½ c. raw hazelnuts
- 12 Medjool dates pitted
- 2 T. cocoa powder unsweetened
- 2 T. coconut flour OR almond flour
- 1 T. coconut oil melted
- 1 ½ T. pure maple syrup
- 1 t. pure vanilla extract
- ¼ t. coarse salt
Optional Coatings:
- ¼ c. hazelnuts or almonds ground
- ¼ c. coconut flakes finely shredded
- 2 T unsweetened cocoa powder + ¼ t. each cayenne pepper and coarse salt
Instructions
- Place your Medjool dates in a small bowl of warm water and allow them to soak for 10-15 minutes.
- Line a large plate with wax paper or parchment. Set aside.
- Place all chosen coatings separately into shallow, rimmed plates. Set aside.
- Place hazelnuts into a food processor and process until a rough paste.
- Remove softened dates from the water and drain well. Add the dates and the cocoa powder into the food process with the ground hazelnuts and blend until smooth. Make sure to scrape the sides occasionally to ensure that the mixture is combined thoroughly. If the mixture is too thick, add drops of water one at a time until mixture becomes smooth and silky.
- Add coconut flour, coconut oil, maple syrup, vanilla extract, and salt to the chocolate mixture and blend again until thoroughly mixed.
- Remove mixture from food processor and place into a large glass bowl.
- Place bowl in fridge to allow to chill for around 10 minutes. This firms up the mixture and makes it easier to form into balls.
- Remove bowl from fridge, and scoop out the mixture using a melon baller or teaspoon. Roll each portion into a ball.
- Coat each ball with desired toppings.
- Once coated, place all truffles on the large prepared plate and slide into your fridge to chill for a few minutes.
- Serve and enjoy! Best kept chilled.


