This post contains affiliate links. As an Amazon Associate I earn from qualifying purchases.
I stumbled upon no knead bread during a particularly lazy Sunday when I craved homemade bread but couldn’t muster the energy for traditional kneading. My sister helped me tweak this recipe, but it’s only got four ingredients, so it’s pretty simple.
What you need to know: This easy bread recipe 1. Requires a Dutch oven, or a heavy-duty, TALL casserole dish with a heavy lid. 2. When activating the yeast, make sure it gets foamy; if it doesn’t, it’s not alive, and your bread won’t rise. 3. It proofs (rises) TWICE, so it will take a bit longer to finish. 4. The parchment paper is important to use.
WANT TO SAVE THIS?
Tips for No Knead Bread Success
Master this (almost) foolproof bread with these key techniques I’ve learned through countless loaves:
- Temperature matters a lot. I always check my water temperature with a thermometer—too hot kills the yeast, too cool won’t activate it. The sweet spot sits between 105-110°F, which feels comfortably warm on your wrist.
- Don’t rush the rise time. This artisan bread develops its complex flavor through patience. I’ve found that cooler kitchens need extra time, sometimes up to 3 hours for the first rise. The dough should clearly double in size.
- Embrace the shaggy texture. Unlike traditional bread dough, this mixture looks rough and barely holds together initially. Resist adding too much flour—the high hydration creates those beautiful holes and soft interior bread texture.
- Preheat the Dutch oven thoroughly. I place mine in the oven during the entire preheating process.
- Use parchment paper as your safety net. It prevents sticking and burns, plus makes transferring the dough much easier. I always leave extra paper hanging over the sides for easy lifting.
- I use all-purpose flour, but bread flour works well too.
Tools & Equipment You’ll Need
Creating this rustic bread recipe requires specific equipment for optimal results:
- Dutch Oven (5-7 quarts): Cast iron works great, but enameled versions also deliver excellent results. The tight-fitting lid traps steam during baking, which is necessary.
- Large Mixing Bowl: You need ample space for the dough to double in size.
- Small Mixing Bowl: For activating the yeast mixture. A 2-cup capacity works well.
- Wooden Spoon: To mix without overworking the dough. The wood won’t react with the yeast.
- Instant-Read Thermometer: Critical for checking water temperature. Guessing often leads to failed loaves.
- Clean Kitchen Towels: You’ll need at least two—one for covering during rises, another for handling the hot Dutch oven.
- Parchment Paper: Non-negotiable for this recipe. Don’t use wax paper for this, since it will melt under the high heat required while baking.
Steps + photos
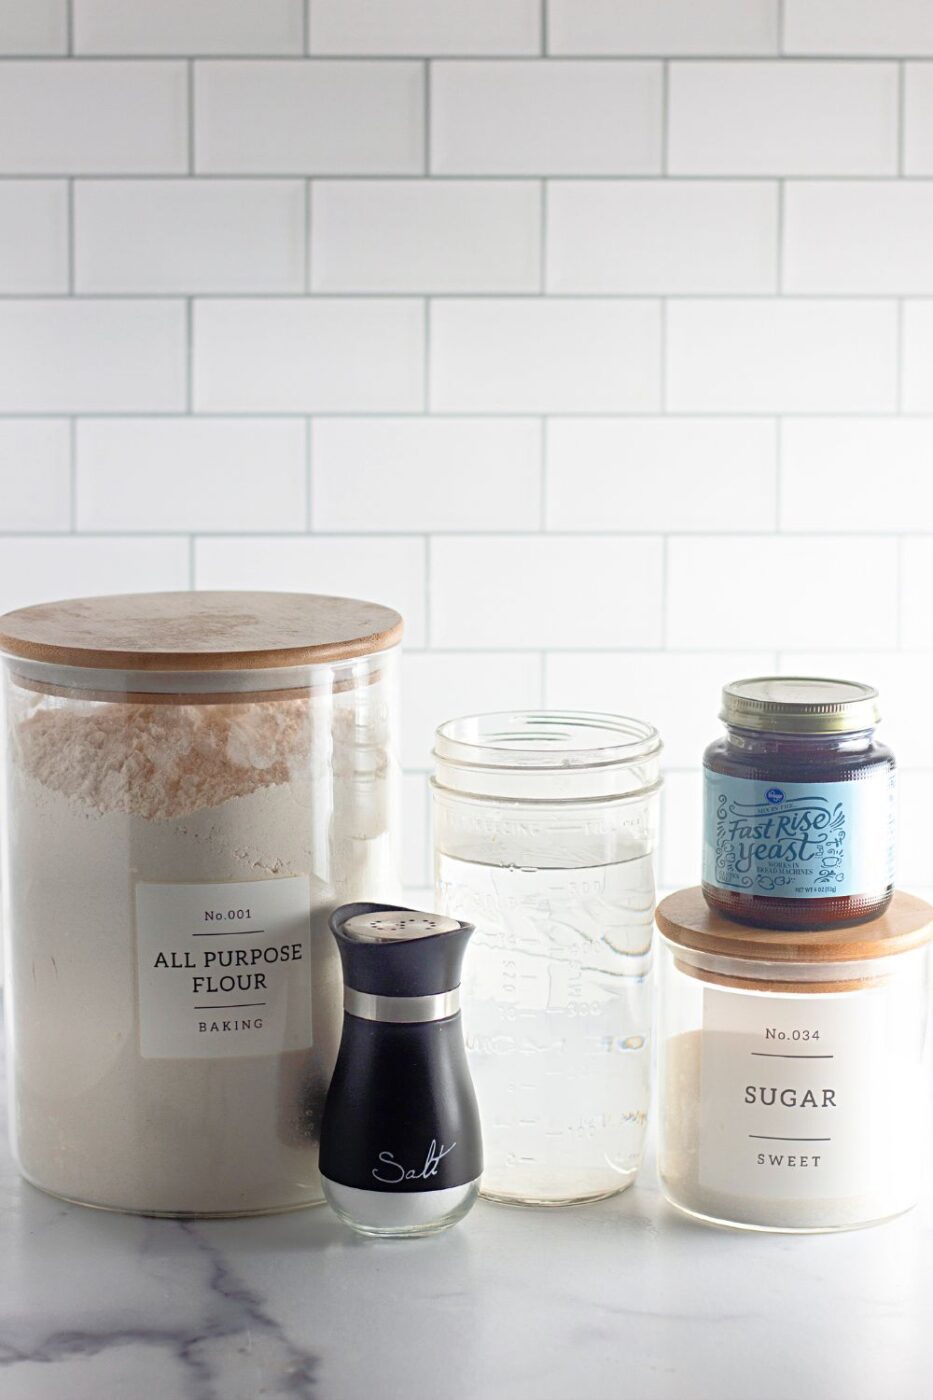
Step 1: Gather your ingredients, including parchment paper.
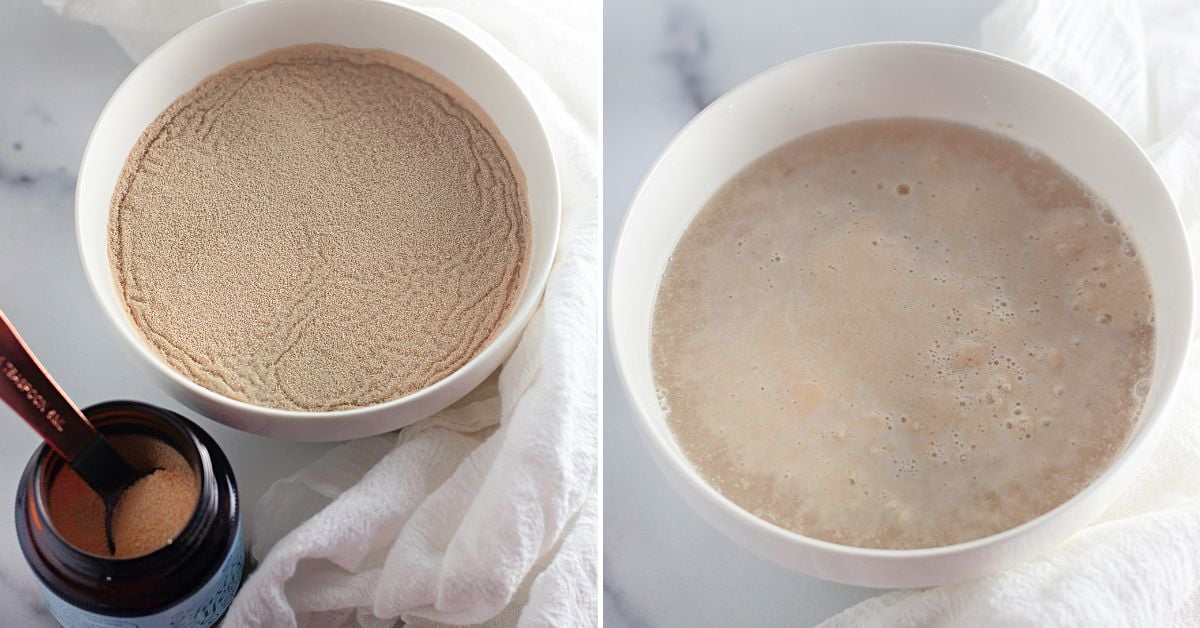
Step 2: Activate the yeast. Bubbles mean your instant yeast is alive and ready to make bread!
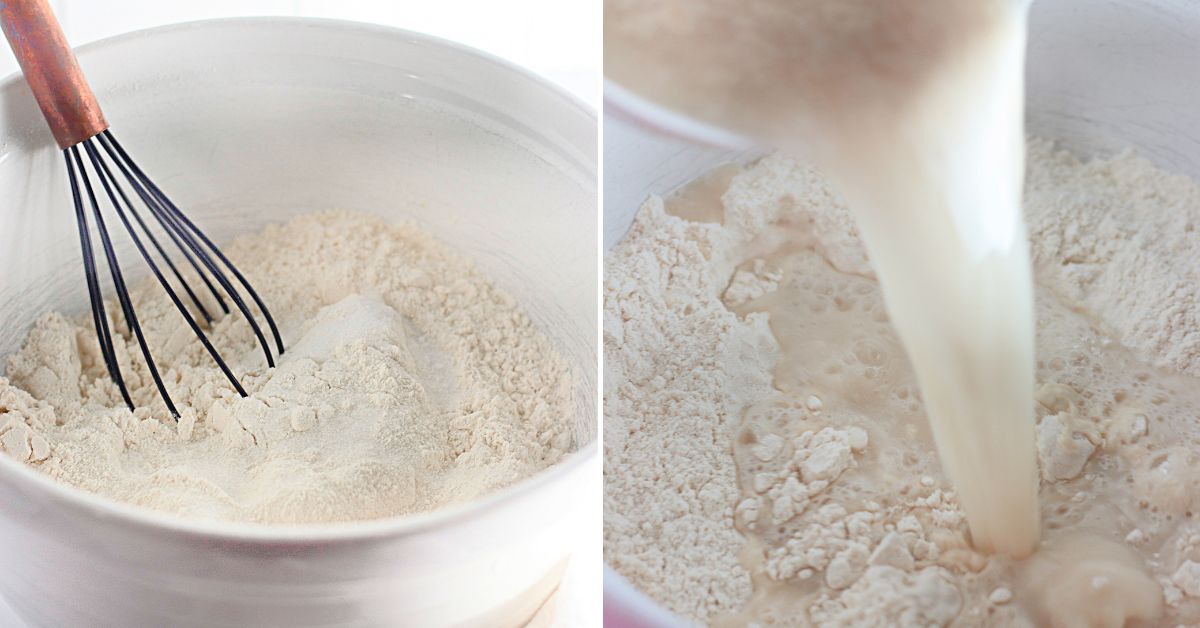
Step 3: Whisk together the dry ingredients, then slowly add the yeast slurry.
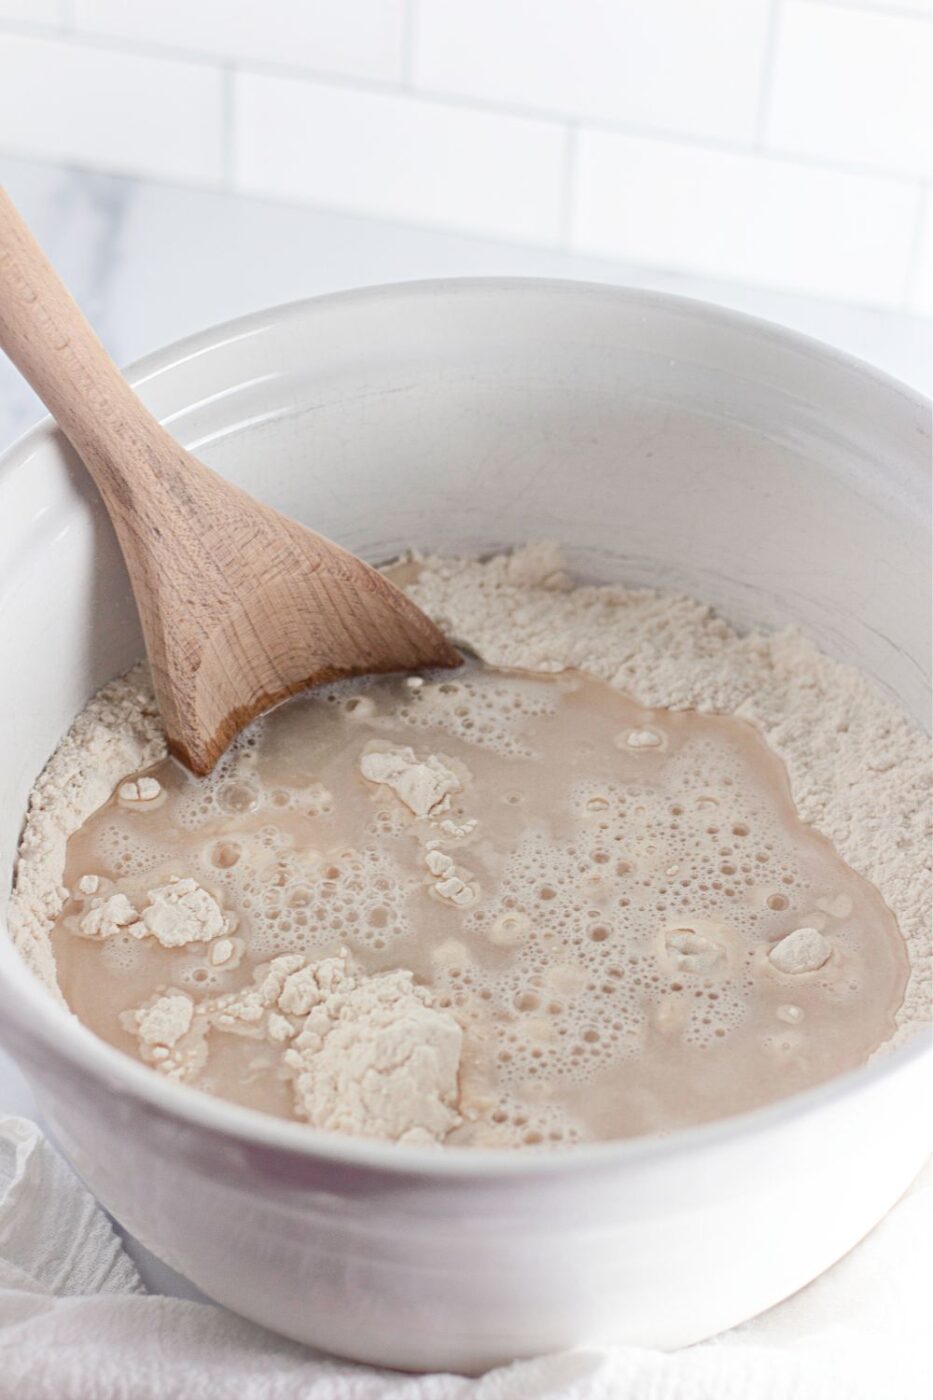
Step 4: Mix well.
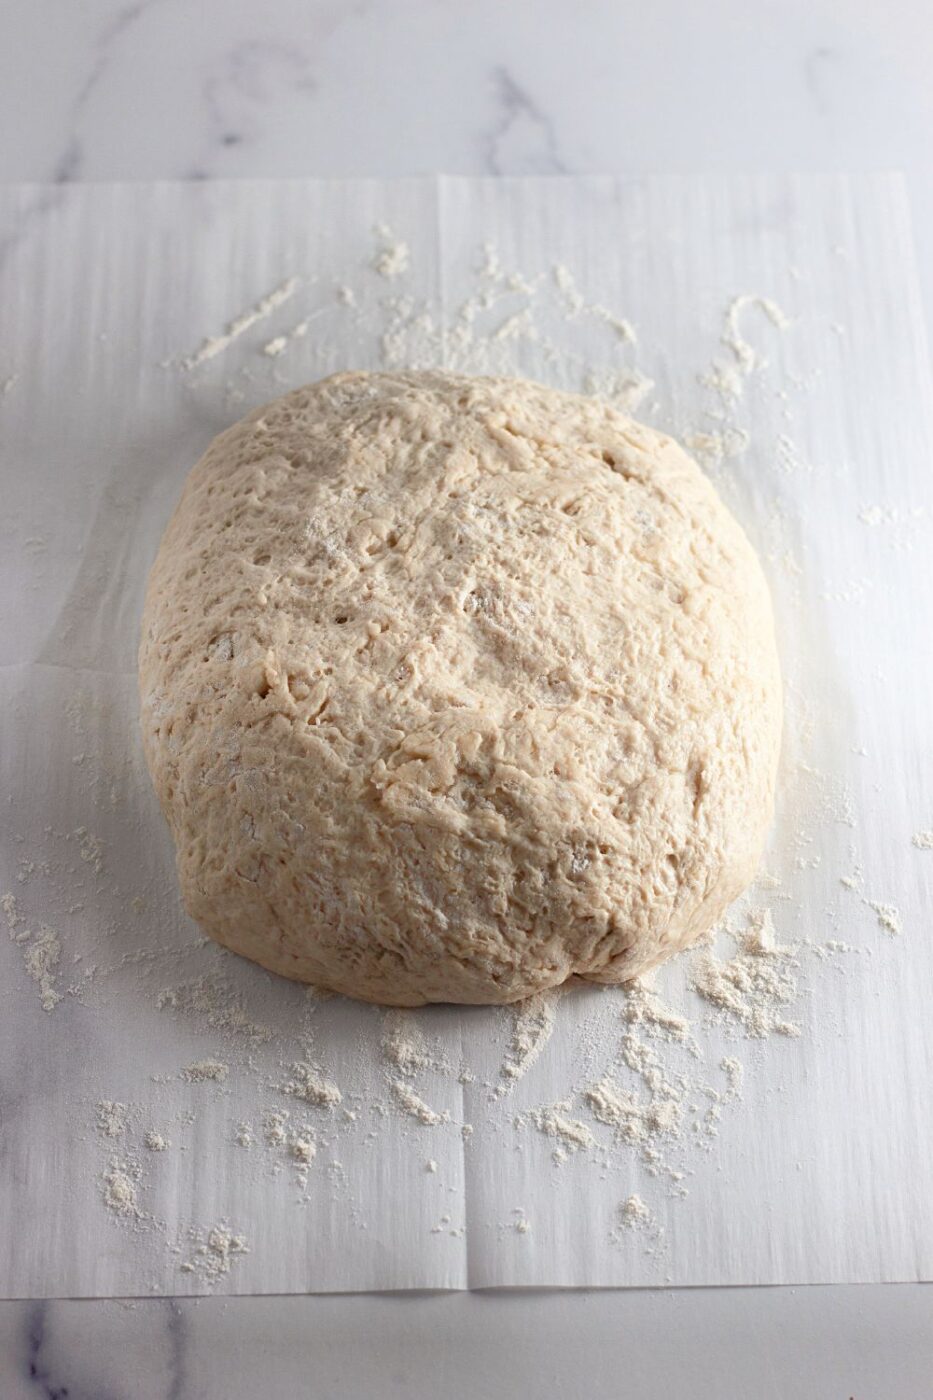
Step 5: The dough will stay pretty shaggy. If the dough is too sticky to handle, add more flour 1 tablespoon at a time until less sticky. If the dough seems too dry, add water 1 tablespoon at a time until the dough comes together into a shaggy ball.

Step 6: Oil a separate large bowl and transfer the shaggy dough. Cover the bowl with a clean kitchen towel or cellophane and leave in a warm place for 1.5 to 2 hours to double in size.

Step 7: Preheat the oven to 470F and set the oven WITH lid inside the oven so everything heats up together. Turn the proofed dough out onto some floured parchment paper and nudge the edges with your palms into a round loaf shape. Cover the dough with the towel or cellophane loosely. Let it rise on the parchment as the oven preheats.
Step 8: Remove the preheated Dutch oven and set the parchment with the dough inside of it. Cover with the lid and move back into the oven.

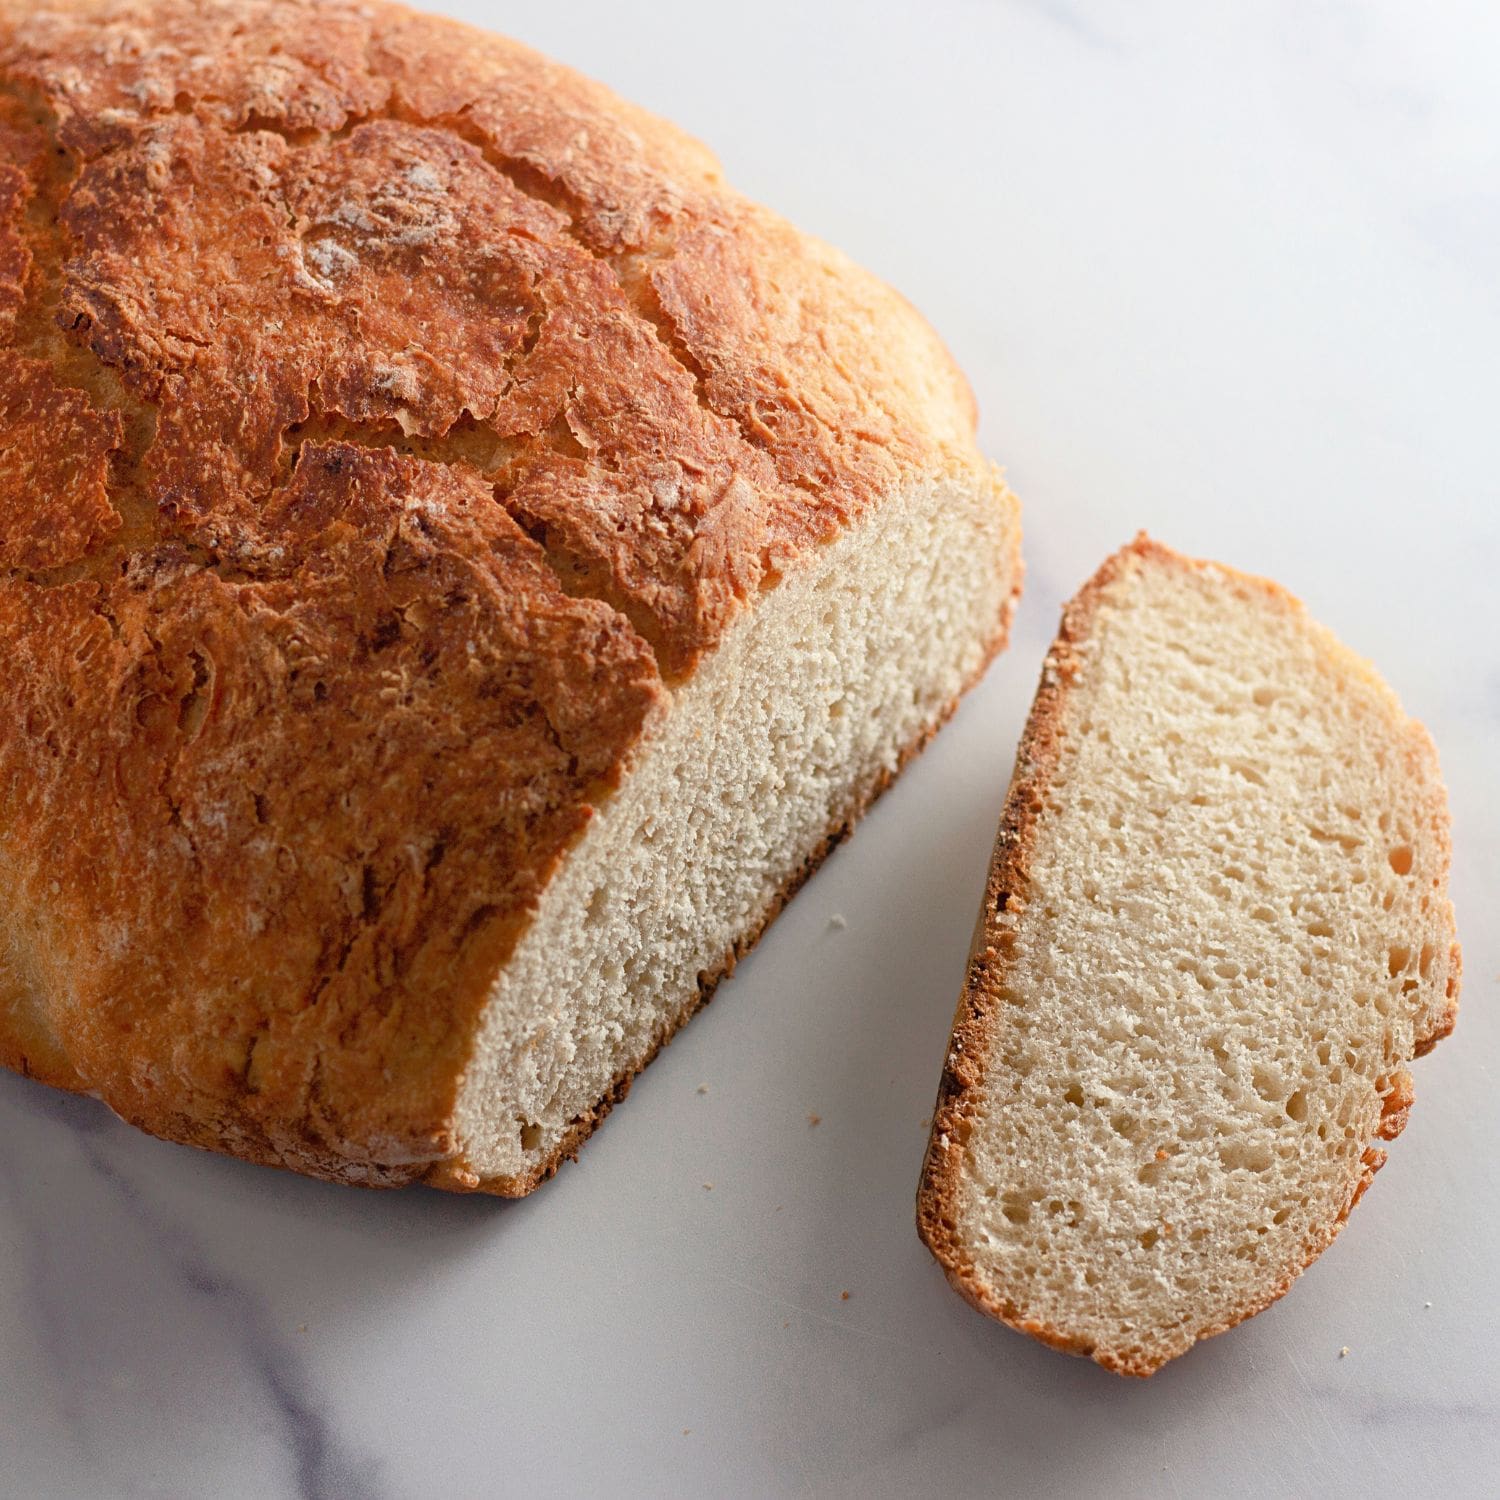
Step 9: Bake covered at 470F for 30 minutes. Then remove the lid and bake 10 to 15 minutes more. The bread’s surface will be a dark golden color. Resist slicing for at least 30 more minutes to let the crumb continue cooking.

WANT TO SAVE THIS?
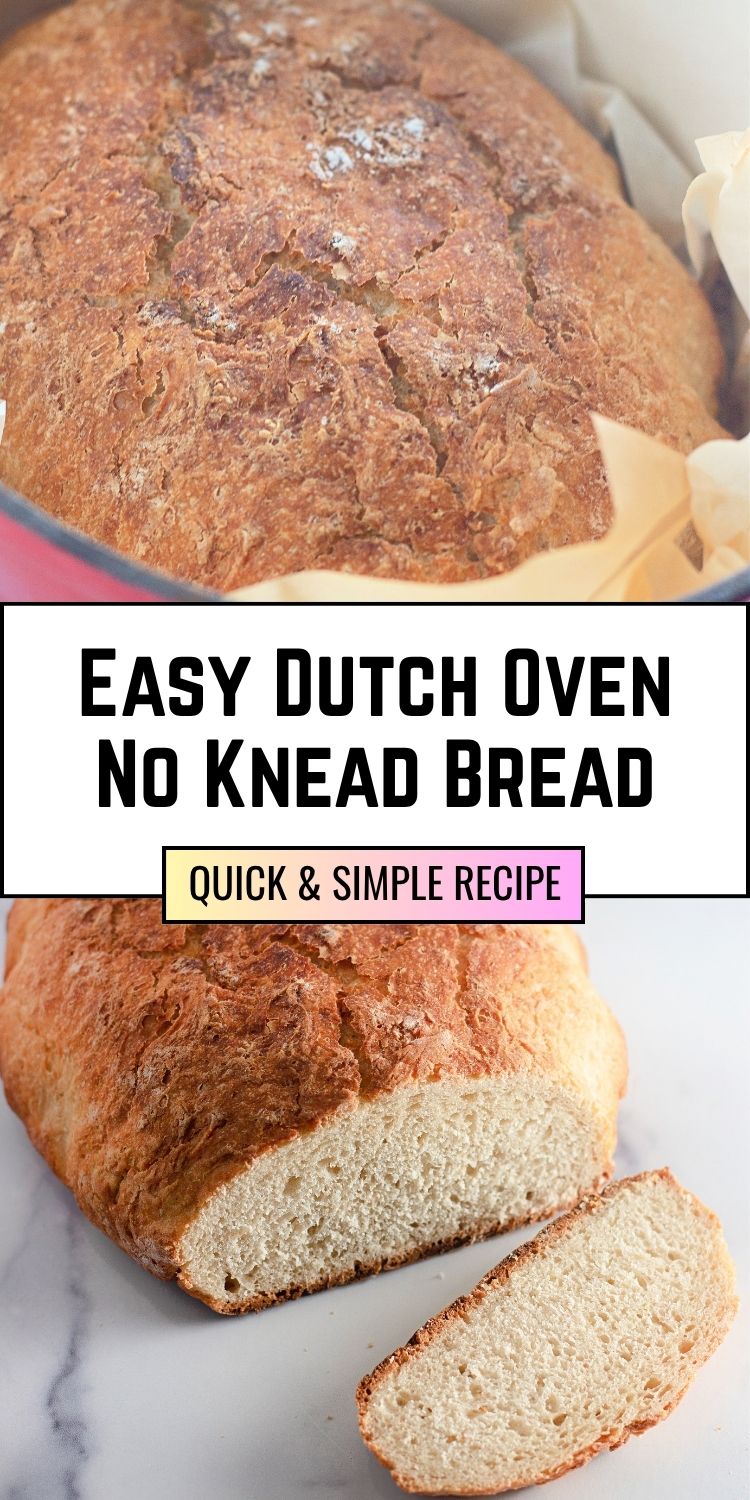
No-Knead Rustic Dutch Oven Bread
Ingredients
- 2 c warm water 105-110°F
- 1 T granulated sugar
- 1 envelope 1/4 oz dry active yeast
- 4 c all-purpose flour
- 1 T salt
- Oil to grease the bowl
Instructions
- Activate the yeast: Combine warm water, sugar, and dry active yeast in a small bowl. Let stand 5 minutes until the mixture becomes foamy and fragrant.
- Mix the dough: Whisk flour and salt together in a large bowl. Pour in the activated yeast mixture and stir with a wooden spoon until a rough, shaggy dough forms. The mixture will look messy—this is exactly right.
- Adjust consistency if needed: If dough feels impossibly sticky, add flour 1 tablespoon at a time. If it seems dry and won’t come together, add water 1 tablespoon at a time until the dough starts to look a bit more “together.”
- First rise: Transfer dough to a generously oiled large bowl, turning once to coat all surfaces. Cover with a clean kitchen towel and place in a warm, draft-free spot. Allow to rise until doubled, approximately 1½ to 2 hours.
- Shape and second rise: Dust a large piece of parchment paper with flour. Turn the risen dough onto the parchment and gently shape into an oval with your hands. Cover with a clean towel and let rise while the oven preheats.
- Preheat equipment: Set oven to 470°F. Place Dutch oven with lid inside the oven during the entire preheating process.
- Bake covered: Once oven reaches temperature, carefully remove the hot Dutch oven. Lower the dough into the pot using the parchment paper as a sling—leave the paper underneath. Cover with the lid and bake 30 minutes.
- Finish uncovered: Remove the lid and continue baking 10-15 minutes until the crust turns golden brown and sounds hollow when tapped.
- Cool properly: Transfer bread to a wire cooling rack and resist slicing for at least 30-60 minutes. The interior continues cooking during this time.
The bottom line
This four ingredient bread transforms simple pantry staples into bakery style bread that costs pennies to make. The cast iron bread method creates steam naturally, delivering professional results in any home kitchen. Once you master this no knead bread, store-bought loaves become a distant memory.