
This post contains affiliate links. As an Amazon Associate I earn from qualifying purchases.
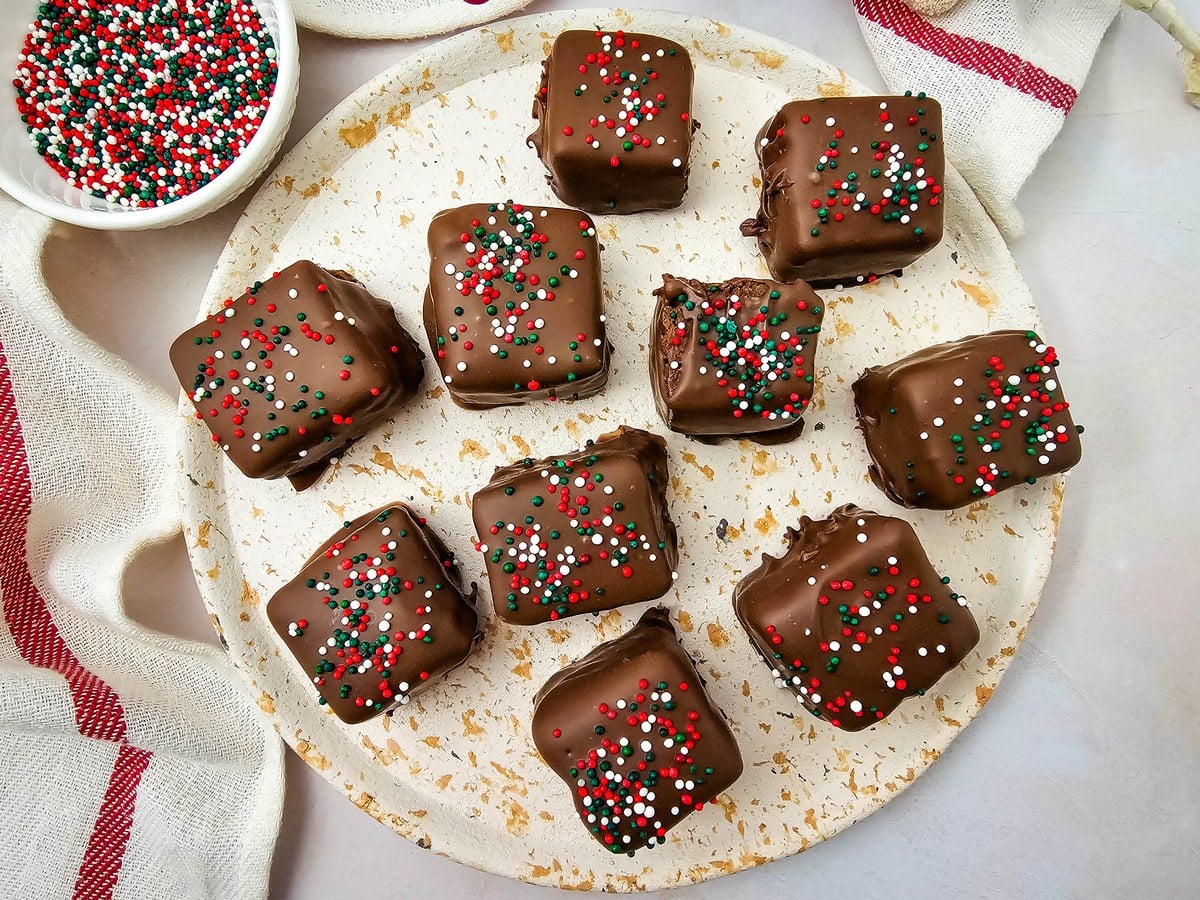
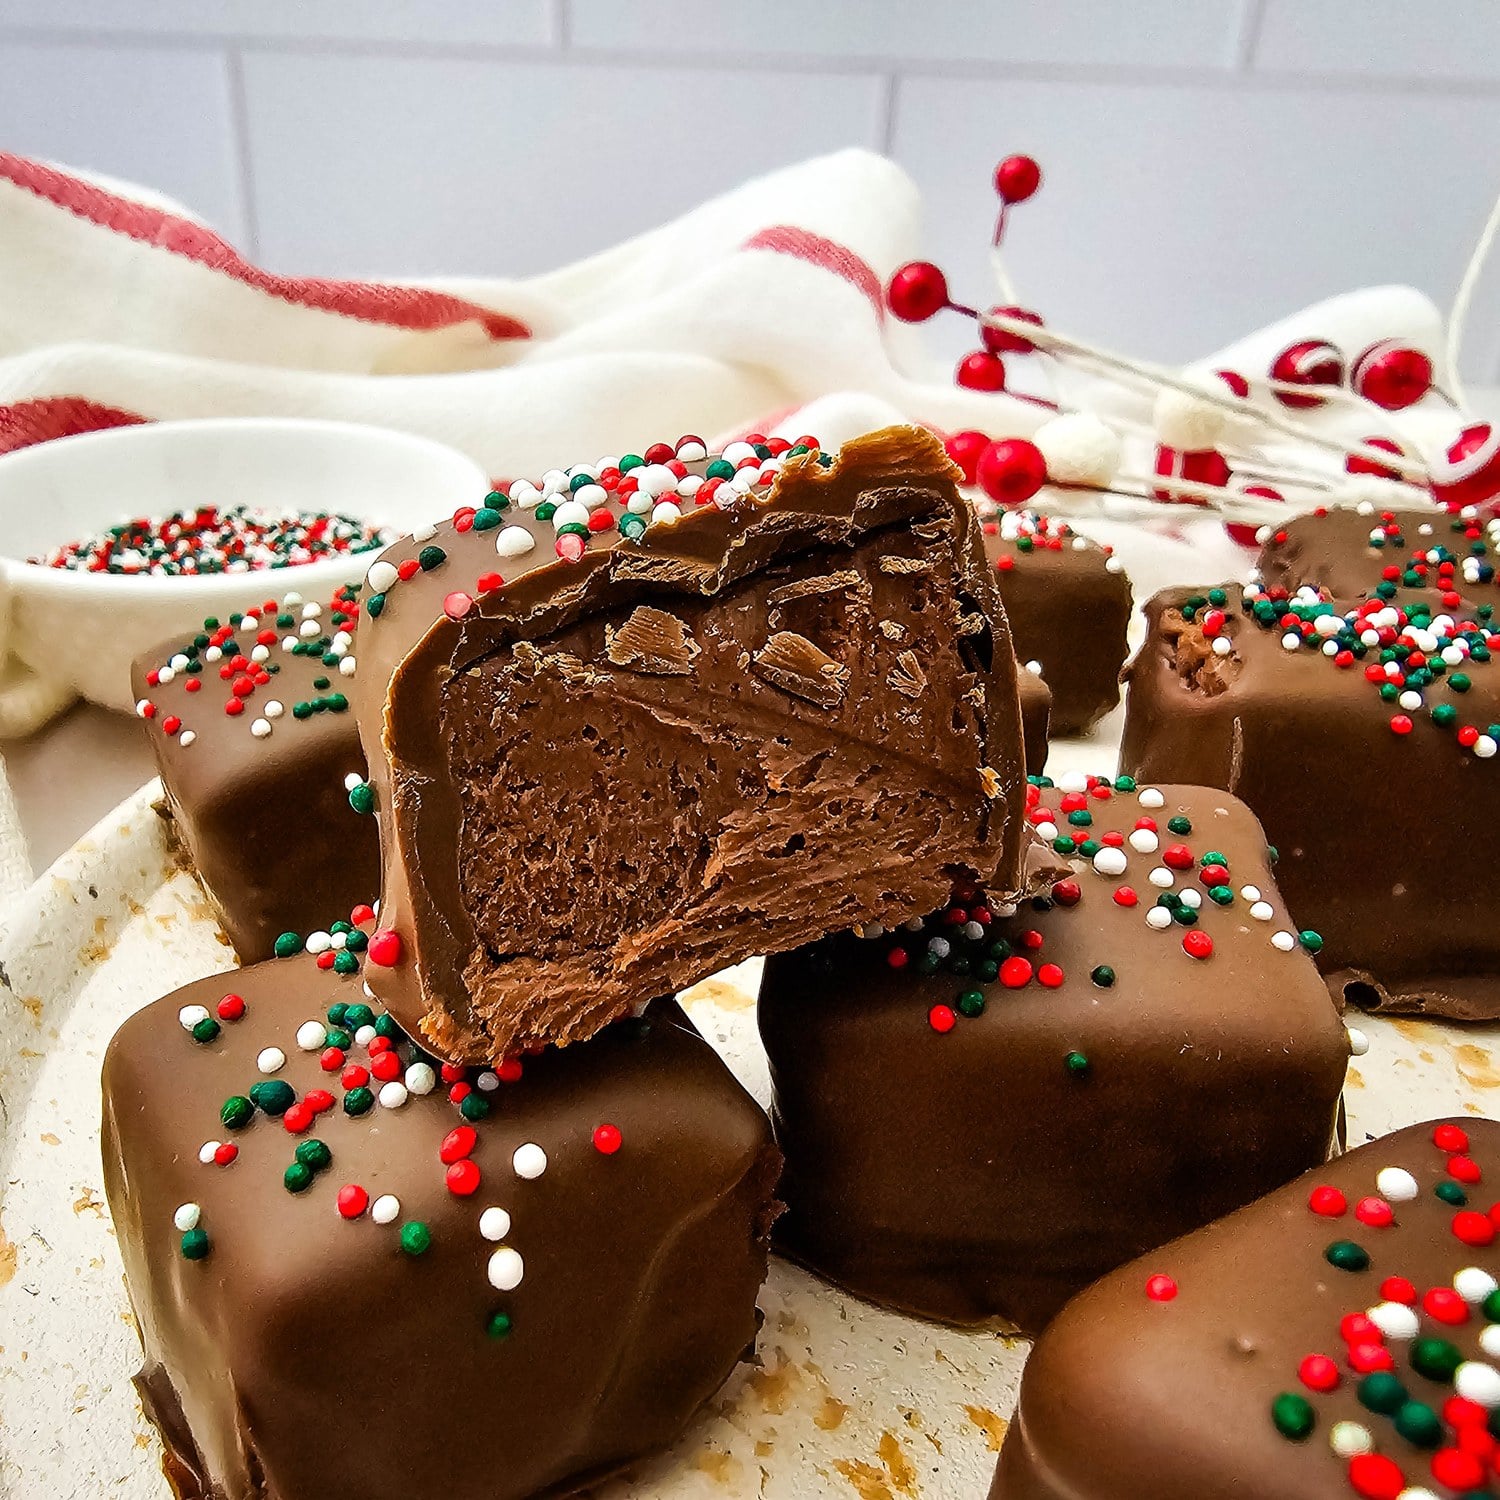
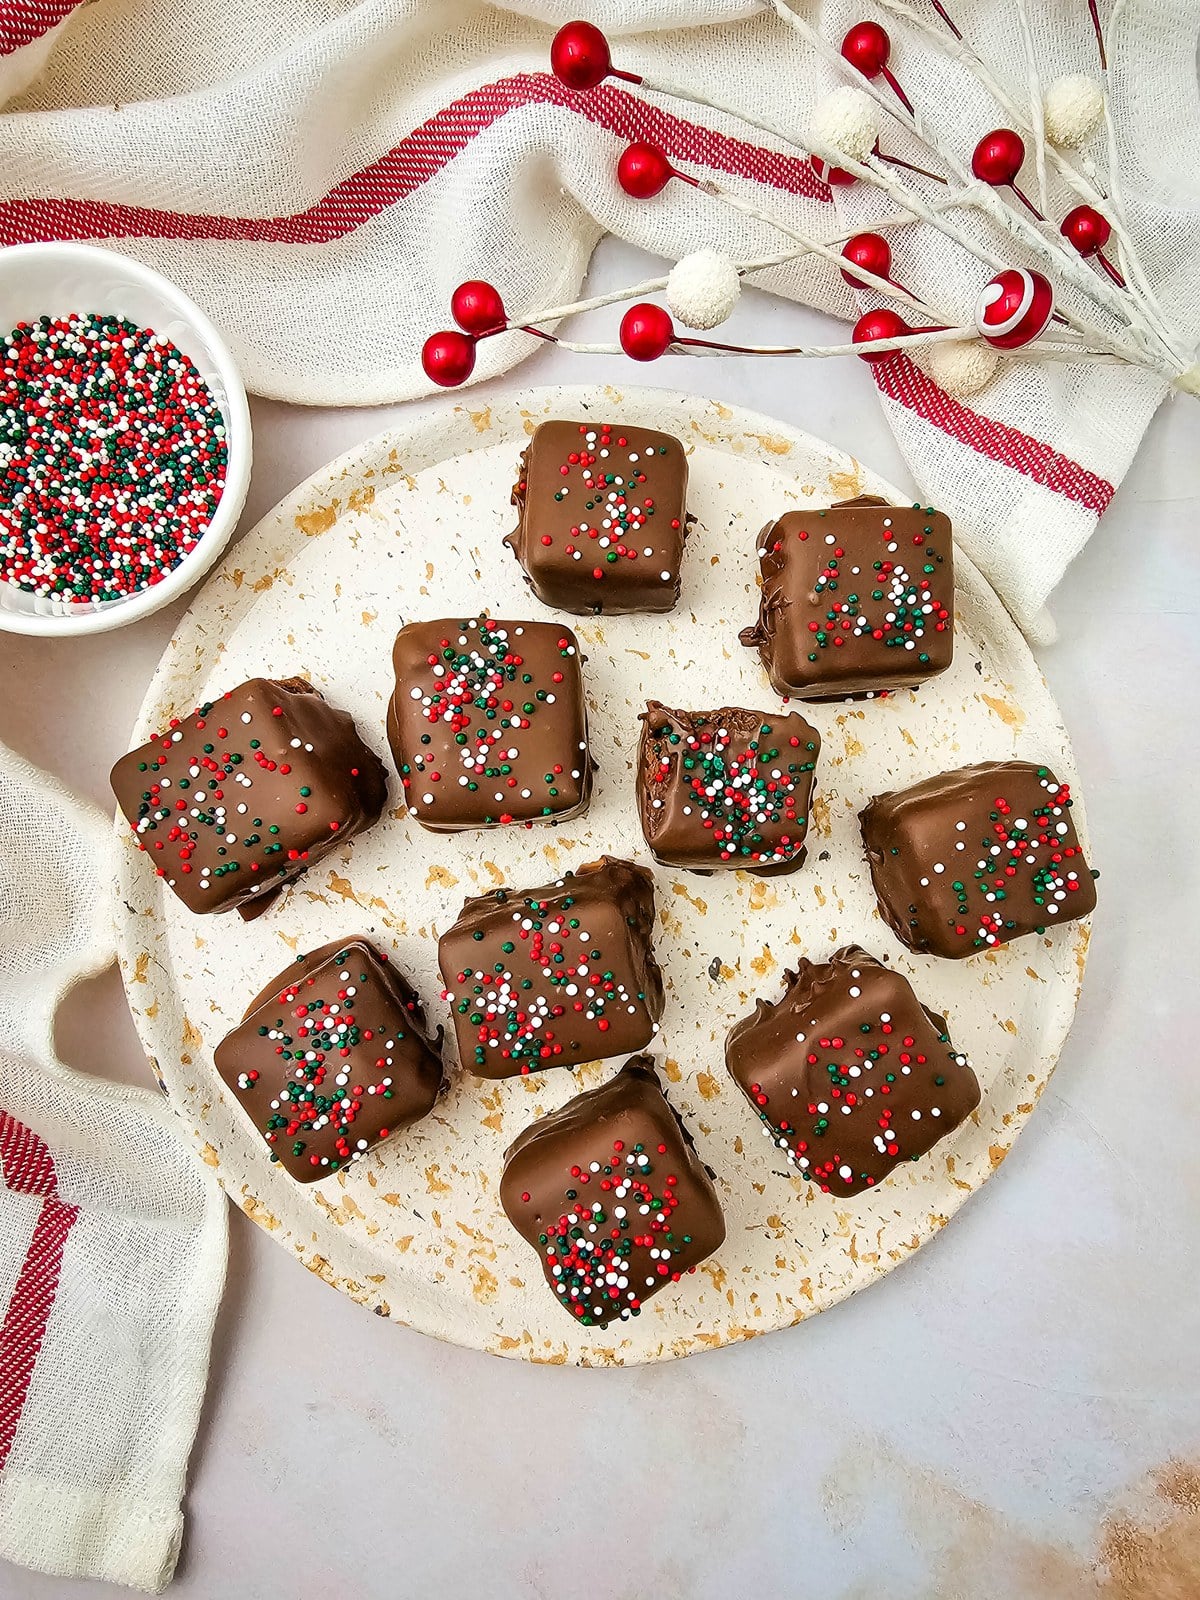
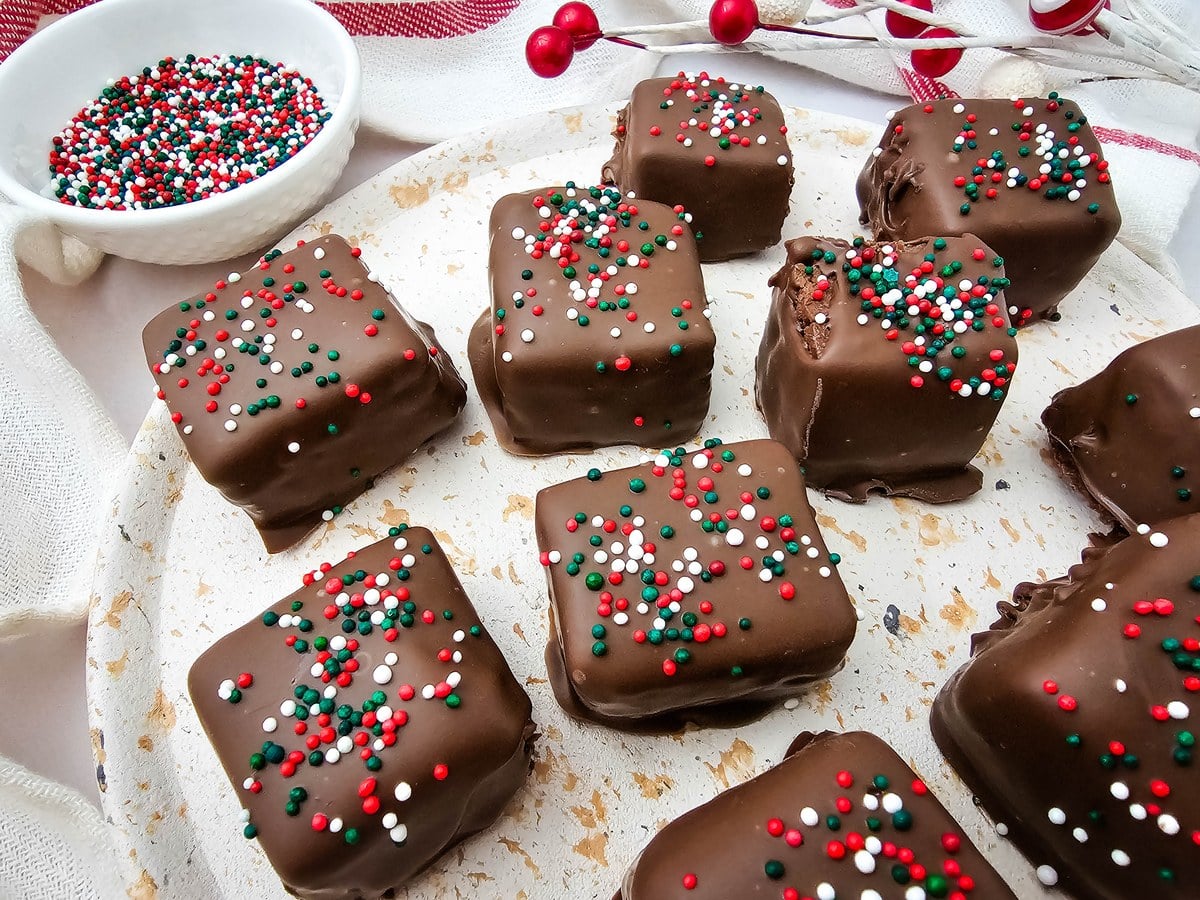
Here’s another no-bake Christmas treat that has that cloud-like but fudgy nougat texture of a Milky Way bar! Double the chocolate, double the fun. (They do say that, don’t they?)
Just five FOUR ingredients and you’ve got easy Christmas candy recipes to fall back on when you are pressed for time (and maybe sanity). The nonpareils are optional, but they do add a festive touch.
WANT TO SAVE THIS?
How to Make Christmas Cool Whip Candy
You’ll want to make sure the container of Cool Whip is completely thawed so leave it on the counter 30 minutes before starting to melt chocolate. This is easy Cool Whip candy but the whipped topping is the star of the show. You’ll also need a baking pan and a baking sheet, but you won’t be using an oven for this no bake dessert.
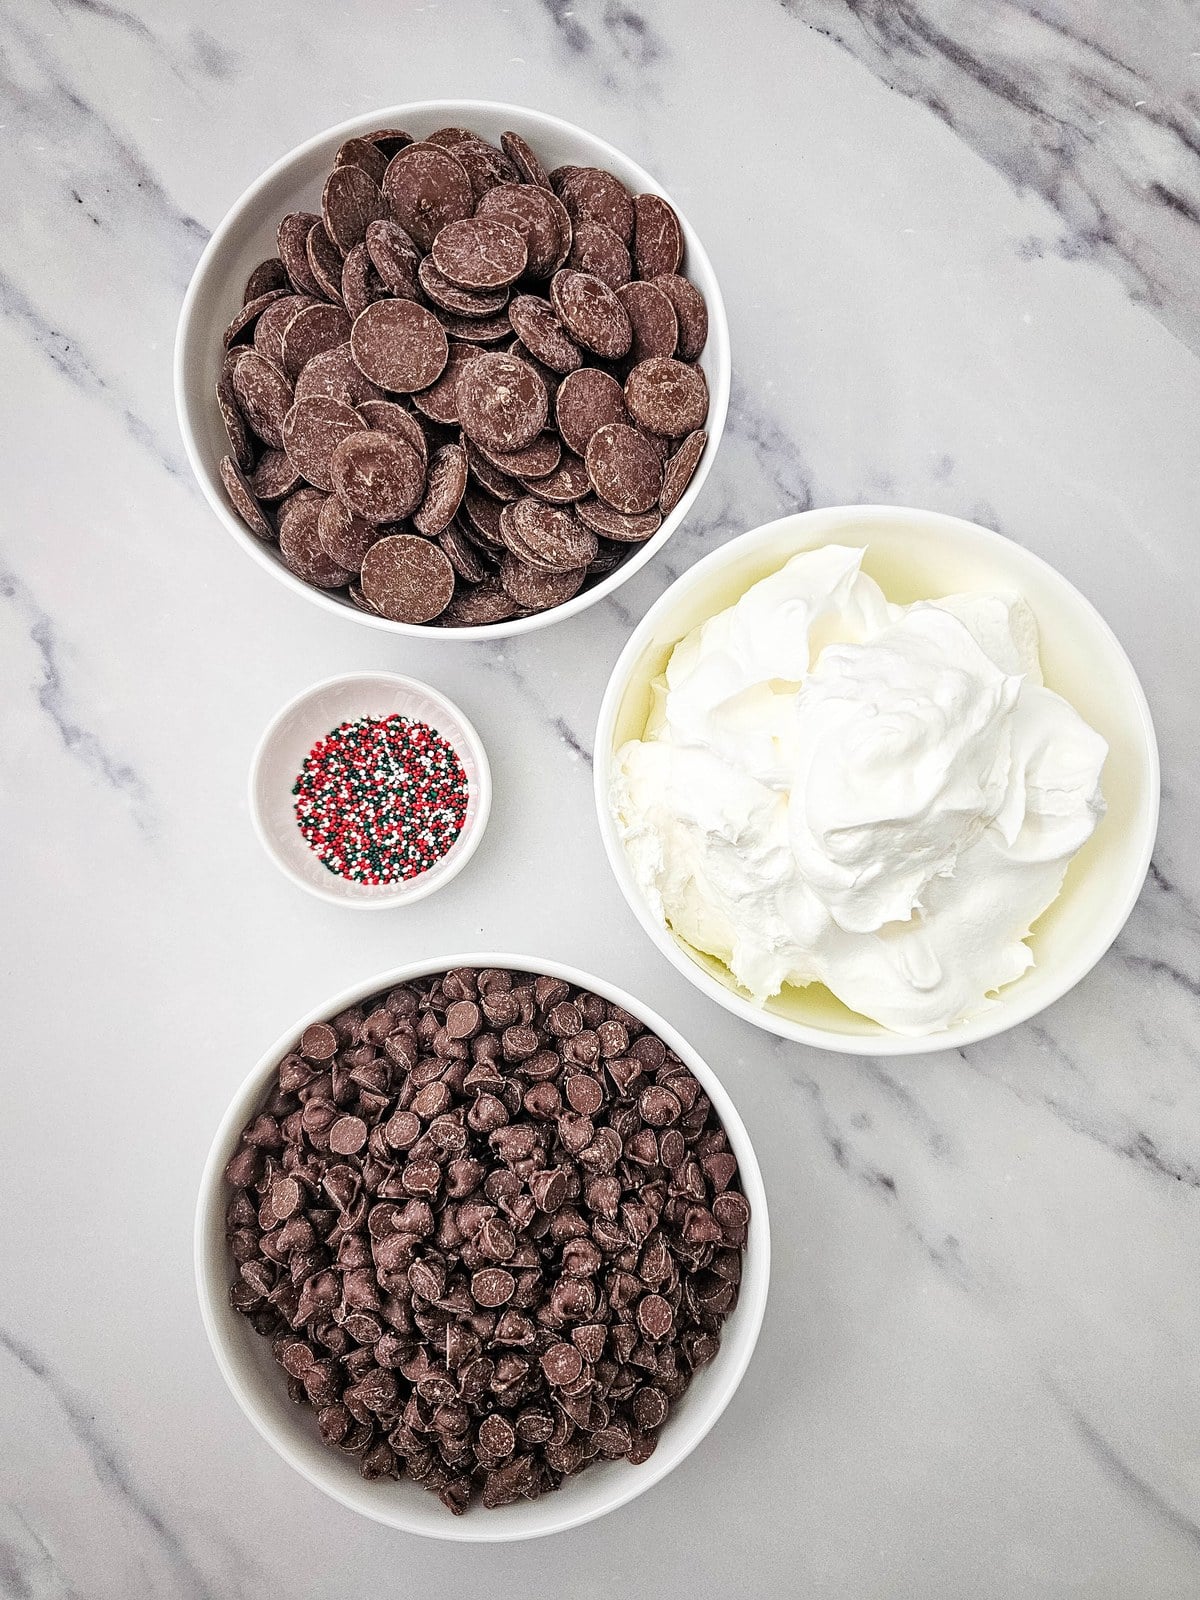
Step 1: Gather the milk chocolate chips, thawed Cool Whip, milk chocolate melting wafers and Christmas sprinkles. Line an 8×8 inch baking pan with parchment paper, then line a baking sheet or tray with parchment paper.
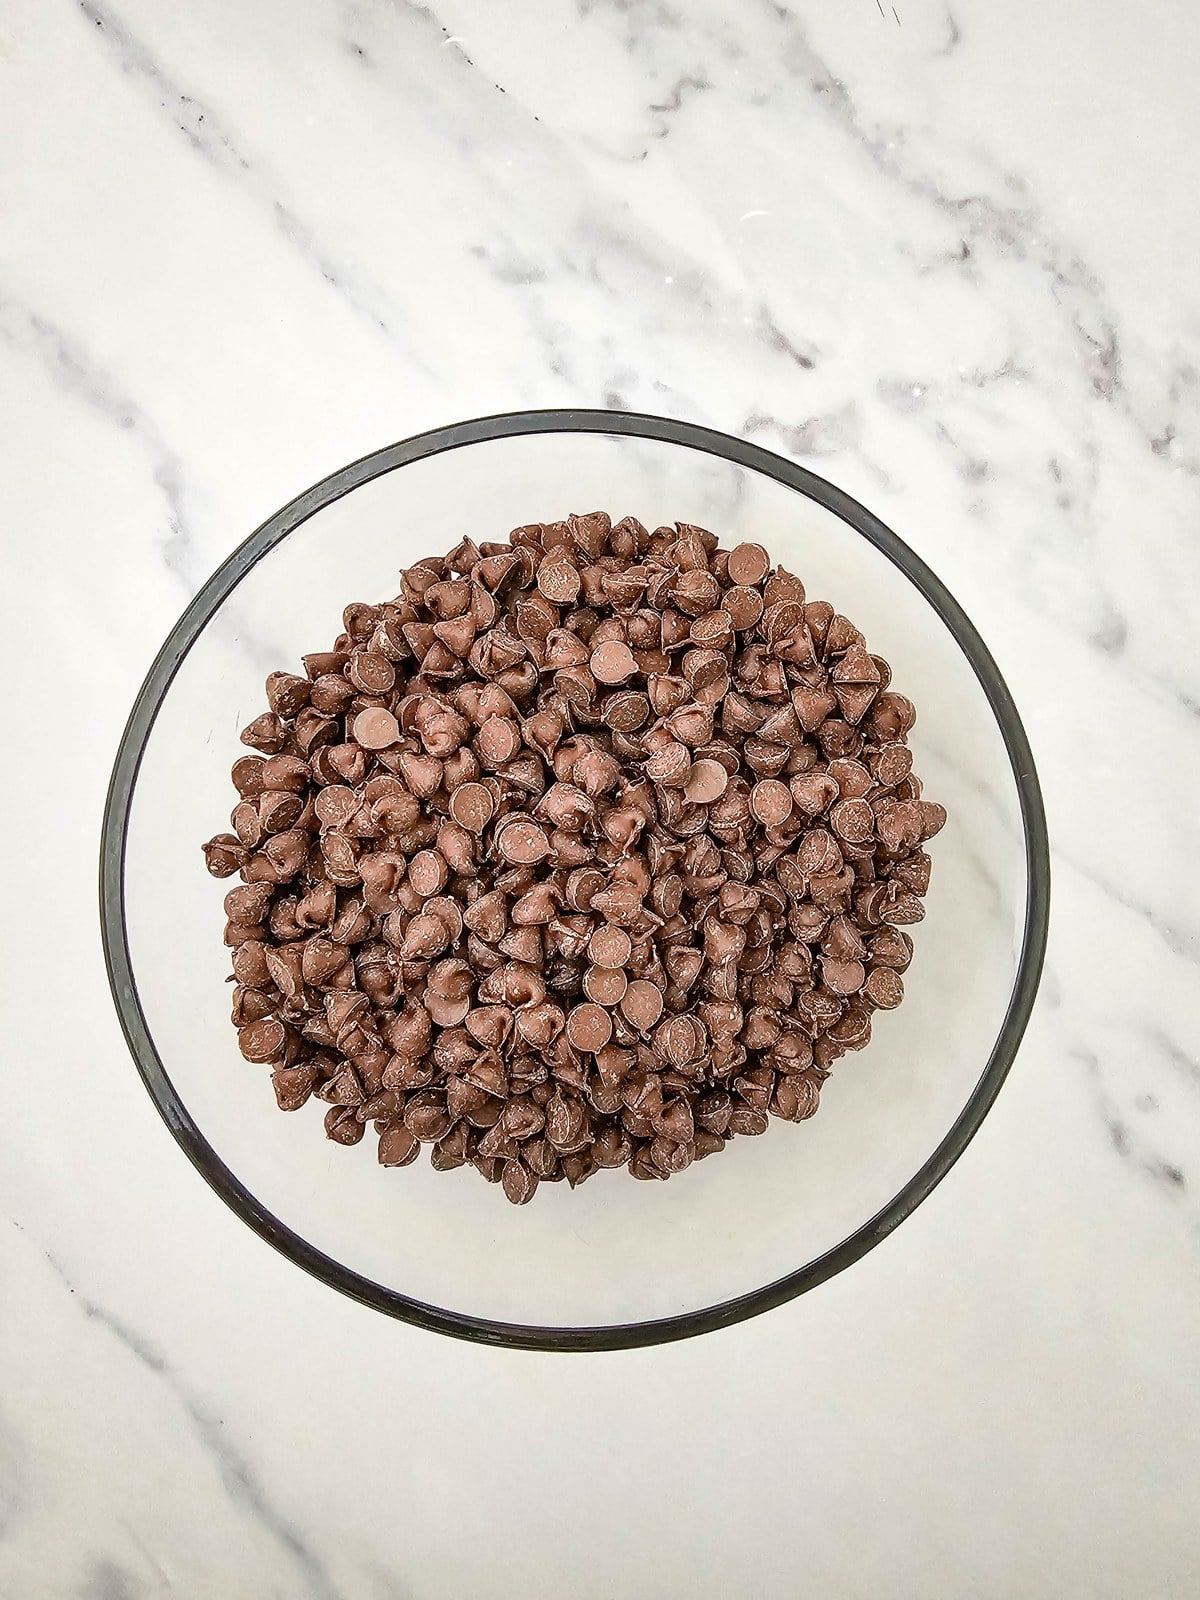
Step 2: Add the chocolate chips (NOT the wafers at this step) to a microwave safe bowl. Heat for one minute, stir, then heat in 15 second increments, gently stirring between each, until fully melted. Let the chocolate sit about 15 minutes to come to room temperature. Note: The chocolate should be cooled to room temp before adding the whipped topping or it will lose the fluffy texture.
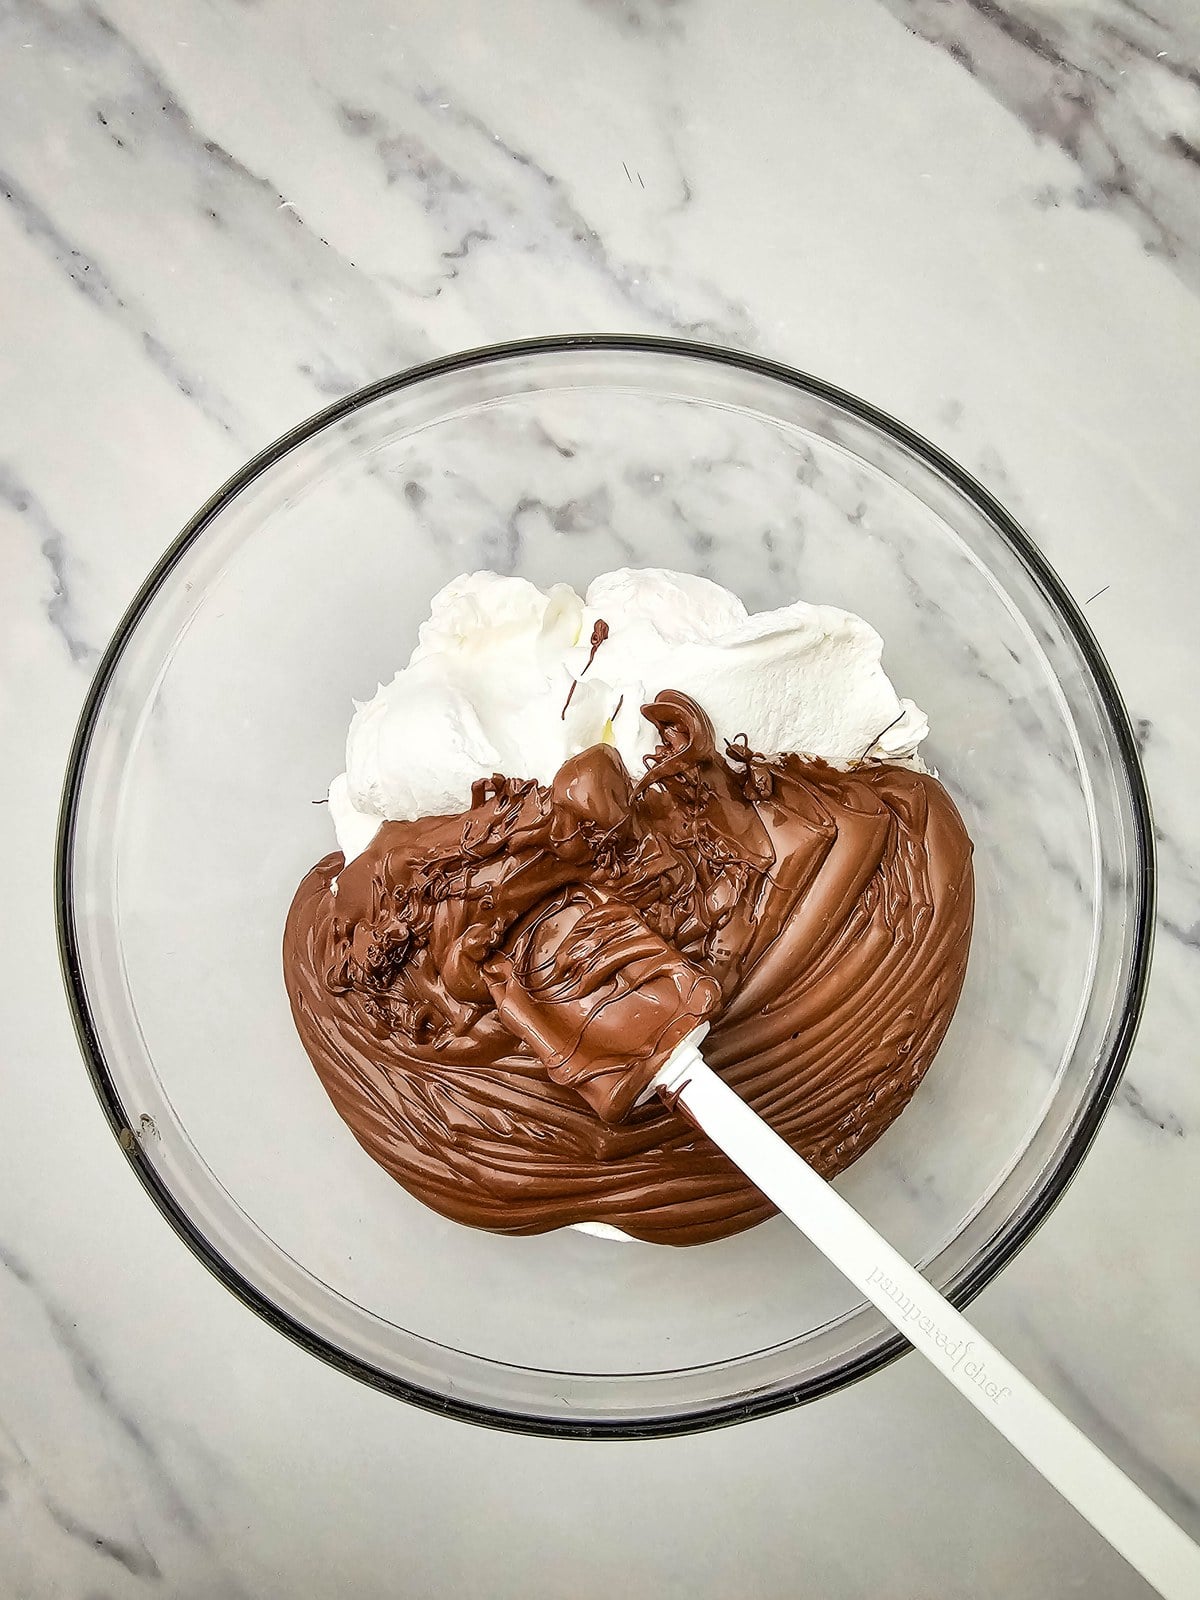
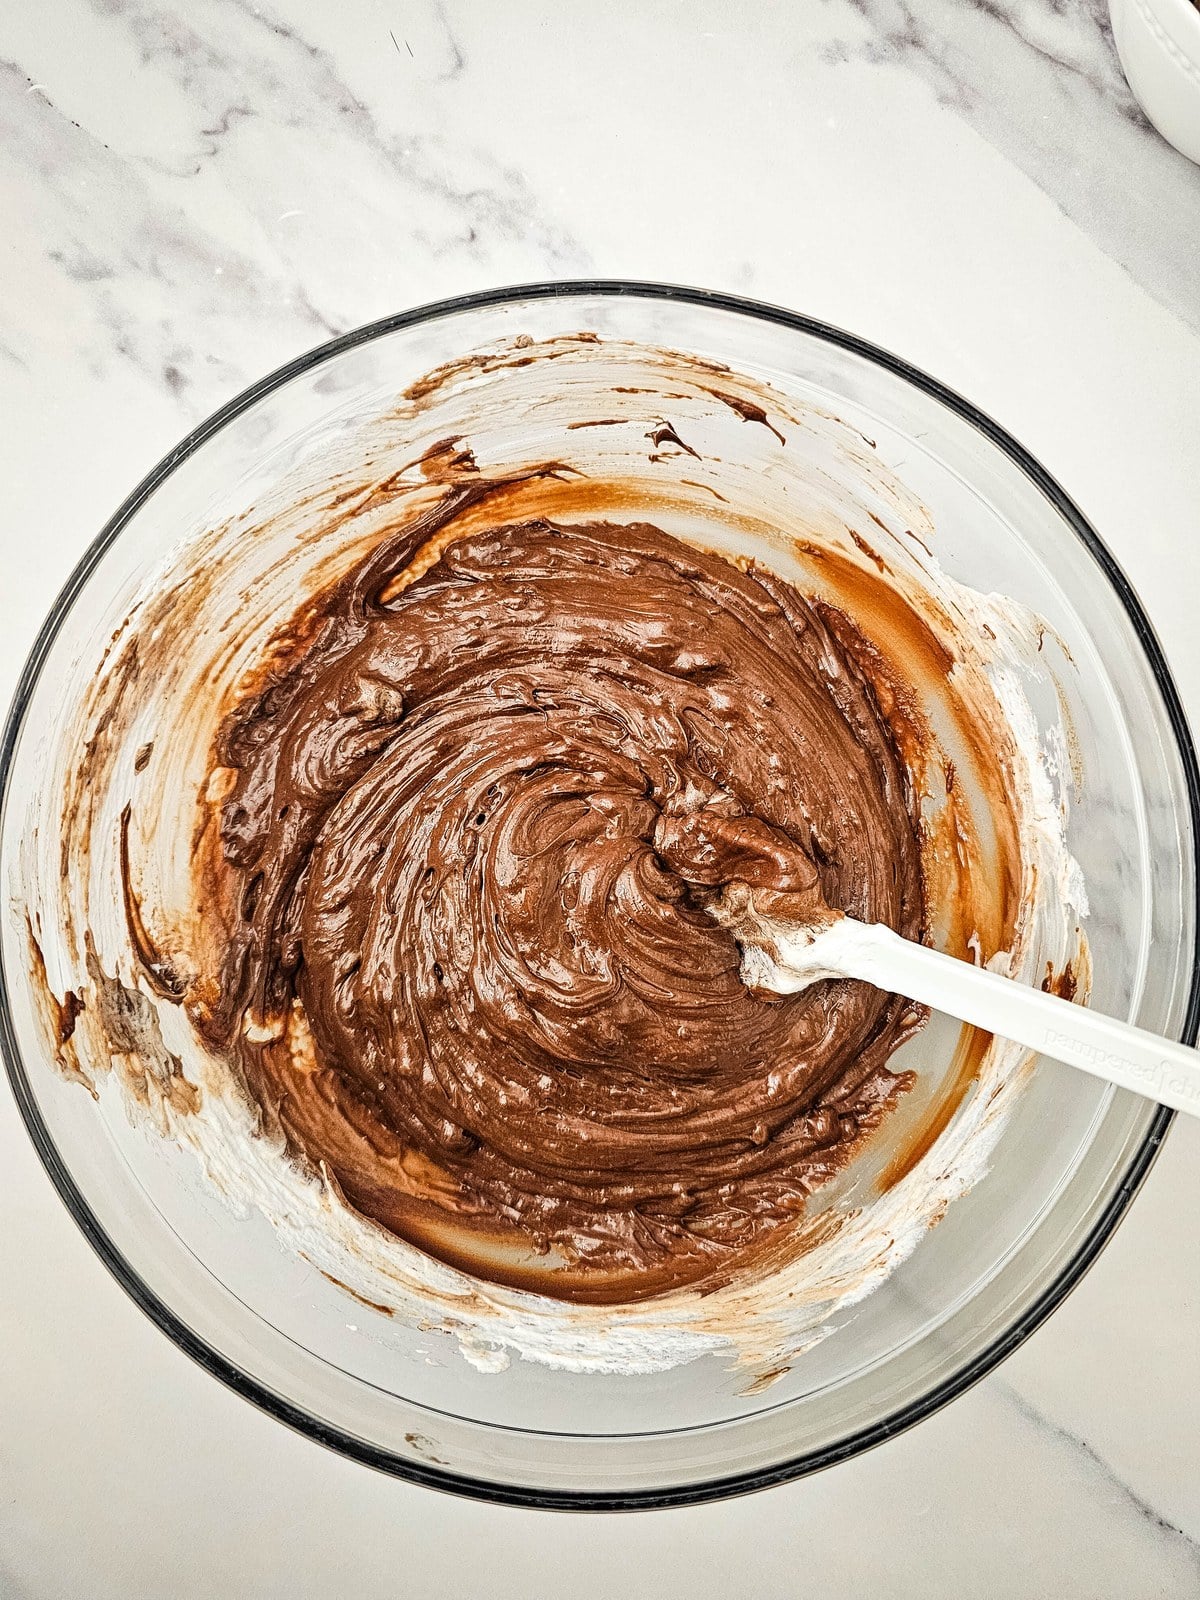
Step 3: Combine the cooled chocolate with the Cool Whip whipped topping and stir until the mixture is one even lighter-brown color with no white streaks.
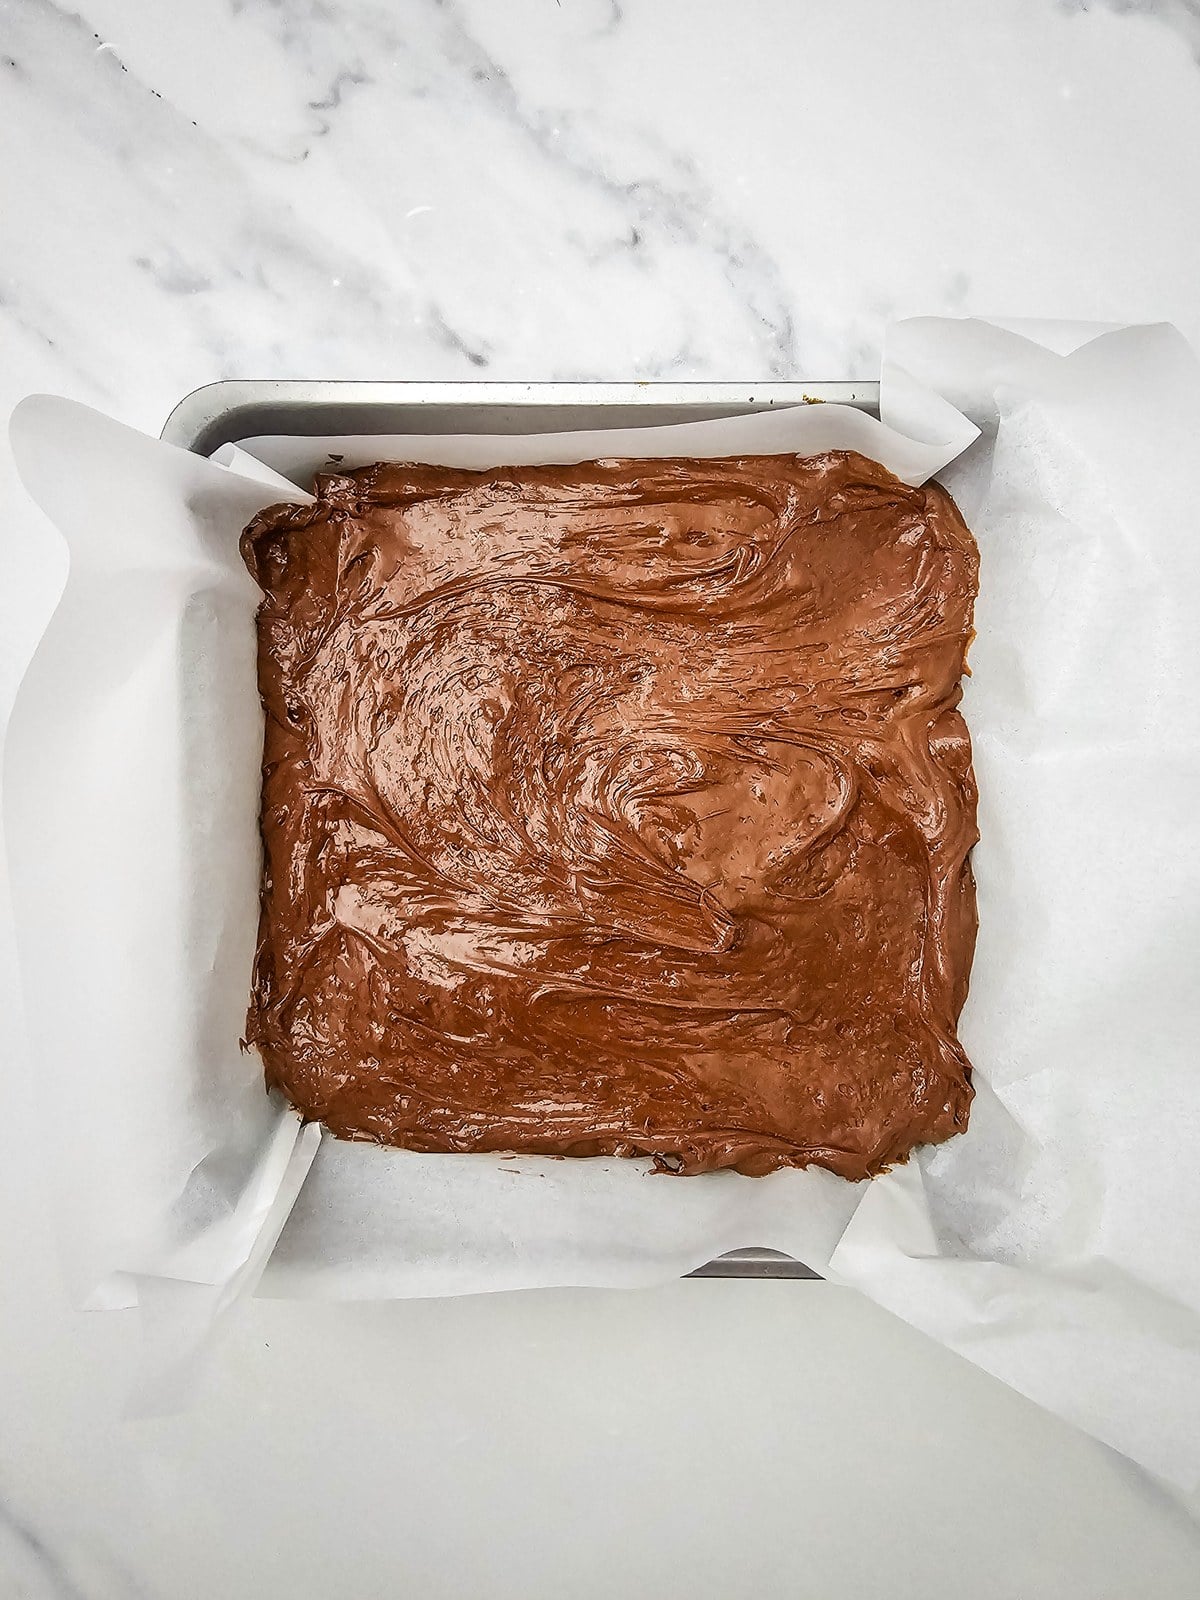
Step 4: Transfer the mixture into the prepared 8×8 dish. Spread it into an even layer, then slide the dish into the freezer for 30 minutes so it sets enough to cut. It won’t be frozen solid, so don’t let it stay in the freezer longer than an hour at this step.
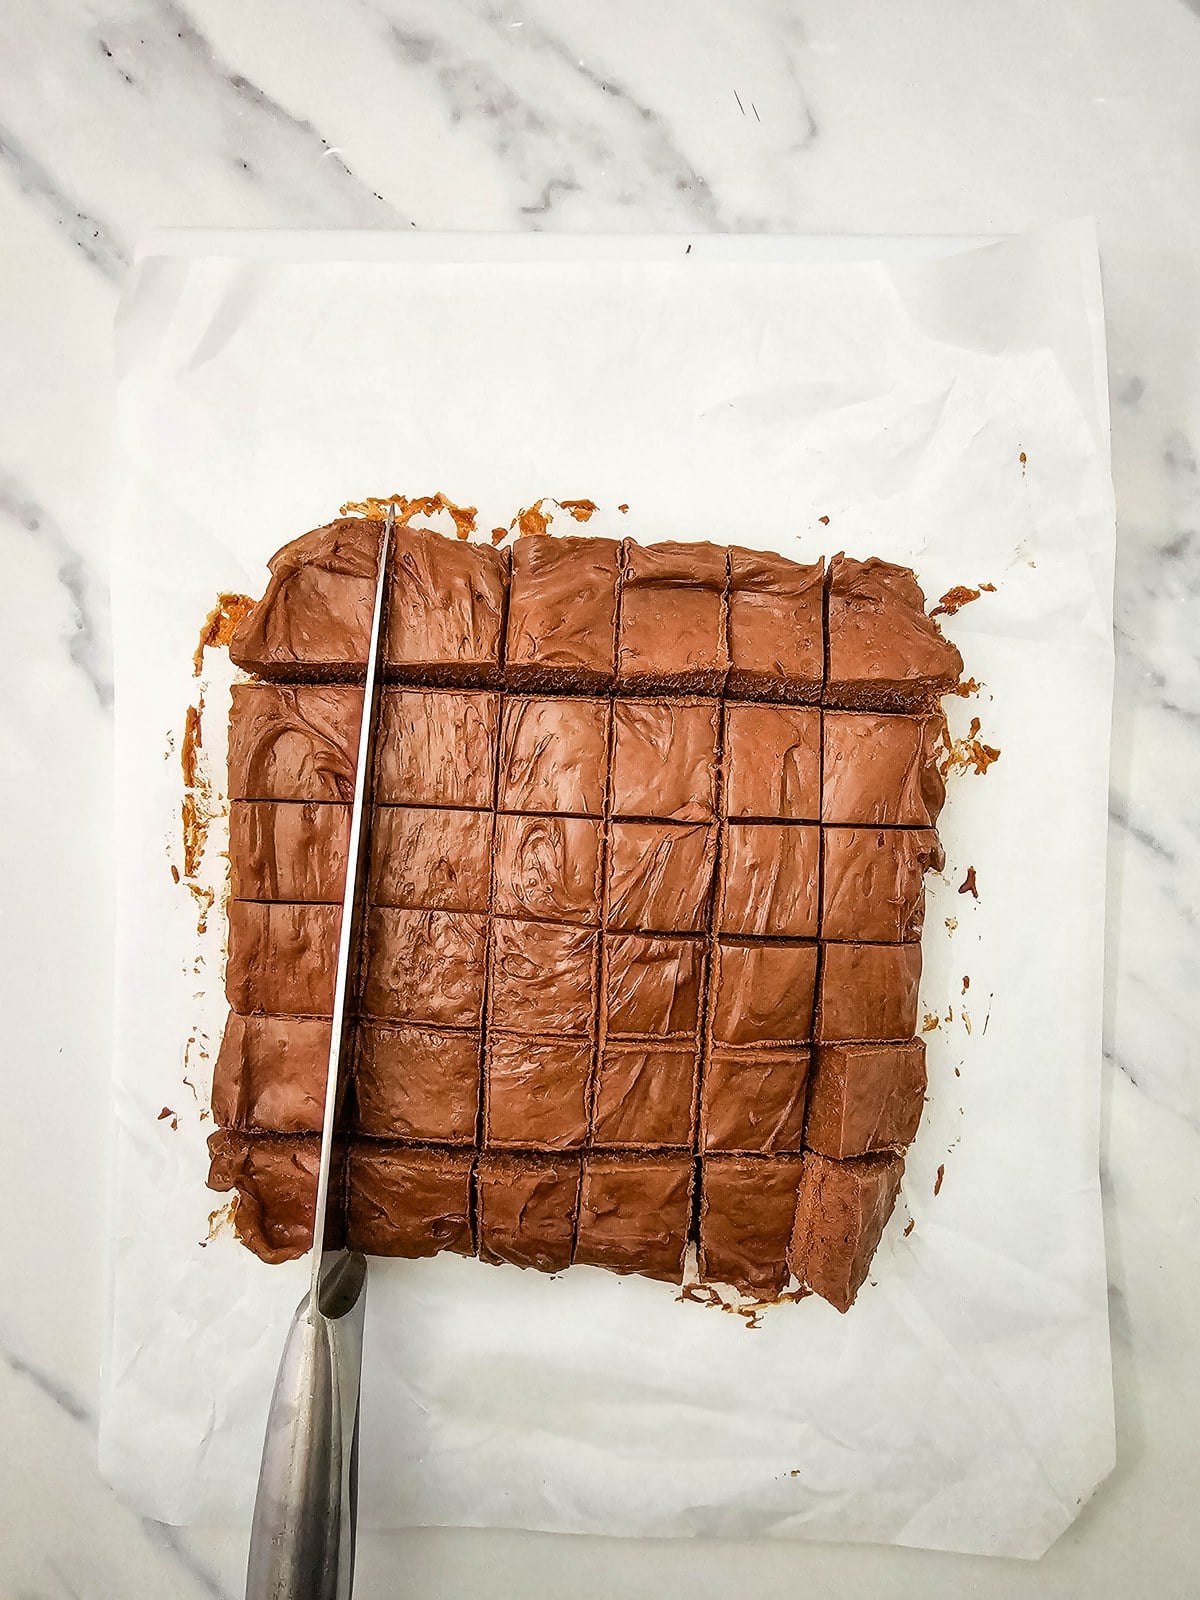
Step 5: Carefully lift the parchment corners, lifting the whole slab out of the pan onto a cutting board. With a long, sharp knife, cut the slab into 6 rows, then 6 rows the other way, for 36 small squares. Arrange the squares on the lined baking sheet and freeze again for 30 minutes.
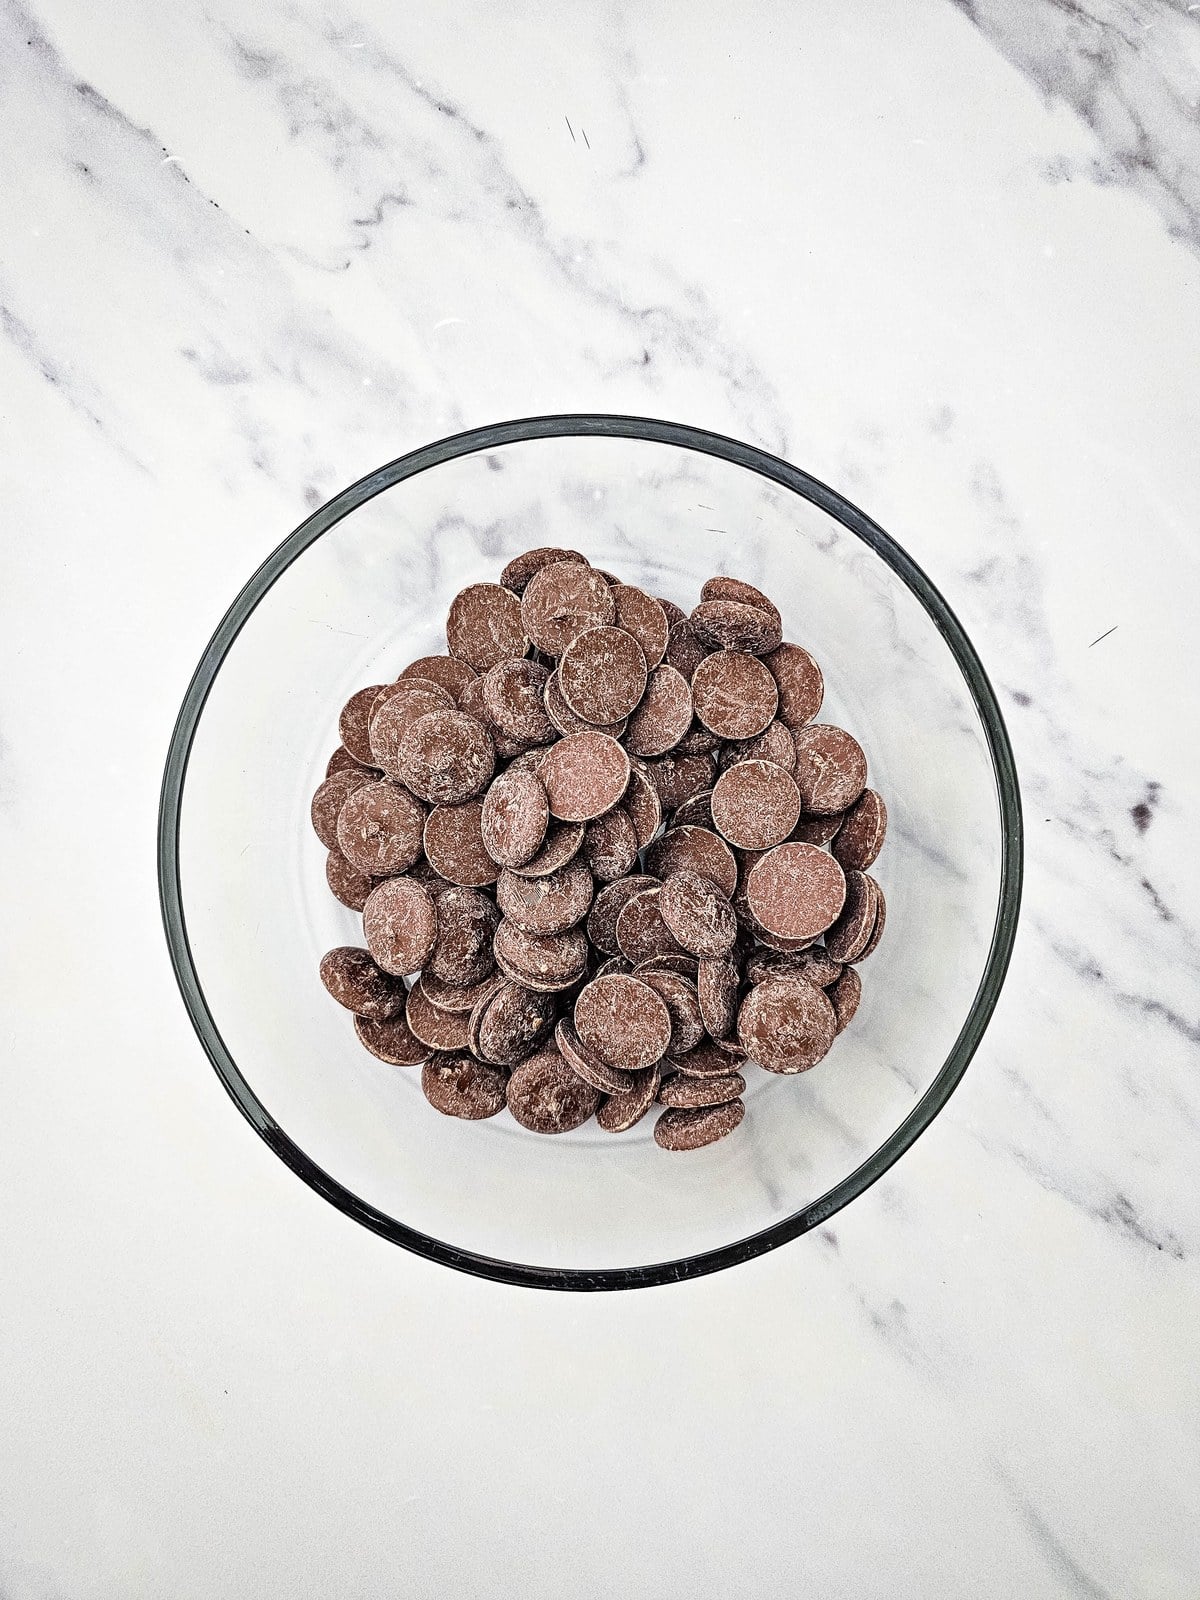
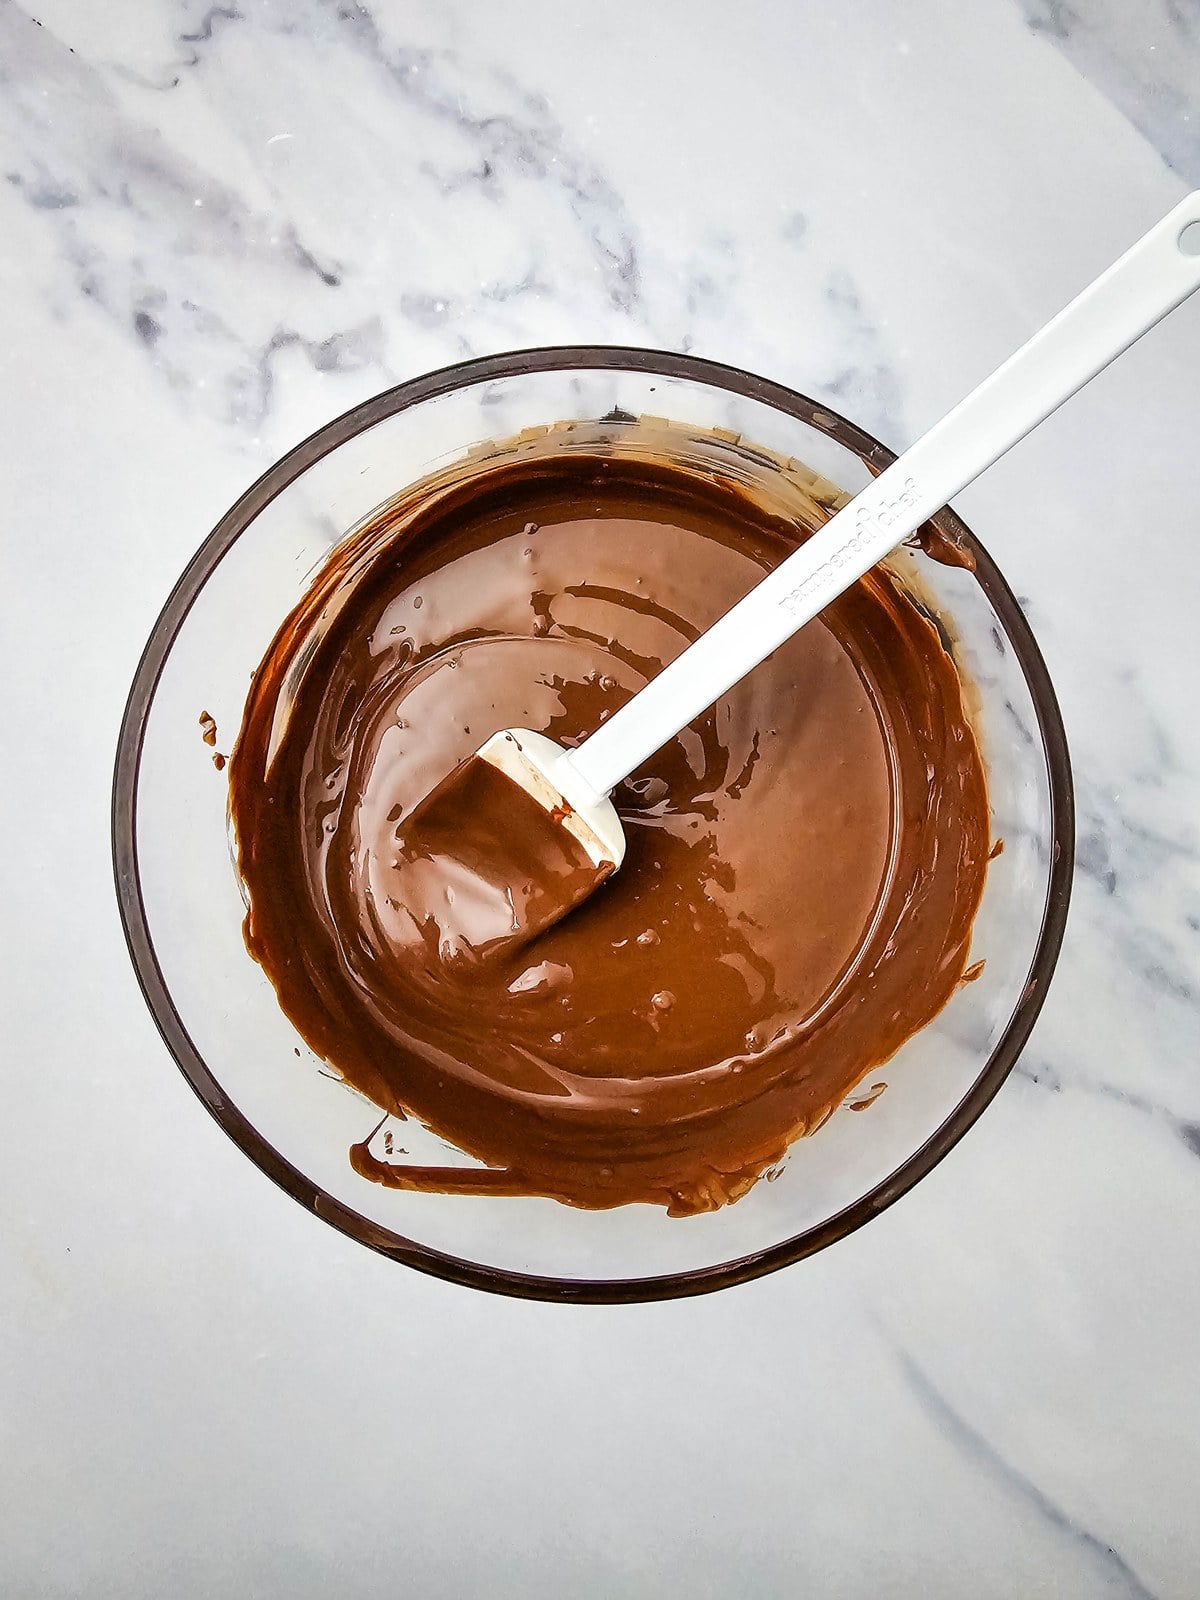
Step 6: Have the parchment-lined tray handy and set aside. Keep the candy in the freezer until the chocolate is melted (it’s best to have the candy cold until the last possible second). Melt the chocolate melting wafers in a microwave safe bowl the same way you melted the chips. (You can use the same bowl if you want.) Since the chocolate wafers are larger than the chocolate chips, you may need to use 20-second increments on high, but check often and keep stirring.
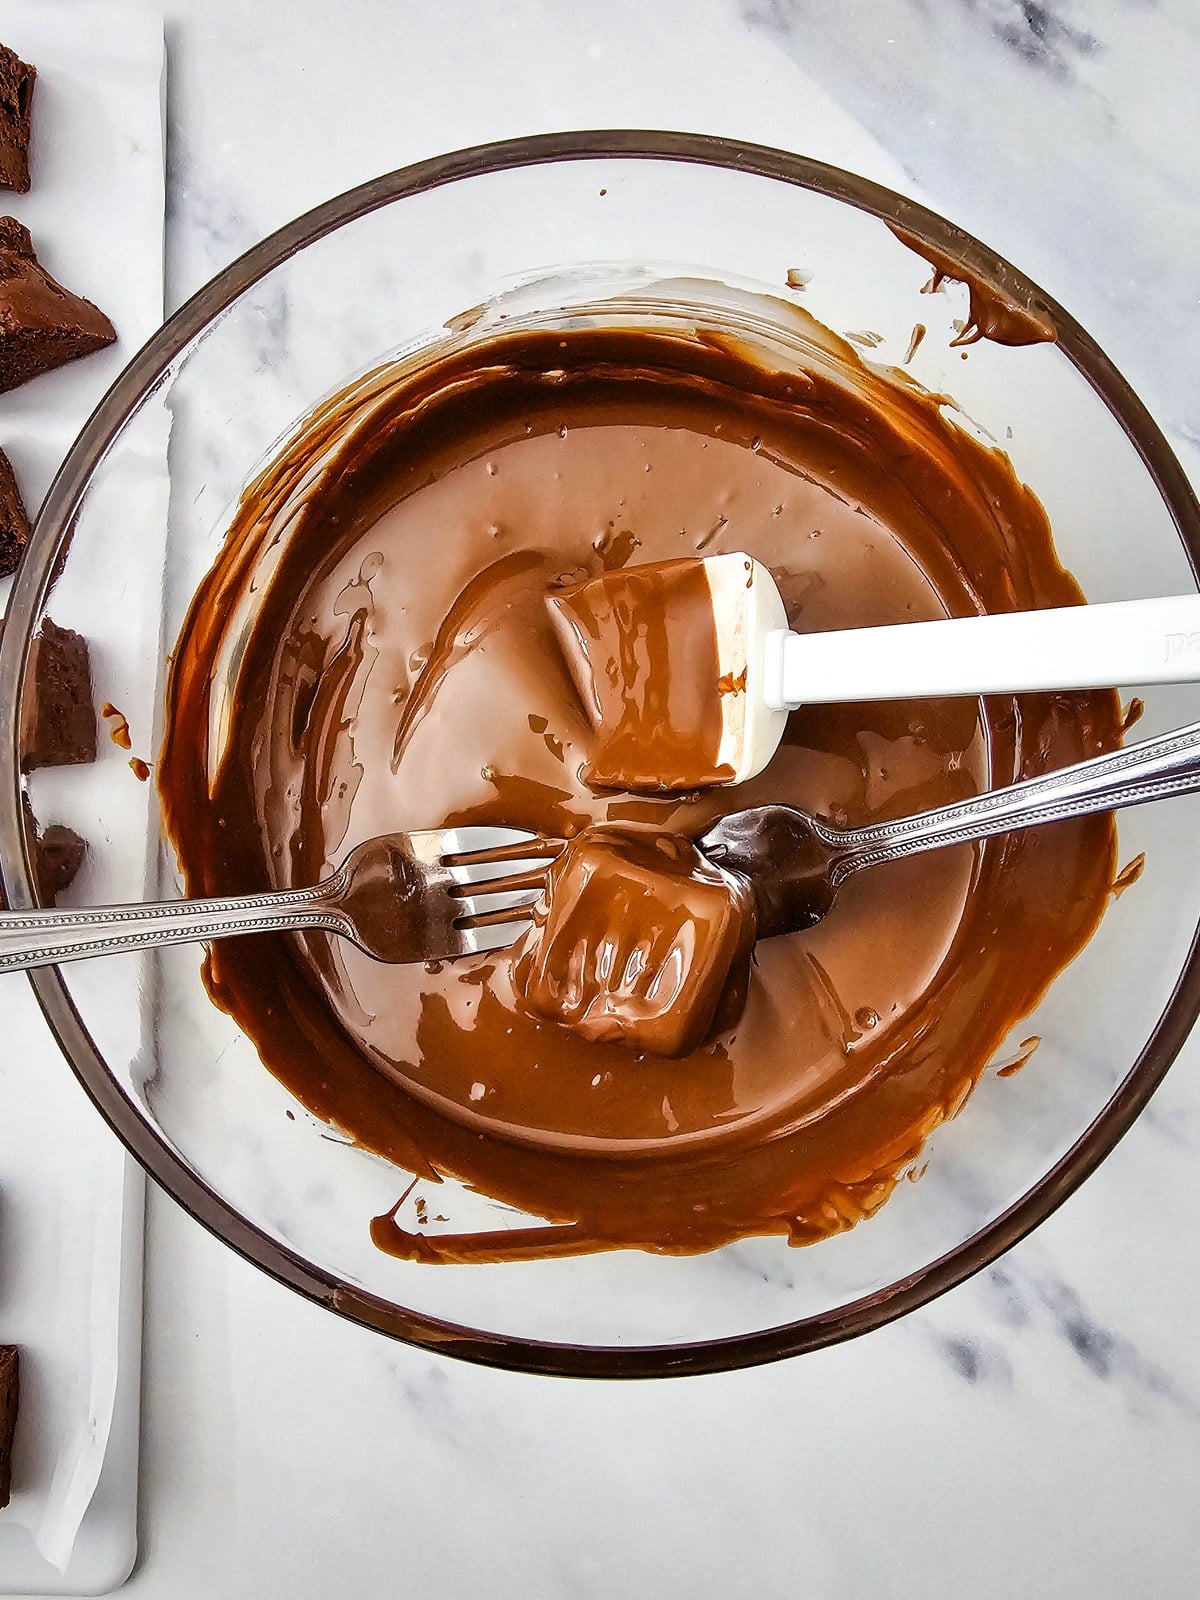
Step 7: NOTE: Keep the frozen candies in the freezer until the last second. Dip each frozen square into the melted chocolate, using a fork or candy dipping tool to turn it and lift it out.
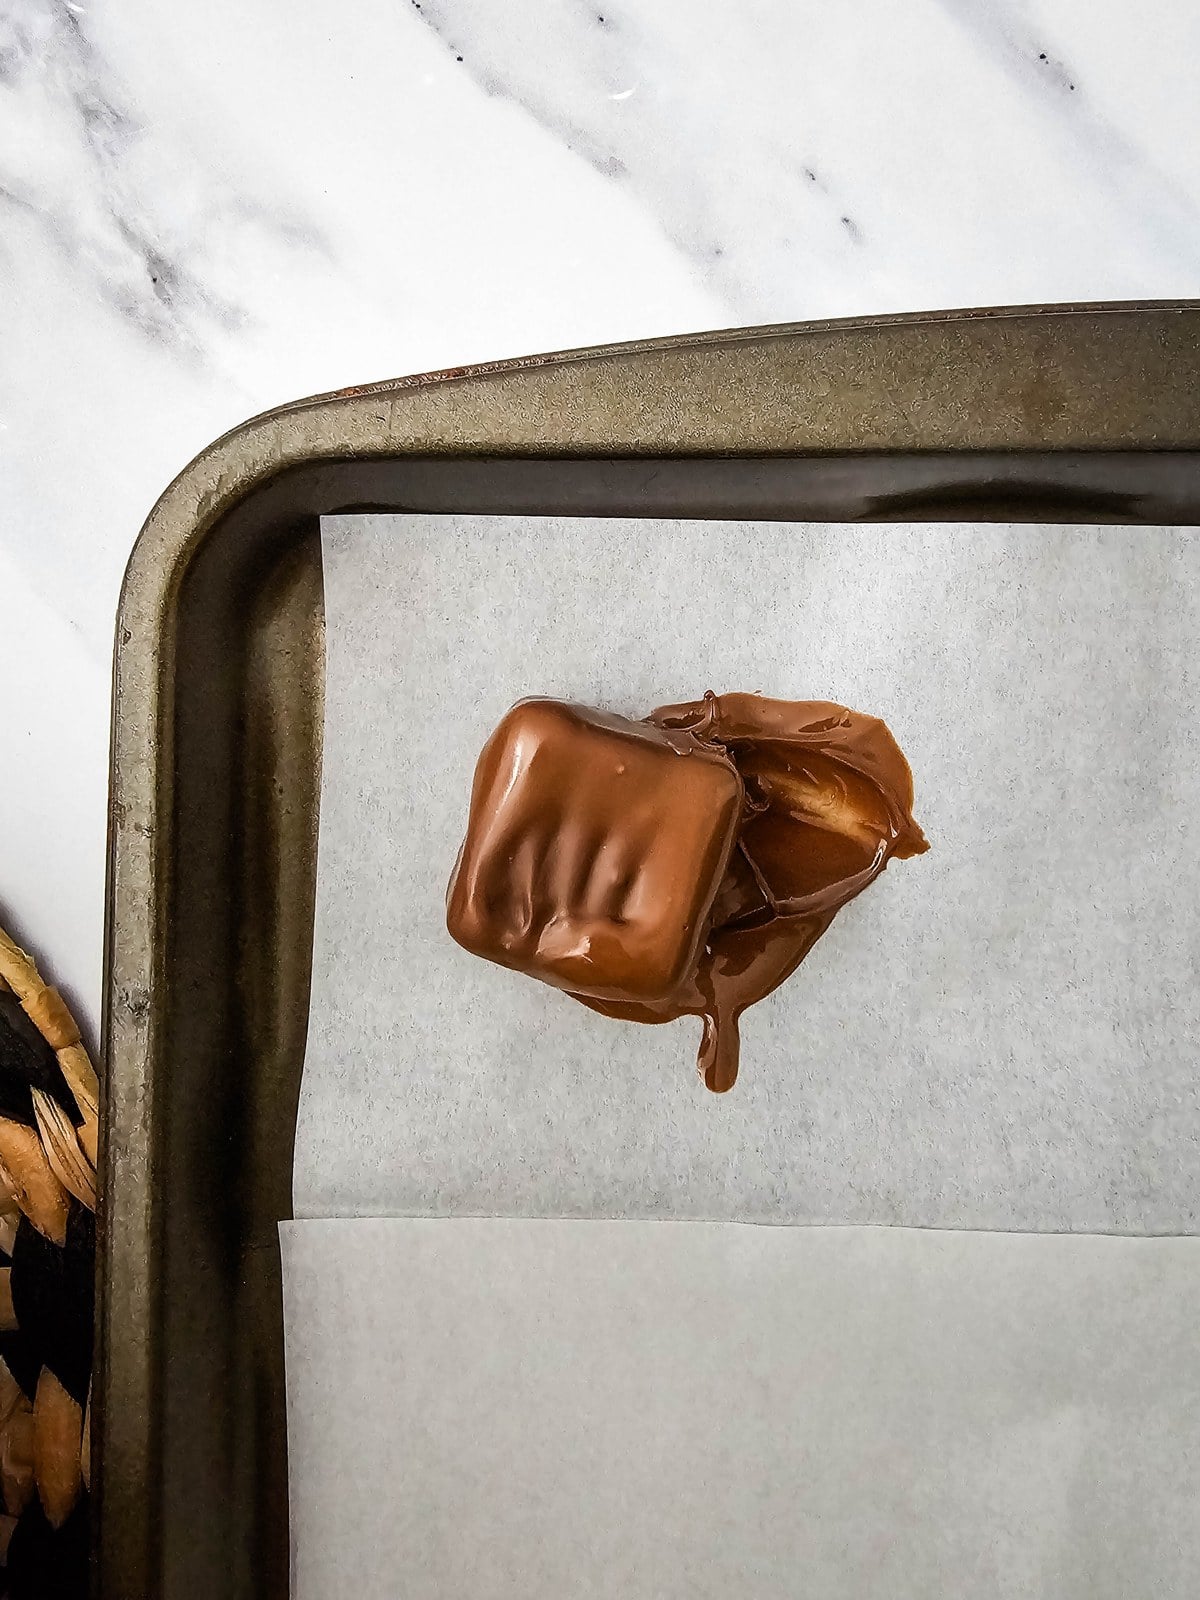
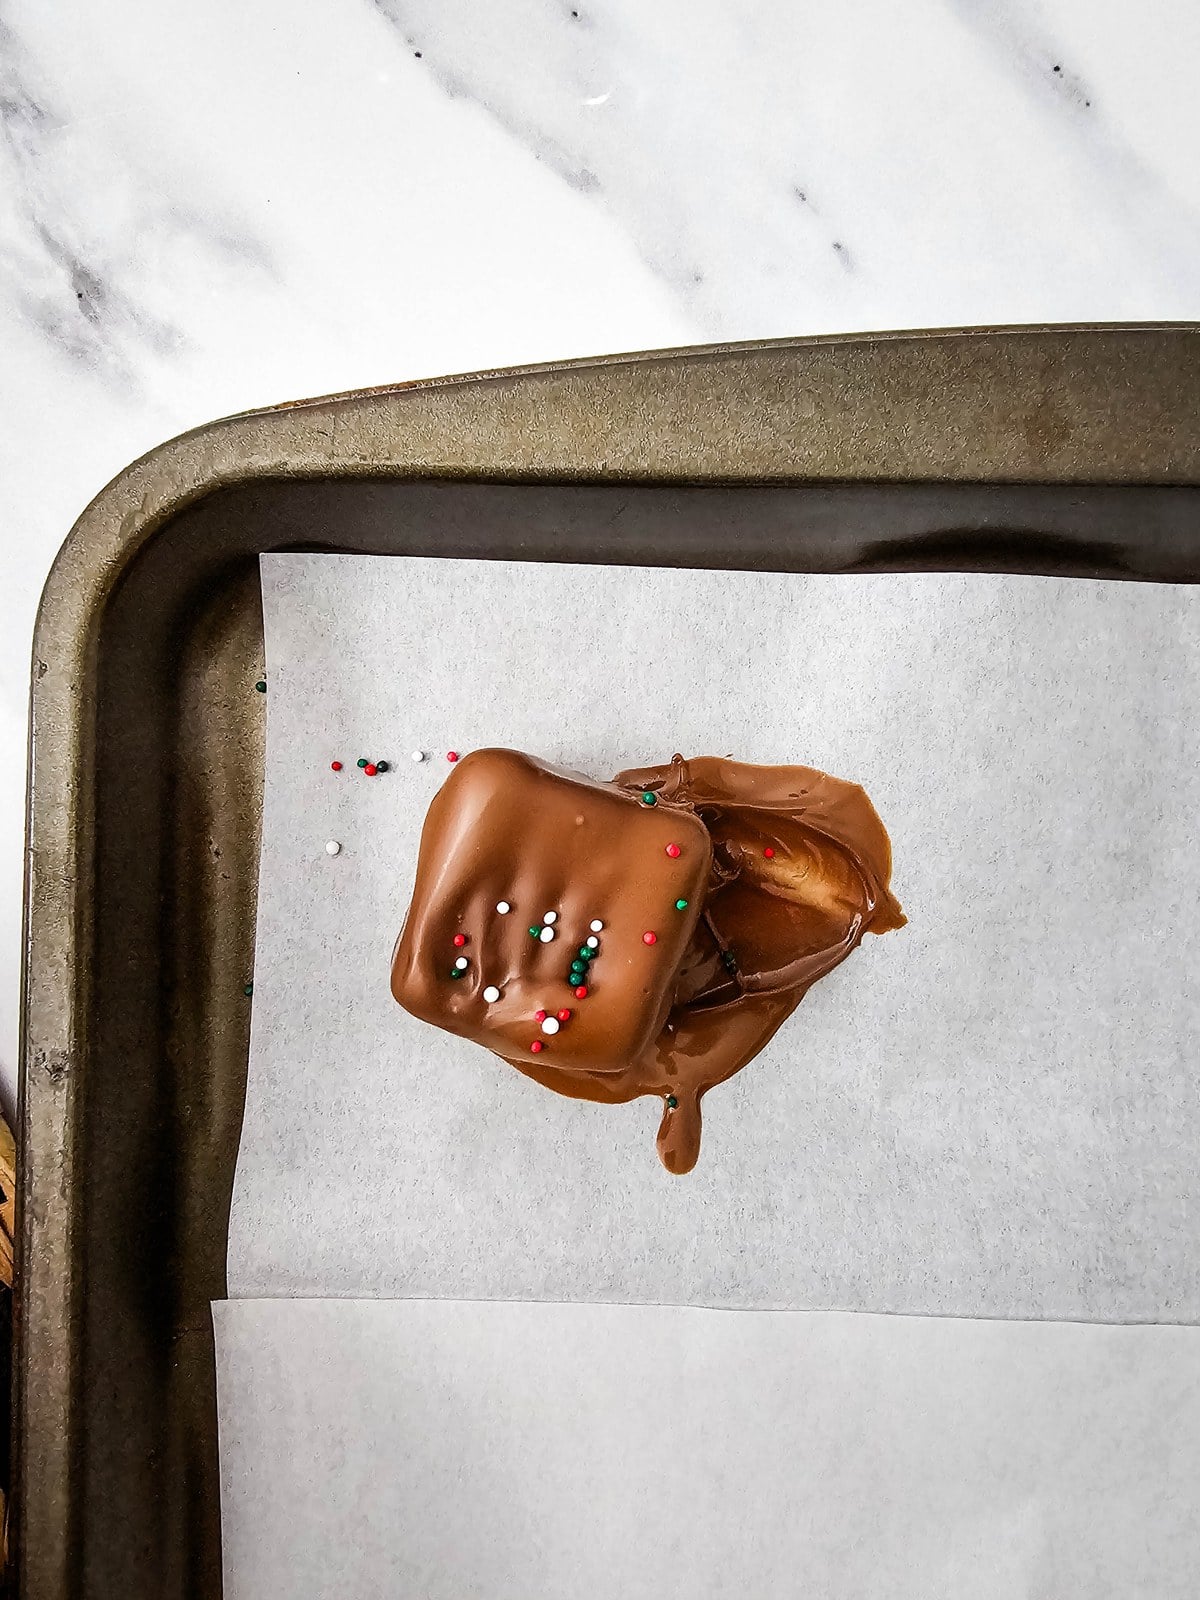
Step 8: Set each dipped candy on the lined baking sheet and top it with sprinkles right away, before the chocolate sets. Repeat until they are all made, then cover and freeze until ready to serve. They can be eaten chilled or at room temp.
Tools & Equipment
- 8×8 inch baking dish
- Baking sheet
- Parchment paper
- Medium microwave safe bowl
- Large bowl
- Spoon or small spatula/bowl scraper
- Cutting board and knife
- Forks or candy dipping tool
Tips for Success
- This recipe uses two specifically different kinds of chocolate: the chips combine with the Cool Whip to make the center candy, and the melting wafers make a smooth, shiny coating on the outside. It’s best to not mix them up, but it’s not a deal breaker if it works out that way; the surface just won’t be as smooth and shiny.
- The trick to using the microwave to melt chocolate is to not let it heat too long without stirring it. Chocolate seizes when it gets overheated, so 30 seconds > stir > 15 seconds > stir, and so on.
- You can use sugar free ingredients to create this candy with a lot fewer calories. Use Zero Sugar Cool Whip, sugar free Hersheys or Lily’s Sugar Free Chocolate Chips, and Barry Callebaut SF melting wafers. Just be extra cautious when melting the chocolate and to not get any water in or around the chocolate as you melt it.
- You can trim away the extra chocolate that has pooled at the bottom of the candies for a cleaner look. Use a small paring knife and trim away the extra chocolate while they are not SUPER cold. The knife should glide through, not snap off the chocolate.
WANT TO SAVE THIS?

Christmas Cool Whip Candy
Equipment
Ingredients
- 23 oz milk chocolate chips
- 8 oz Cool Whip thawed
- 24 oz milk chocolate melting wafers dark is ok too
- Christmas nonpareils
Instructions
- Set out the tub of Cool Whip so that it is completely thawed. Make room in the freezer so that you can set the tray in level for freezing the candy. Have the nonpareils open and ready to use.
- Line an 8×8 inch square baking dish and a baking sheet or tray with parchment paper. Set these aside. (We won't be turning on the oven, though.)
- Add the chocolate chips (NOT the wafers yet) to a microwave-safe bowl and heat for one minute, then stir and heat in 15- second increments, gently stirring often, until fully melted.
- Remove utensils from the chocolate bowl and let the melted chocolate chips sit for about 15 minutes to come to room temperature.
- Meanwhile, transfer the Cool Whip to a large bowl.
- Once the chocolate has cooled, use a bowl scraper to add it to the large bowl with the Cool Whip. Gently fold to combine until there are no white streaks and it becomes a lighter-brown color.
- Transfer the mixture to the prepared 8×8 square baking dish and spread it into an even layer.
- Place it in the freezer for 30 to 45 minutes so it sets but still soft enough to cut.
- Pick up the slab of candy by the parchment paper gently and set it on a cutting board. Using a long, sharp knife: Cut the slab into 6 rows, then 6 rows the other way, so that you have 36 small squares.
- Arrange the squares on the prepared baking sheet or tray and transfer it to the freezer for 30 minutes.
- Meanwhile, melt the chocolate wafers in a microwave safe bowl just like you did the chocolate chips. You can use the same bowl if you want. NOTE: Keep the candy squares in the freezer right up until you are ready to dip them into the chocoalte on the next step.
- Moving quickly so the melted wafers are still warm: Dip the each square into the chocolate using forks or a candy dipping tool and set them on the prepared baking sheet or tray. Top with the nonpareils immediately, while they can stick to the warm chocolate.
- Repeat until all squares are dipped and decorated. Cover and freeze until ready to serve. They can be eaten chilled or room temp, but they will get very soft if kept too long near the stove.
Notes
- The melted chocolate needs to cool to room temperature before you add the Cool Whip. If it’s too warm when combined, the Cool Whip melts and the candy won’t have the same pillowy texture.
- Add the nonpareils sprinkles right after each candy is dipped, before the chocolate coating sets, so don’t dip the whole batch before adding sprinkles.
- It’s best to keep the candy squares in the freezer right up until the chocolate wafers are melted and you are ready to dip them. They will hold their shape better while dipping.
- Storage: cover and keep in the freezer or refrigerator until ready to serve.
Nutrition
The bottom line
Christmas candy gifts are always welcome and this is just four ingredients away from a rich chocolatey, pillowy but rich Christmas candy. Want to try even more no bake Christmas treats? Here’s the list!
- Festive Butterfinger Balls
- Christmas Graham Cracker Buckeyes
- Christmas Tree Buttercream Board
- Christmas Cornflake Wreaths
- Hot Chocolate Cheesecake Dip
- Peppermint Crunch OREOs