
This post contains affiliate links. As an Amazon Associate I earn from qualifying purchases.
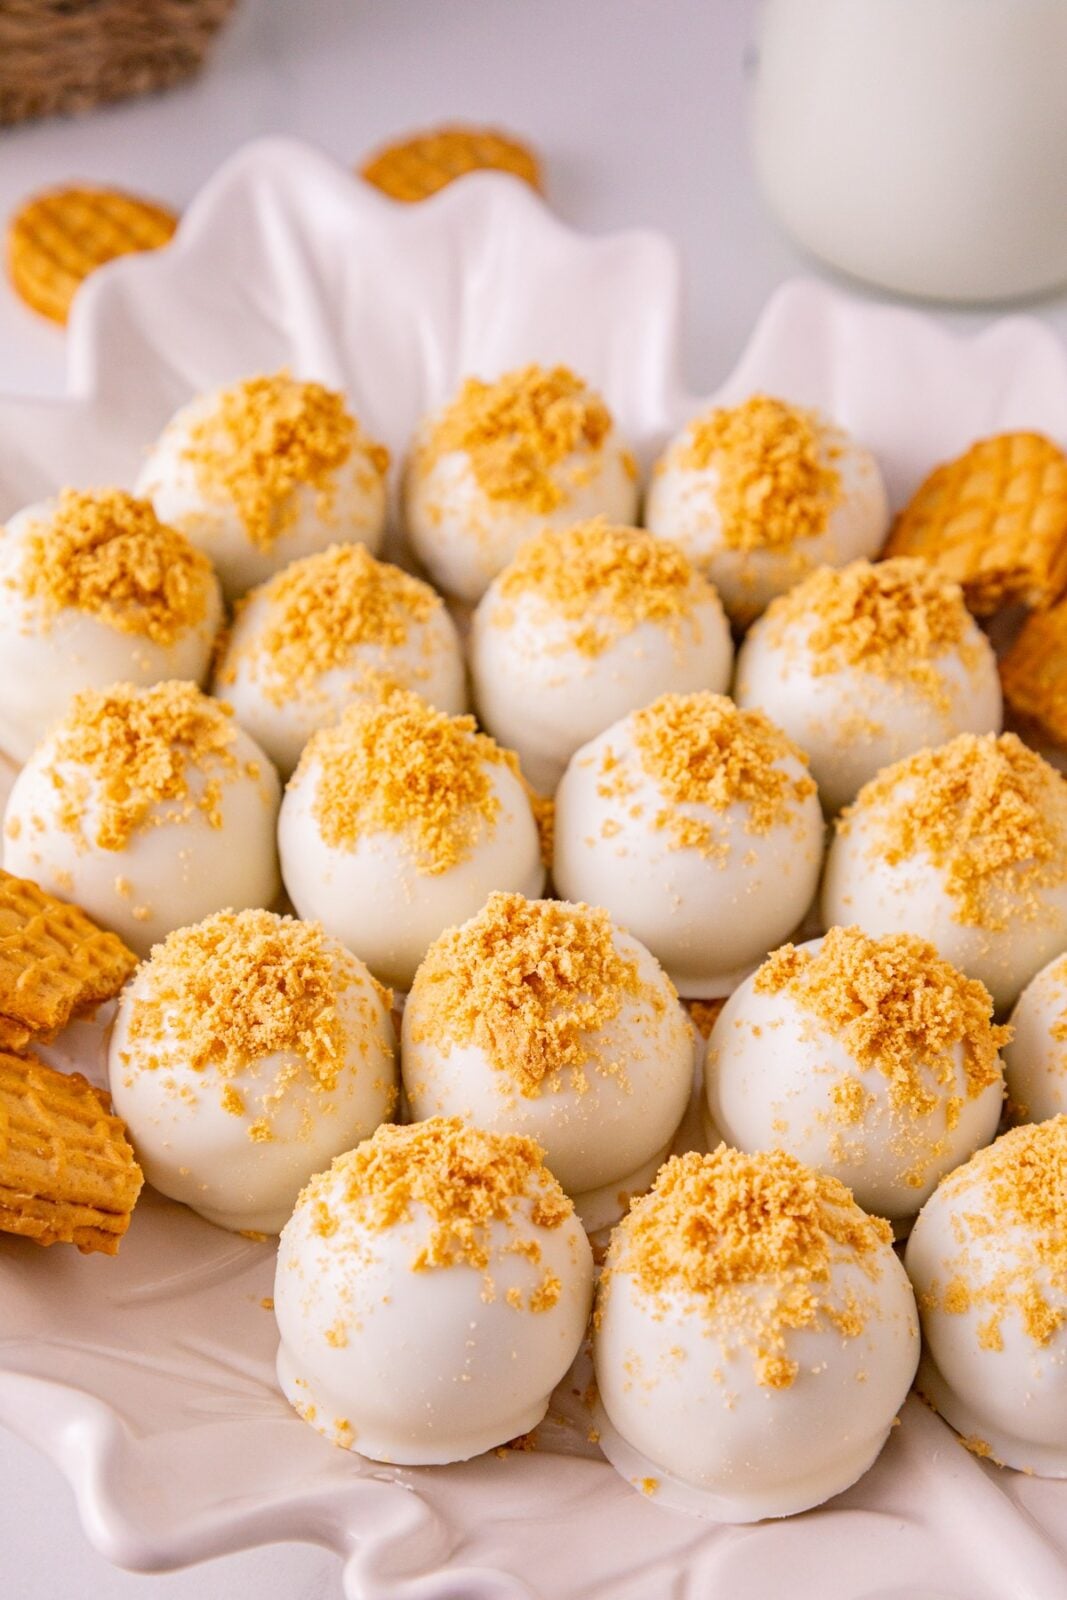
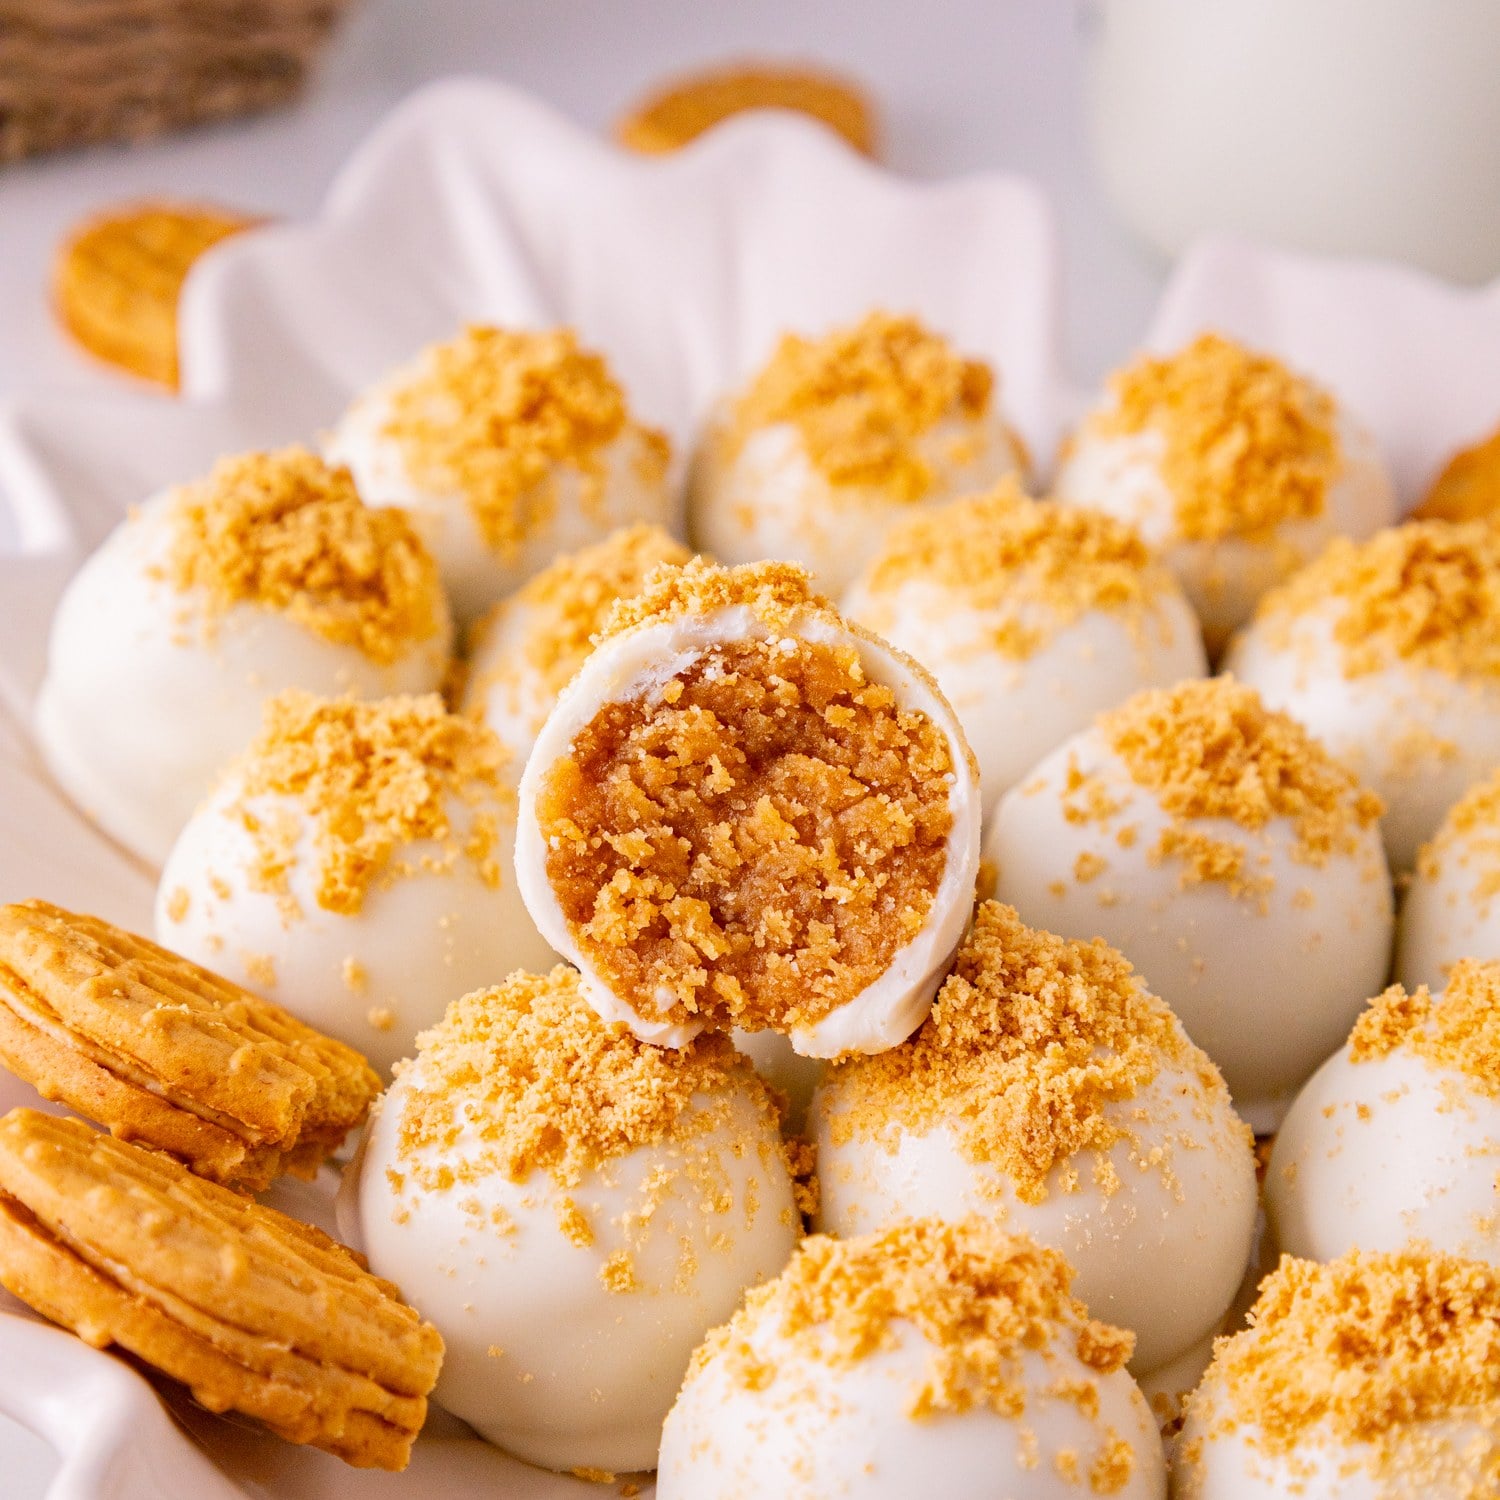
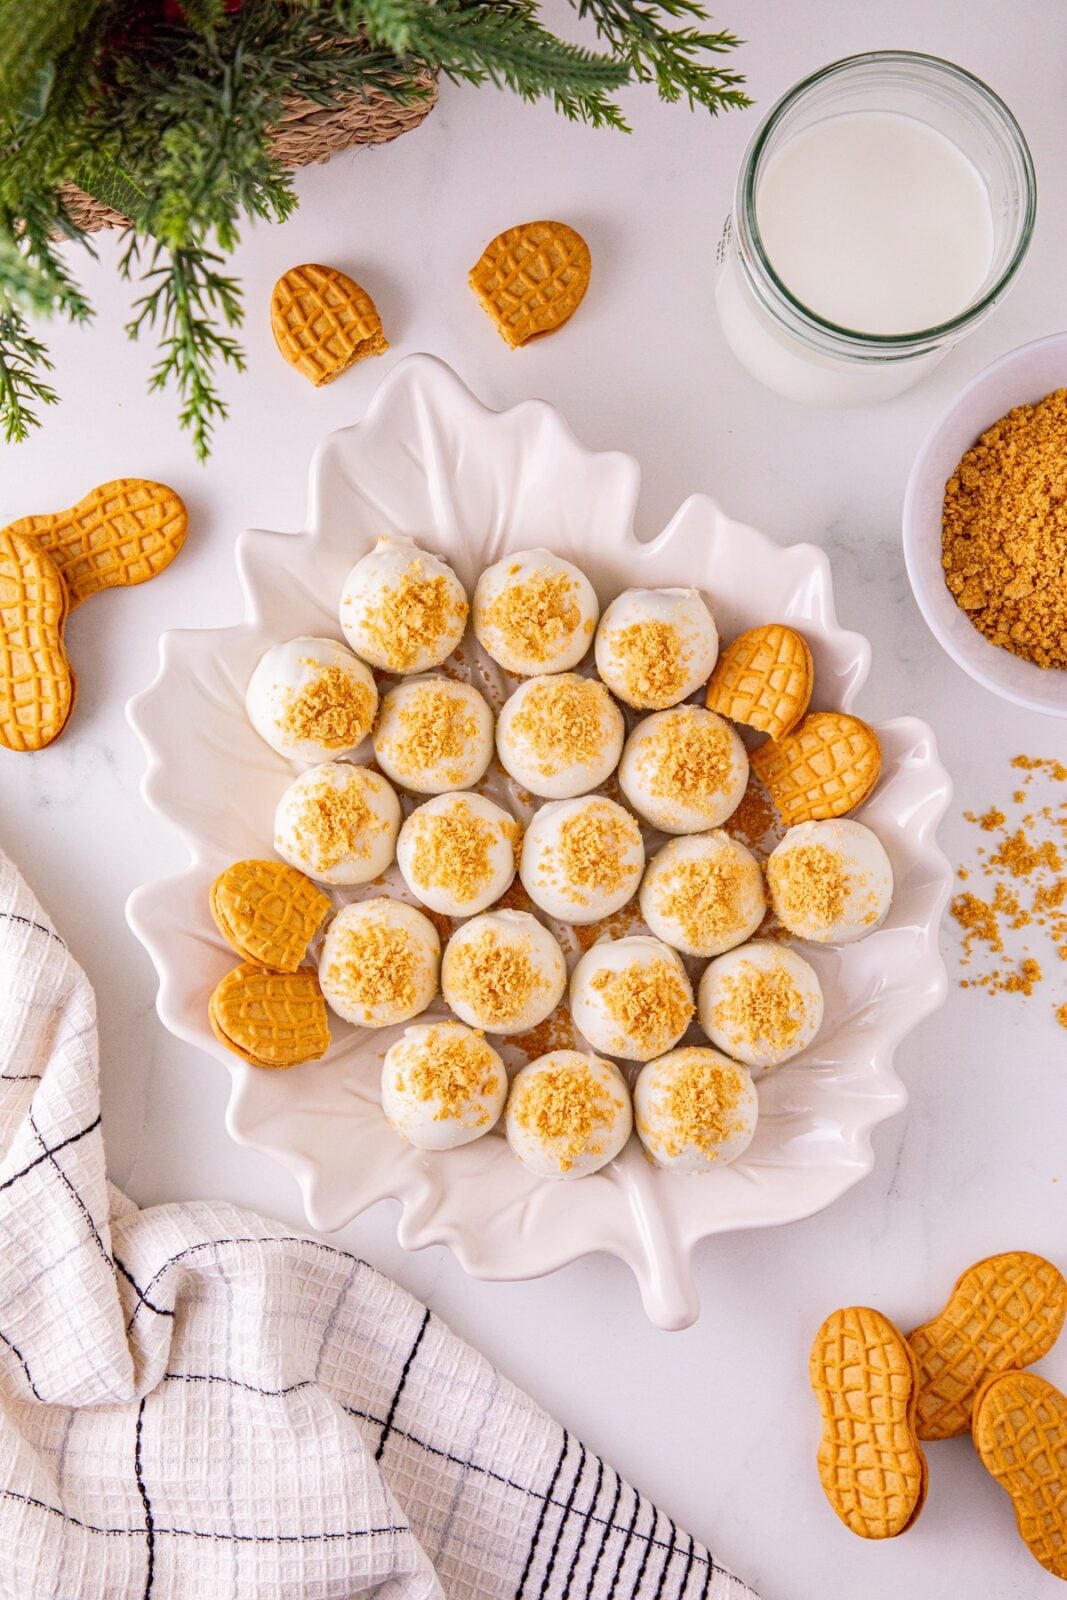
For an easy peanut butter treat, try these no bake Nutter Butter balls: truffles made of crushed Nutter Butter cookies mixed with cream cheese, peanut butter and powdered sugar, rolled, dipped and topped with more cookie crumbs. One package makes 36.
Man, I love peanut butter. These are GOOD good. And easy to make. Melted candy coating is always a little messy, but these are worth it. Might be good with a chocolate coating, too. Let me know if you try it that way, but this recipe is using a vanilla candy coating.
WANT TO SAVE THIS?
How to Make No Bake Nutter Butter Cookie Balls
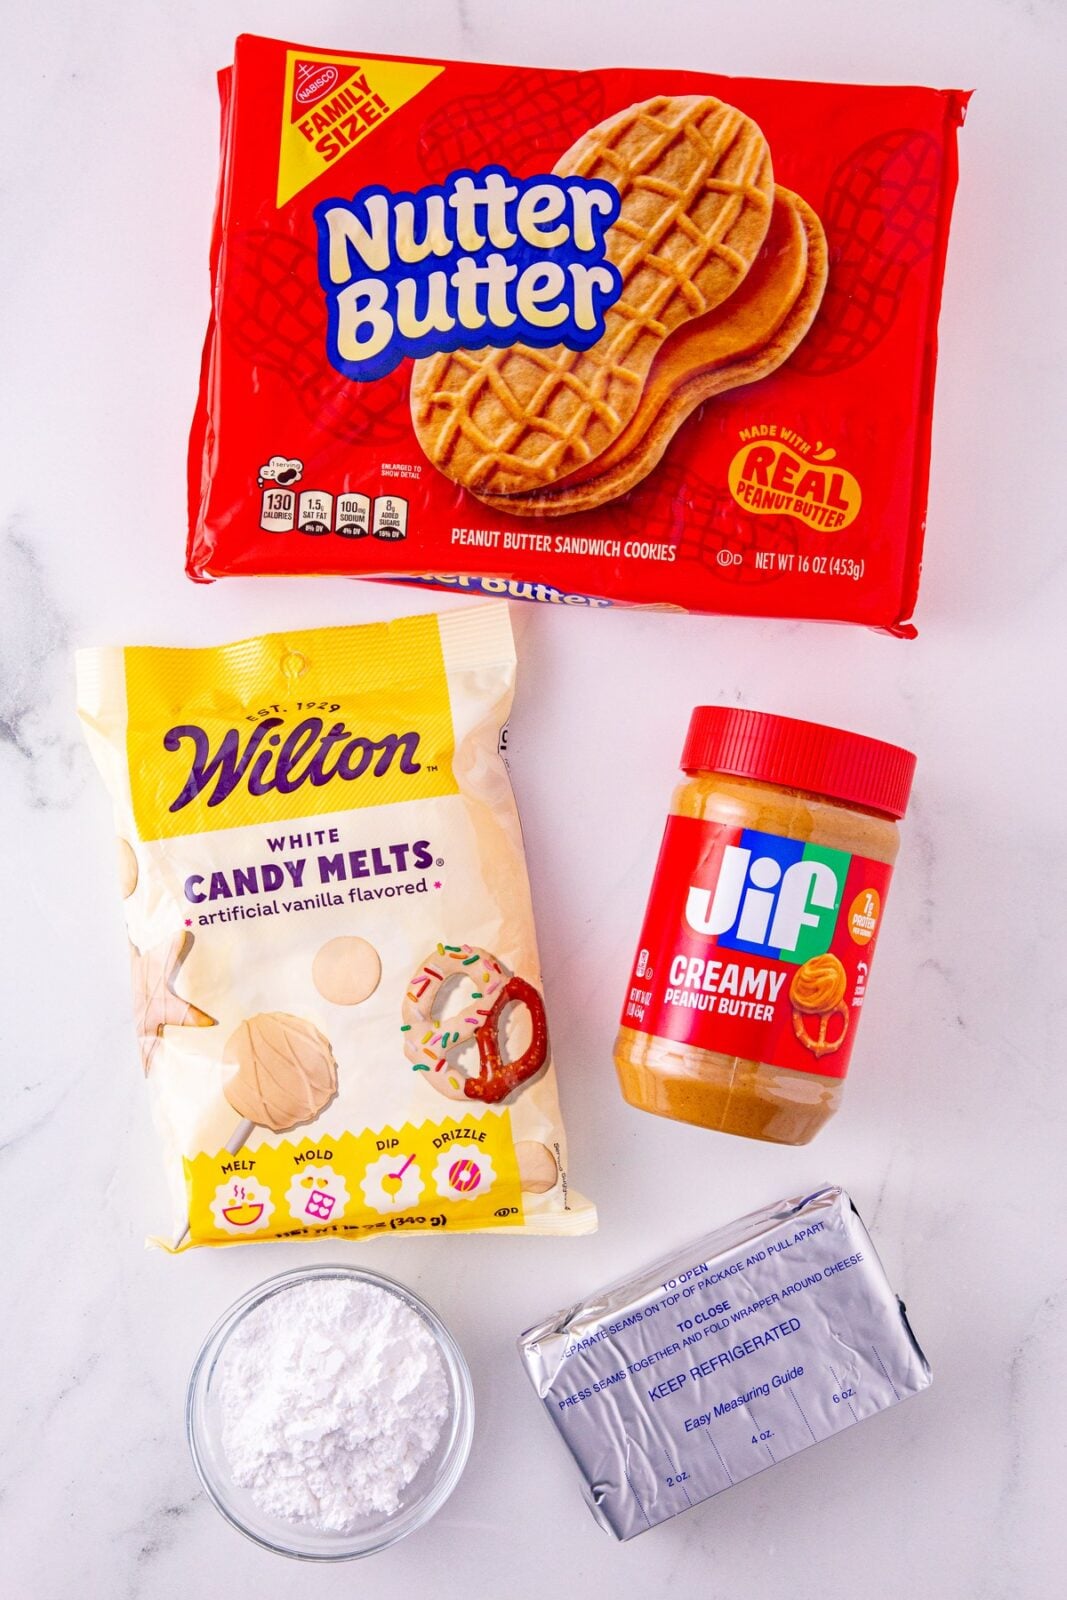
Step 1: Gather the Nutter Butter cookies, cream cheese, creamy peanut butter, powdered sugar and vanilla melting wafers (or white chocolate if you’re fancy). Set the cream cheese out ahead of time so it gets very soft. Prepare a surface with parchment paper (a baking sheet works well for this so you can move them easily).
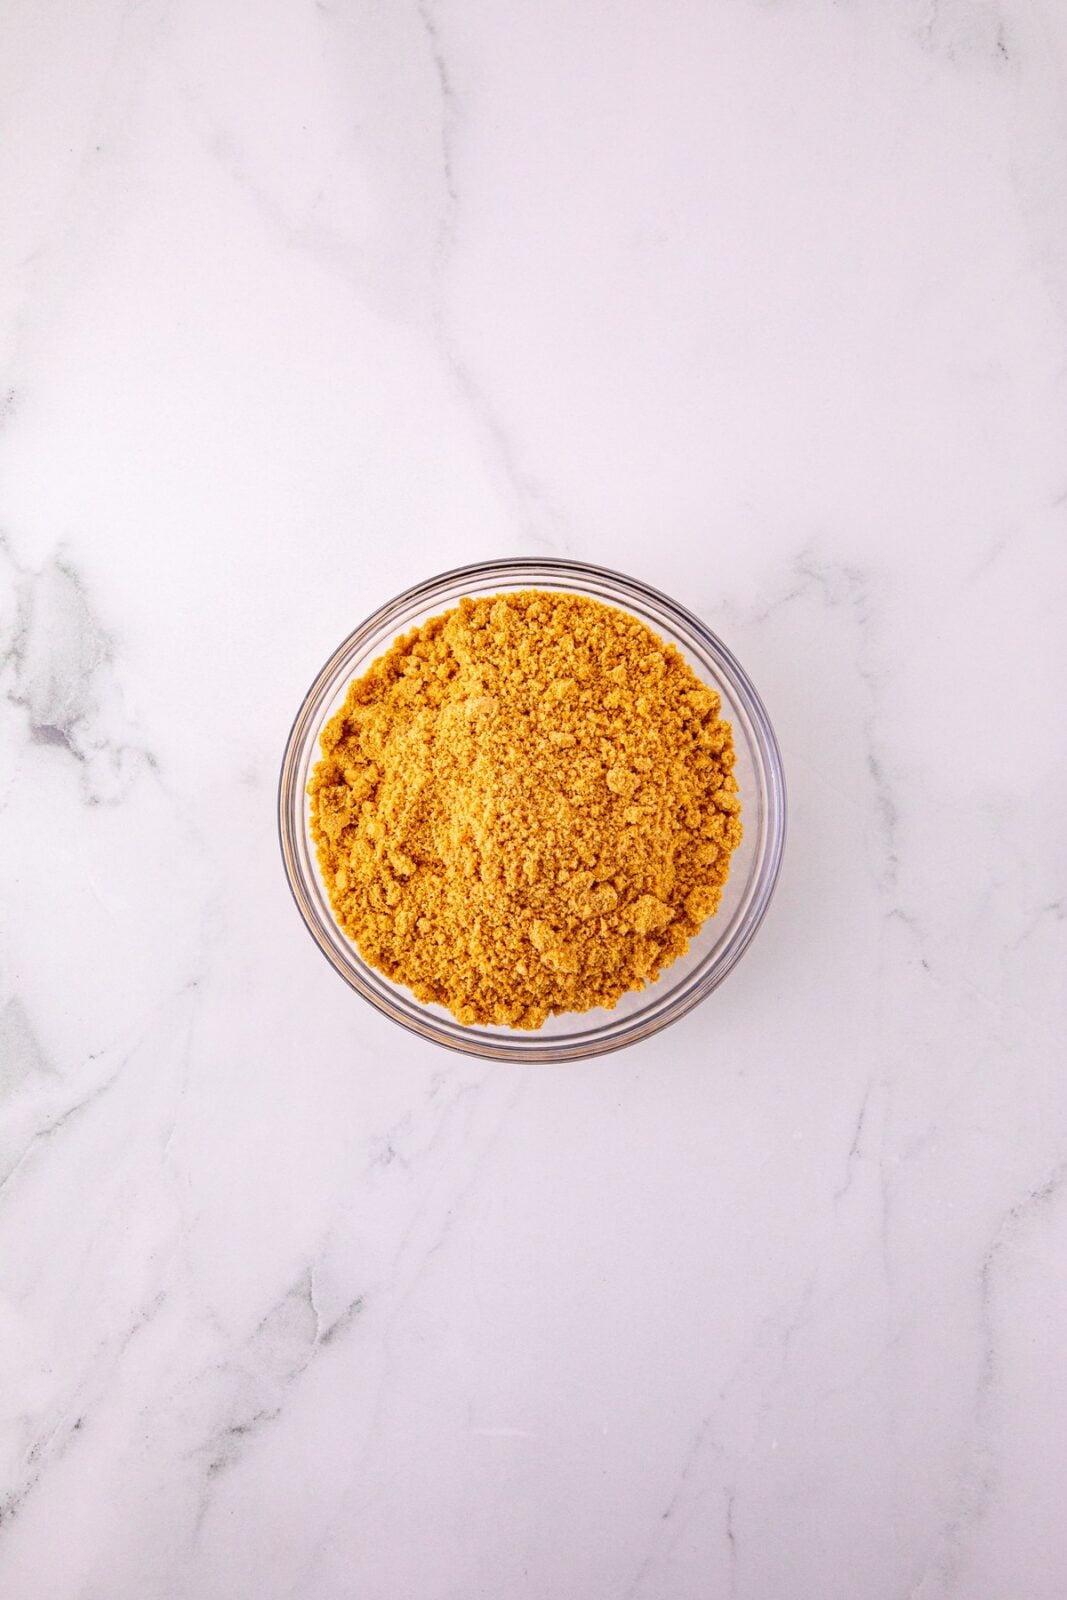
Step 2: In a food processor, blender or with a baggie/rolling pin: Crush the the whole Nutter Butters (filling and all) into fine crumbs. Set aside 1/4 cup of the crumbs for sprinkling on the topping.
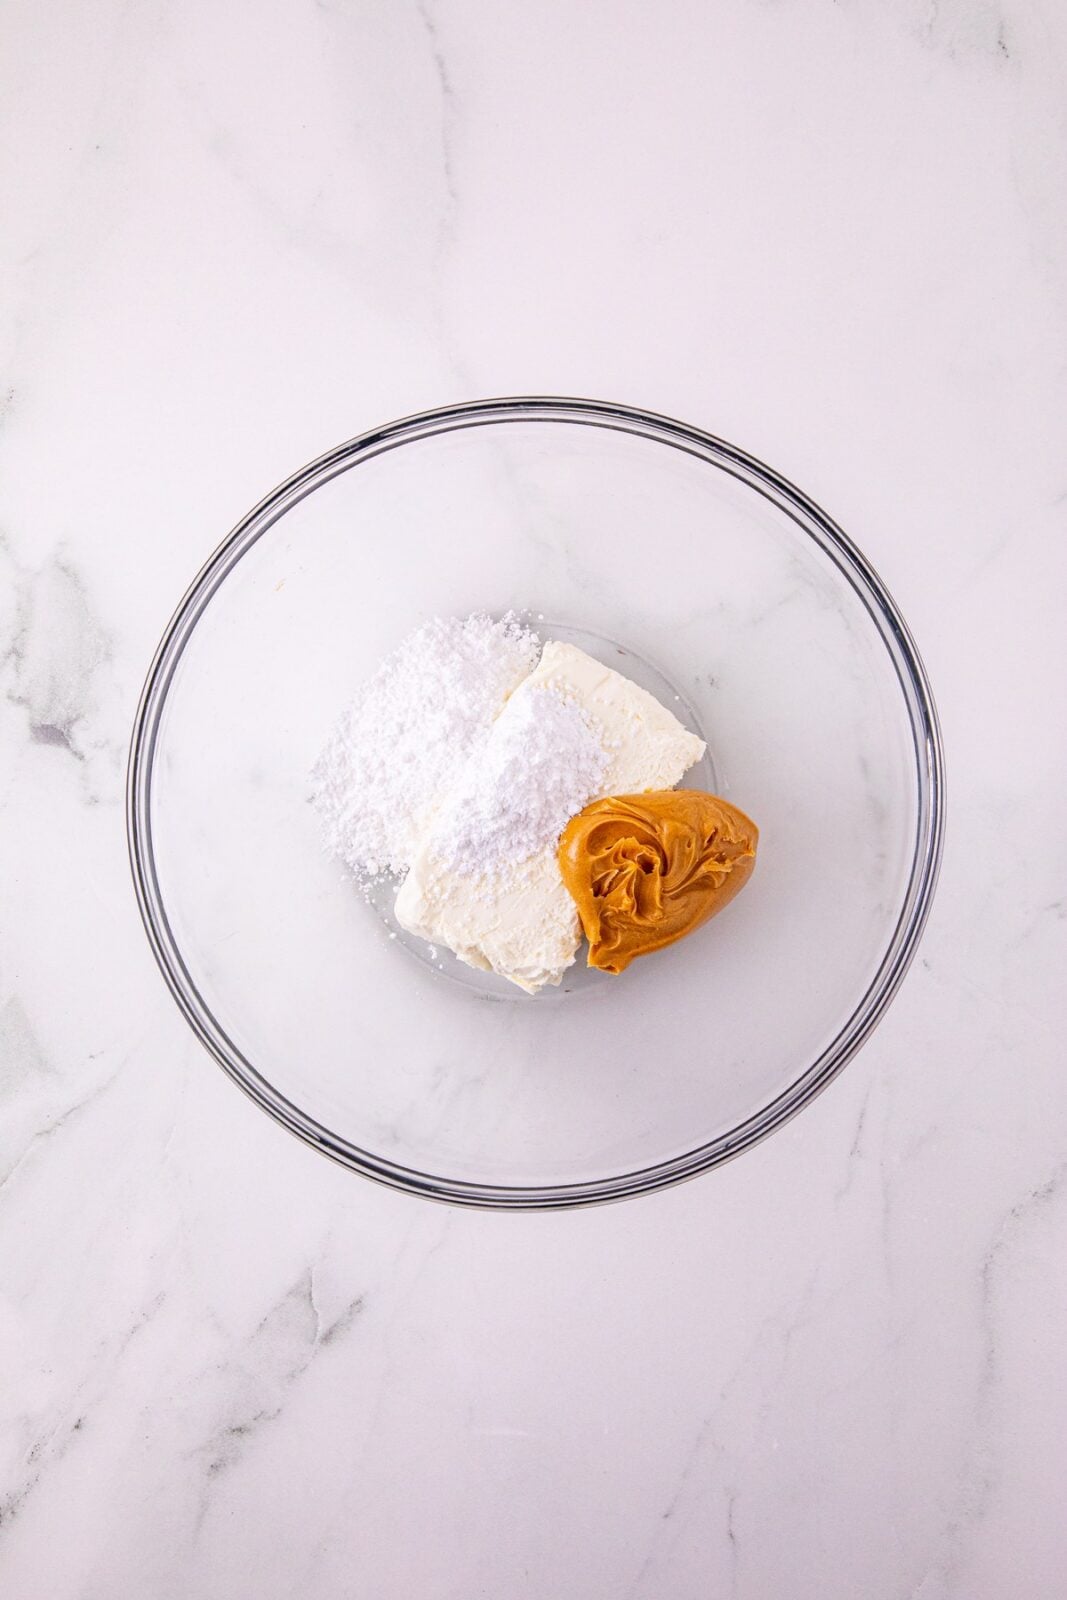
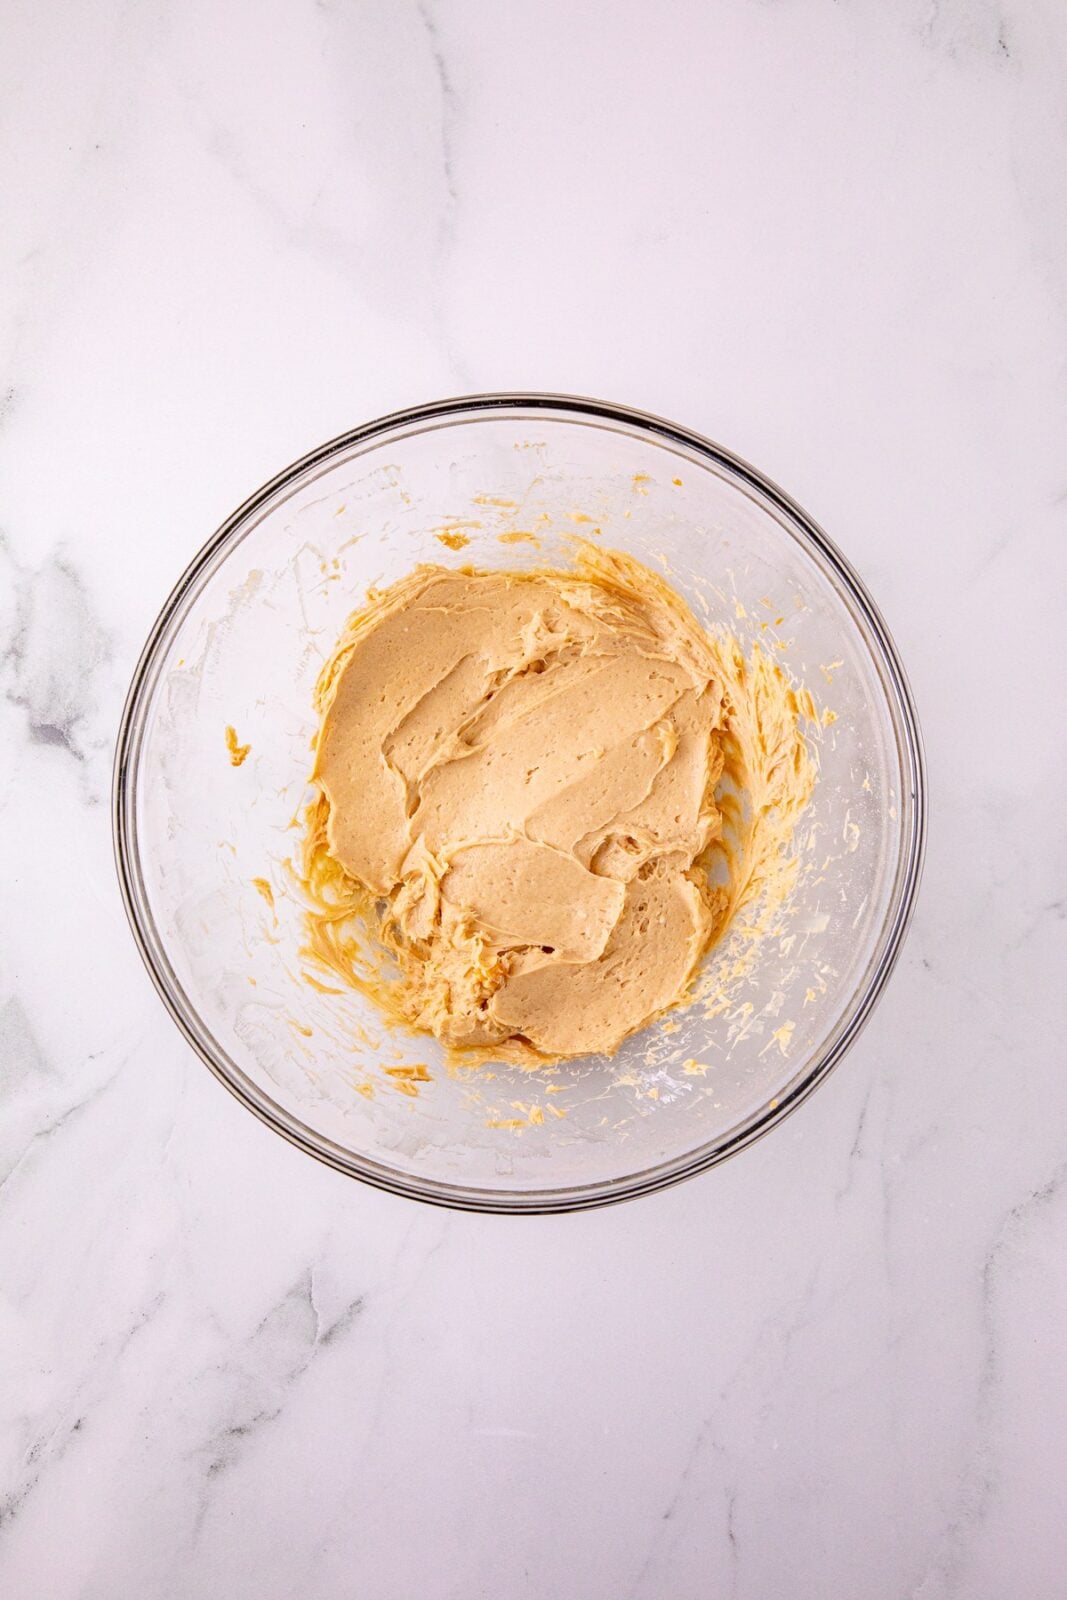
Step 3: In a medium mixing bowl: Add the cream cheese, peanut butter and powdered sugar and beat with a hand mixer until smooth and creamy.
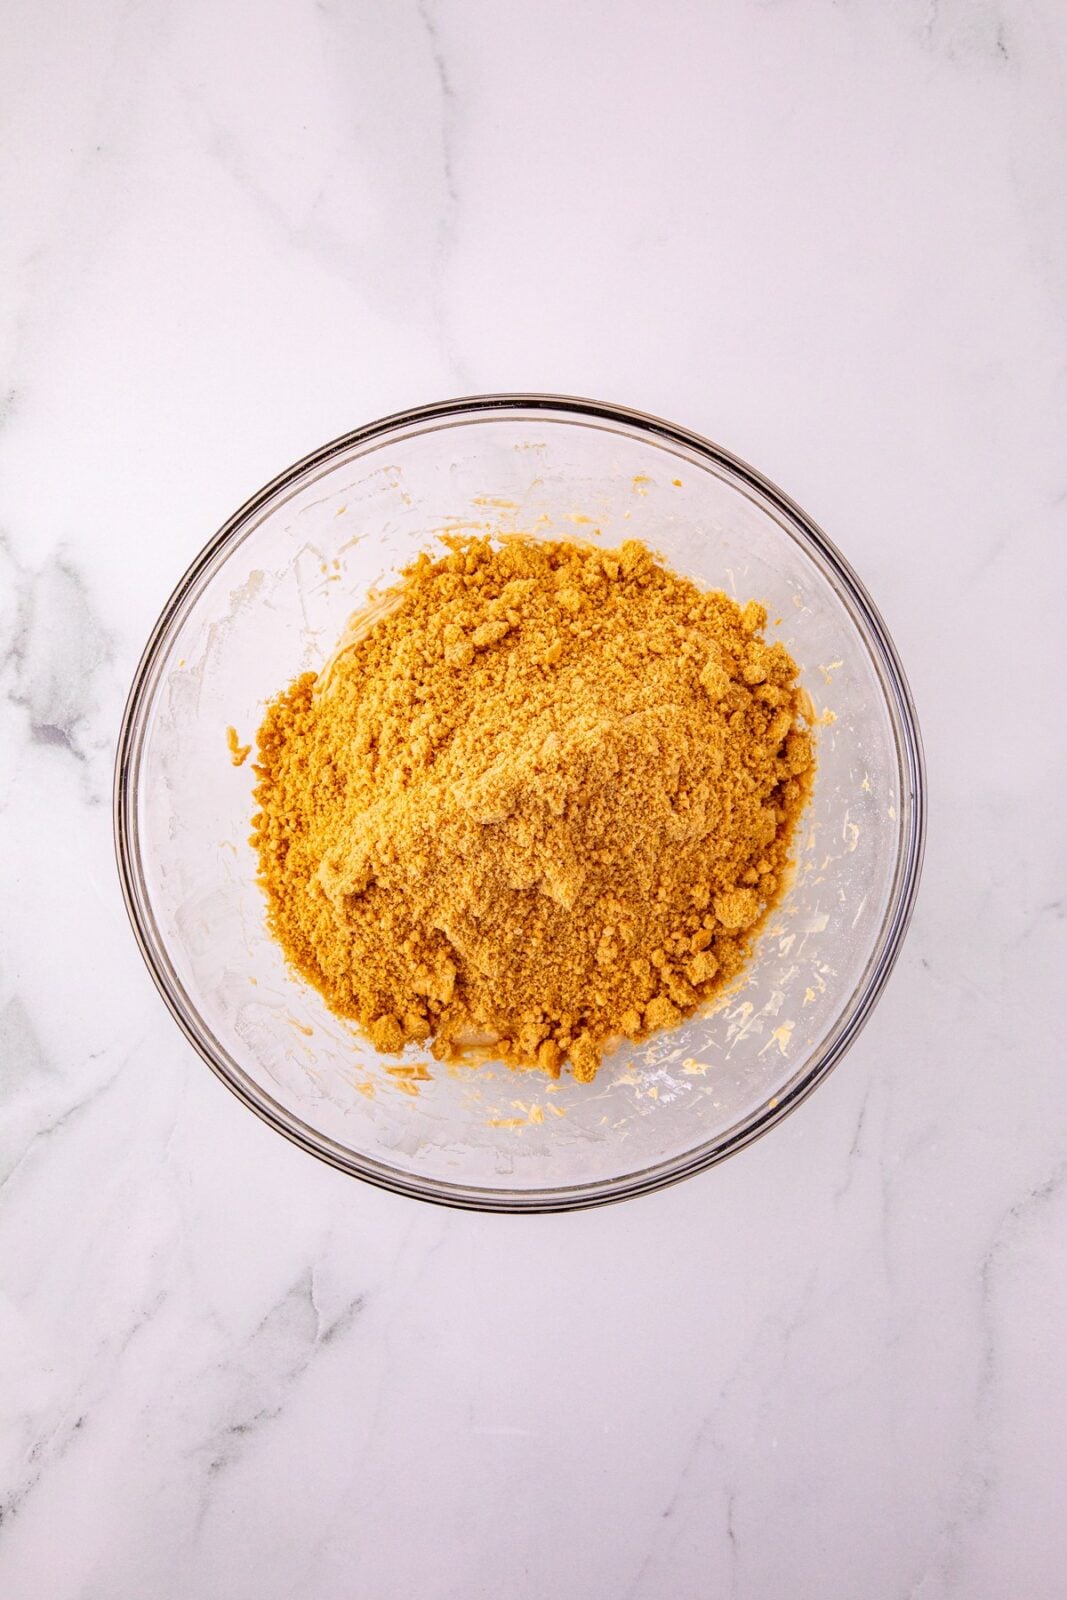
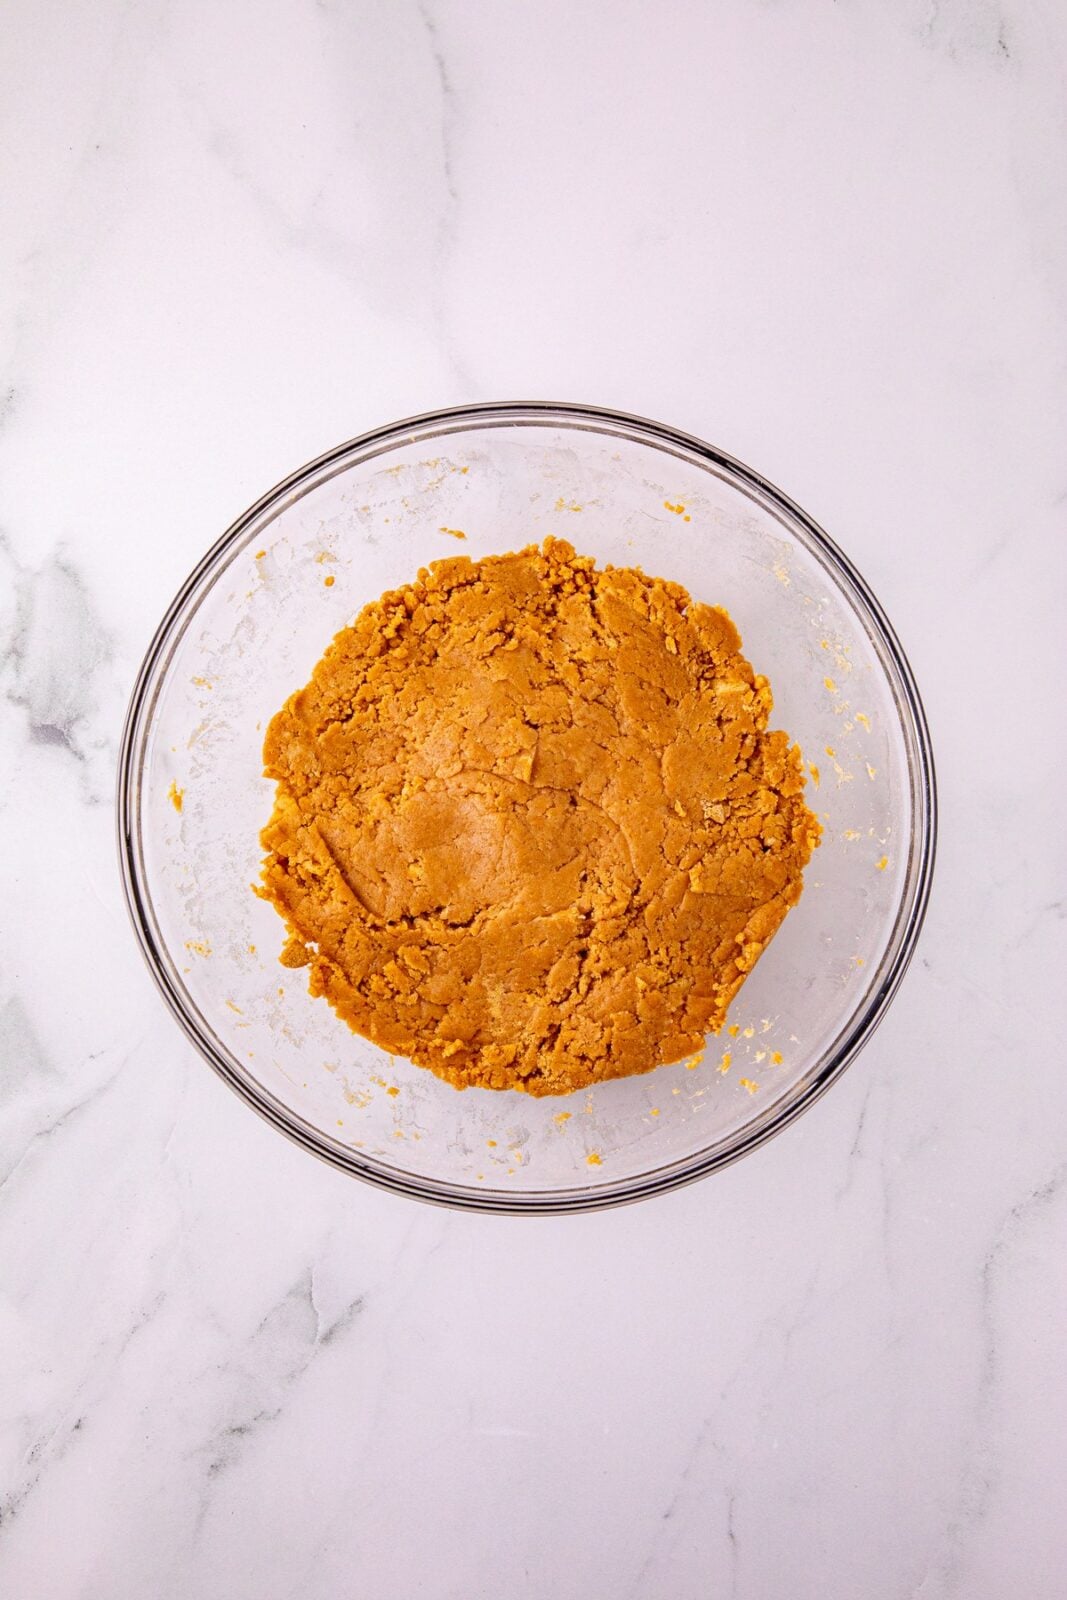
Step 4: Add the cookie crumbs and stir with a sturdy spoon until it comes together into a mixture that resembles thick, somewhat stiff dough. You should be able to roll these into balls (see photo below).
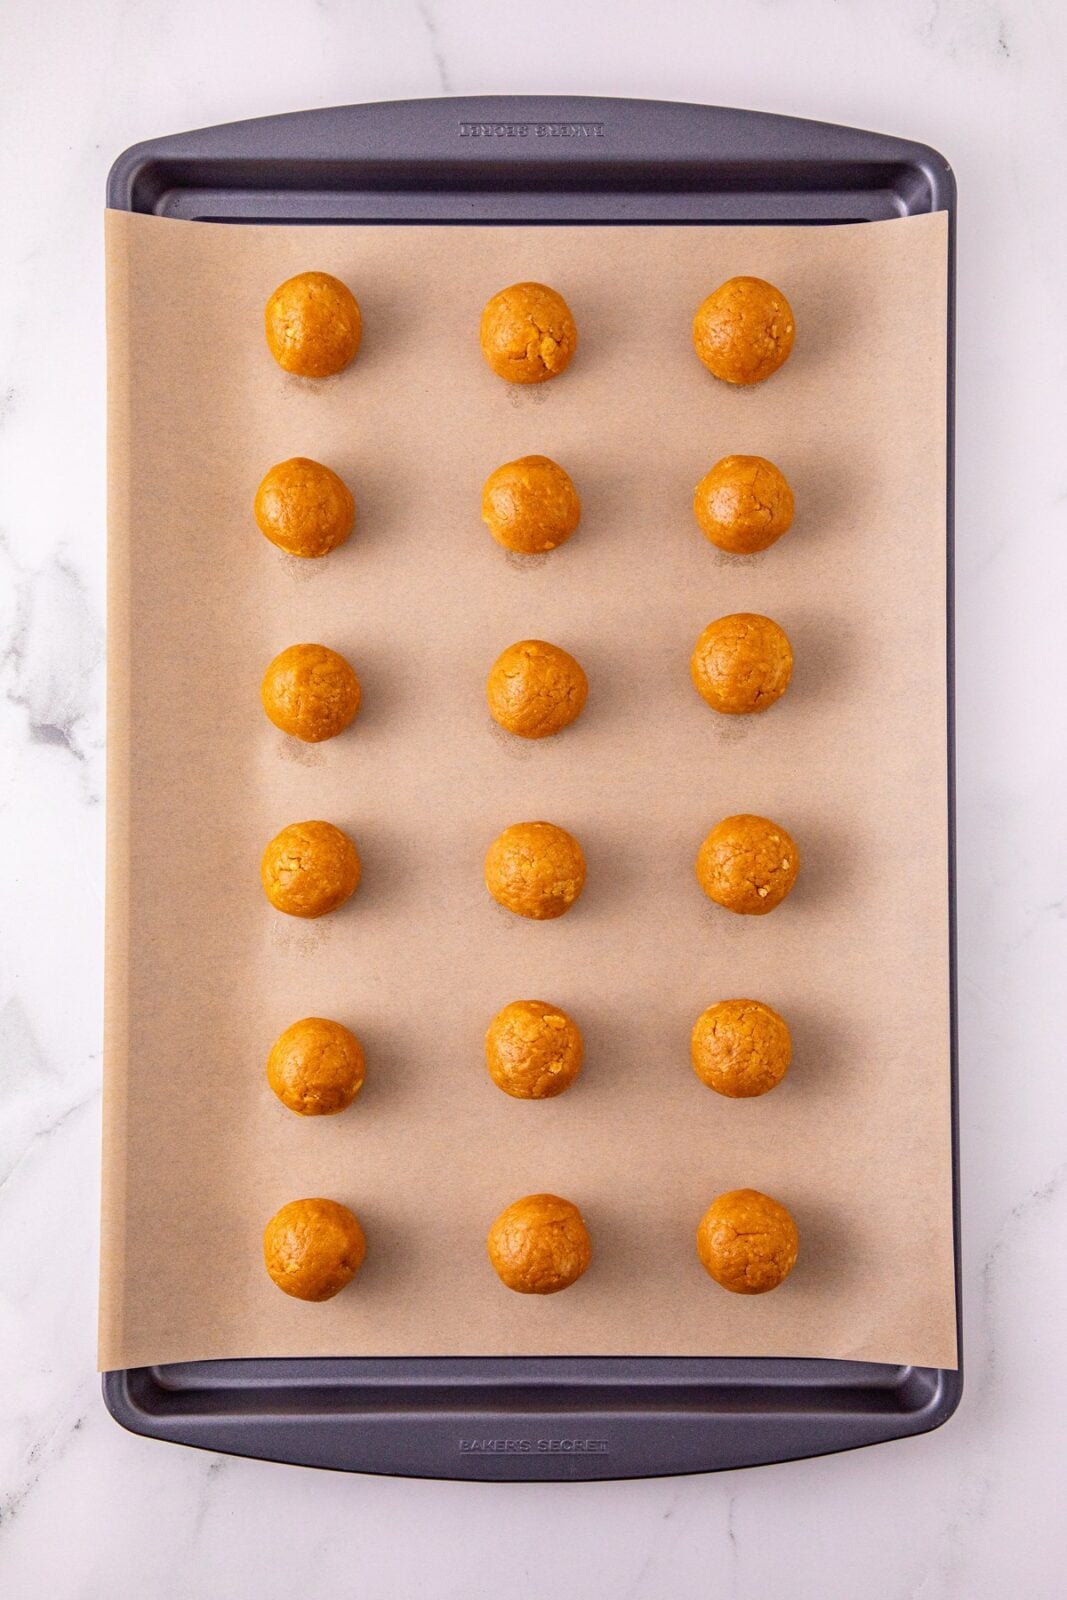
Step 5: Portion out the mixture with a 1 tablespoon cookie scoop, then roll into a ball with clean or gloved hands and set them on a parchment lined baking sheet.
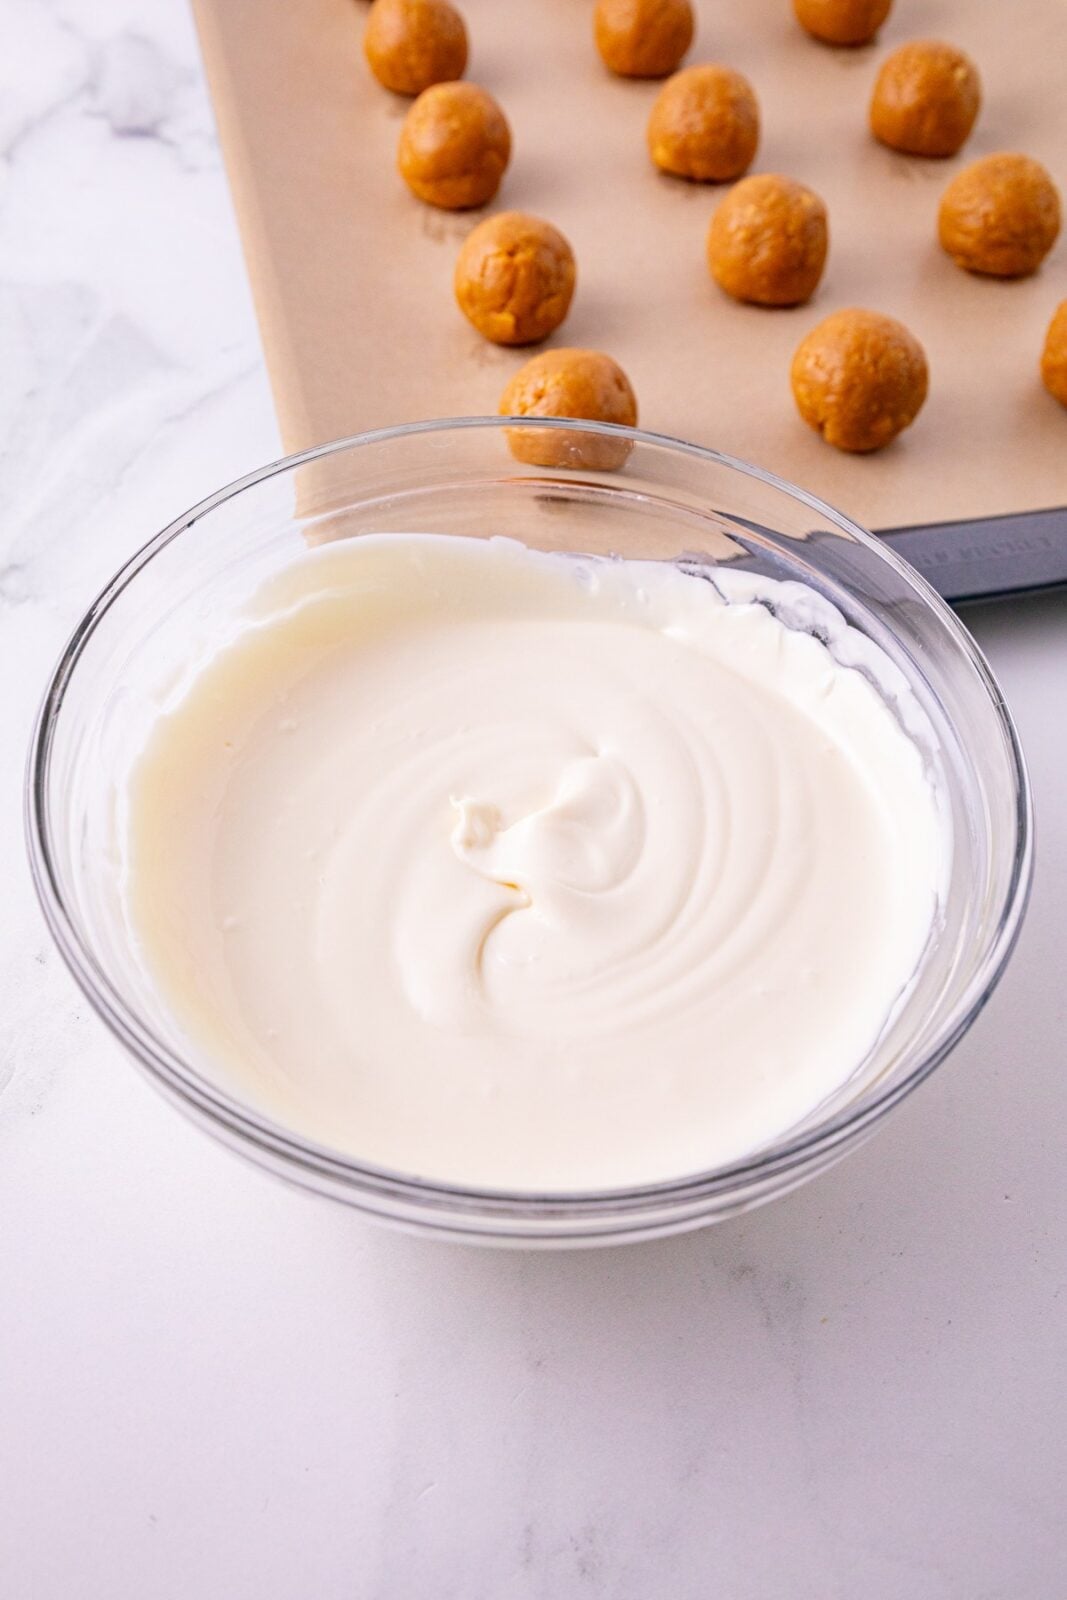
Step 6: Melt the vanilla wafers (you might see this as “white almond bark” or “vanilla melting wafers” too) in a microwave safe bowl at 50% power in 20 second intervals, stirring gently each time, until smooth.
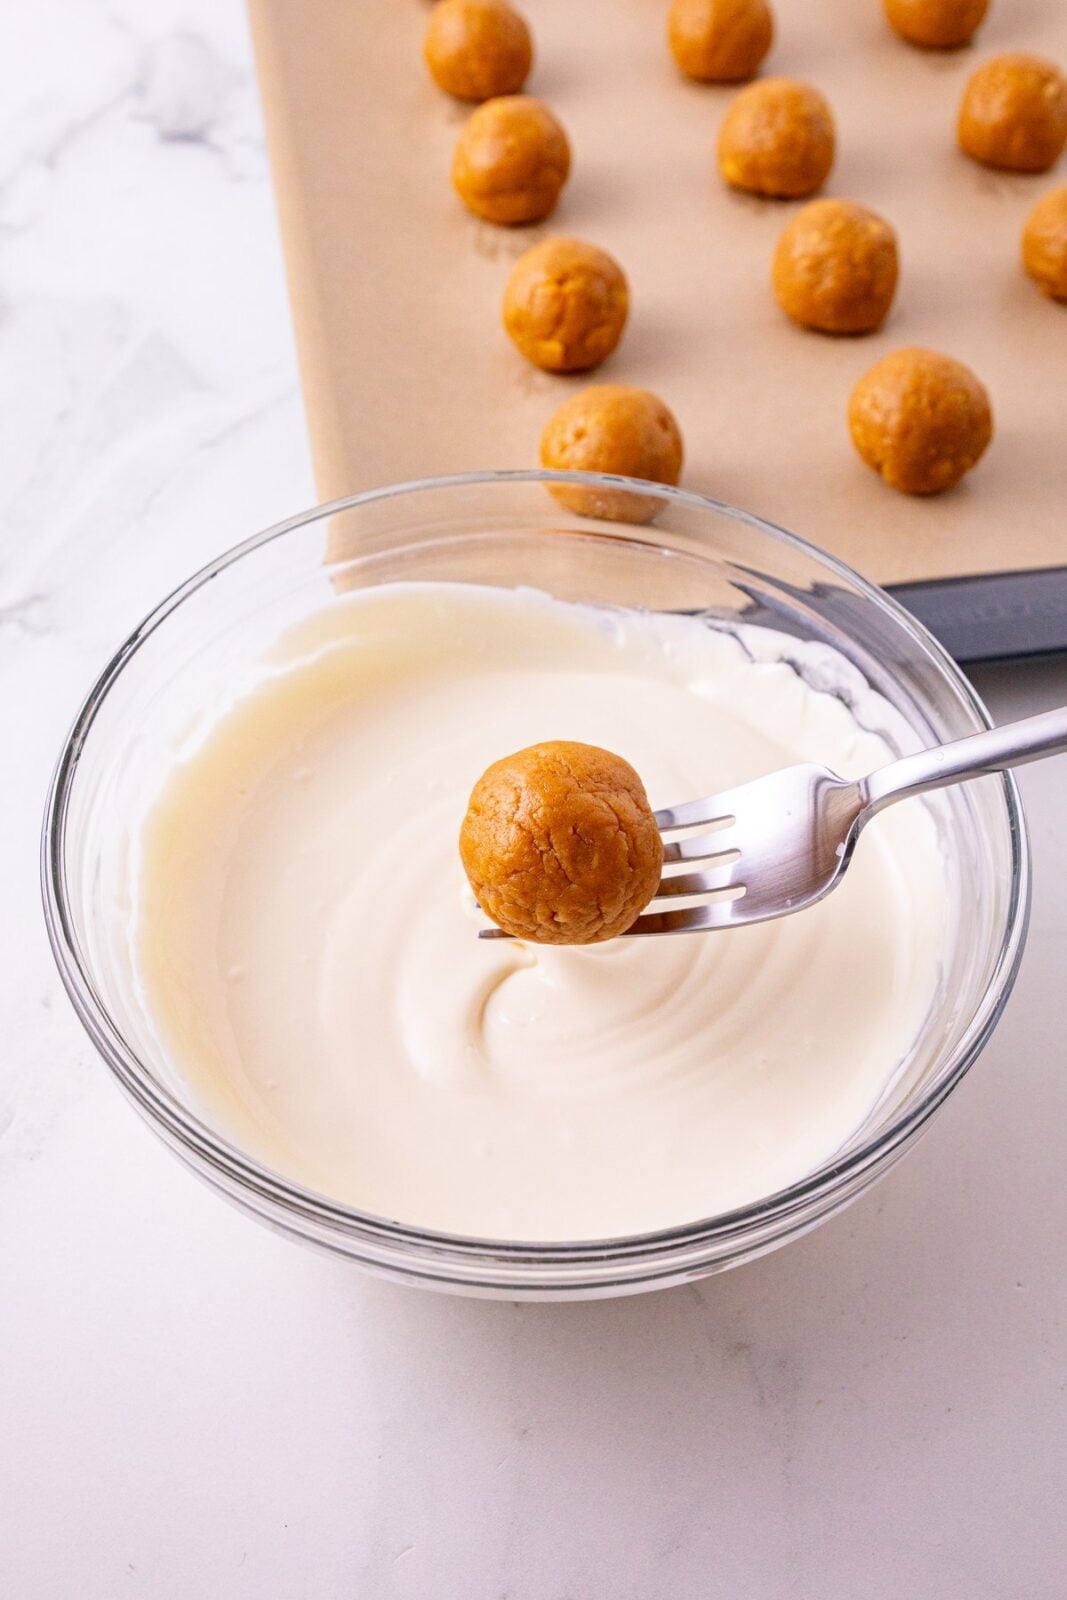
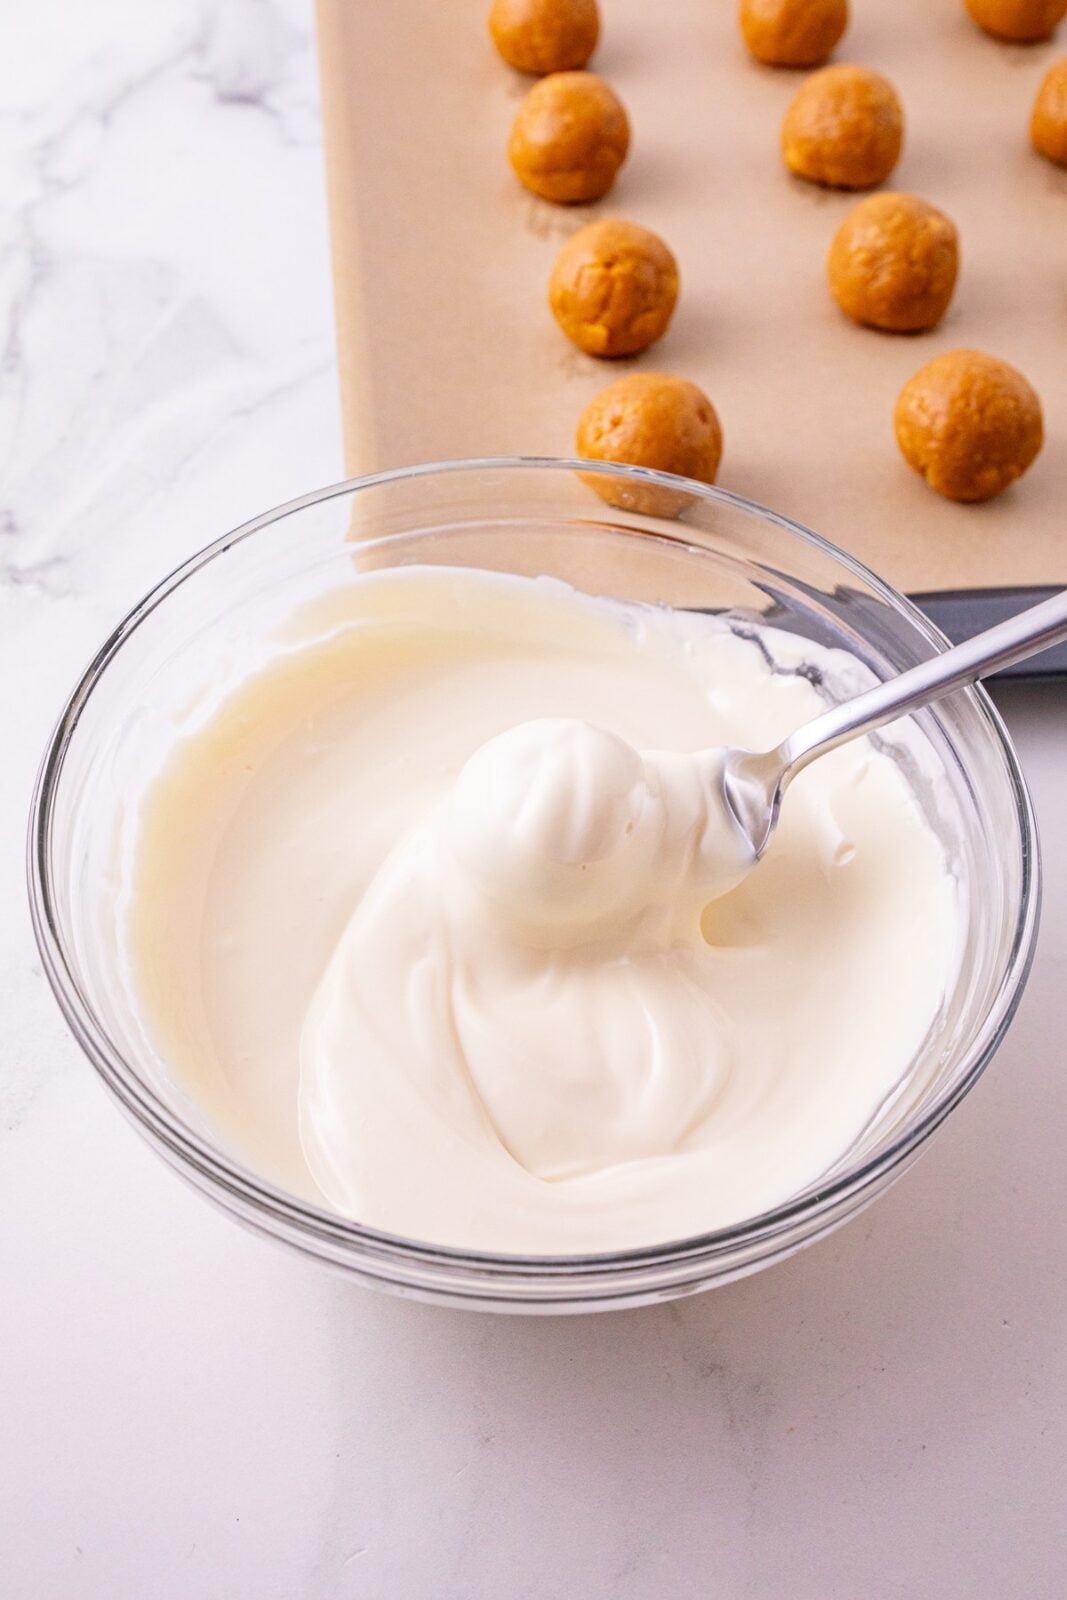
Step 7: Gently immerse one cookie ball into the melted candy coating at a time and turn it with a fork or candy dipping tool until it is fully covered.
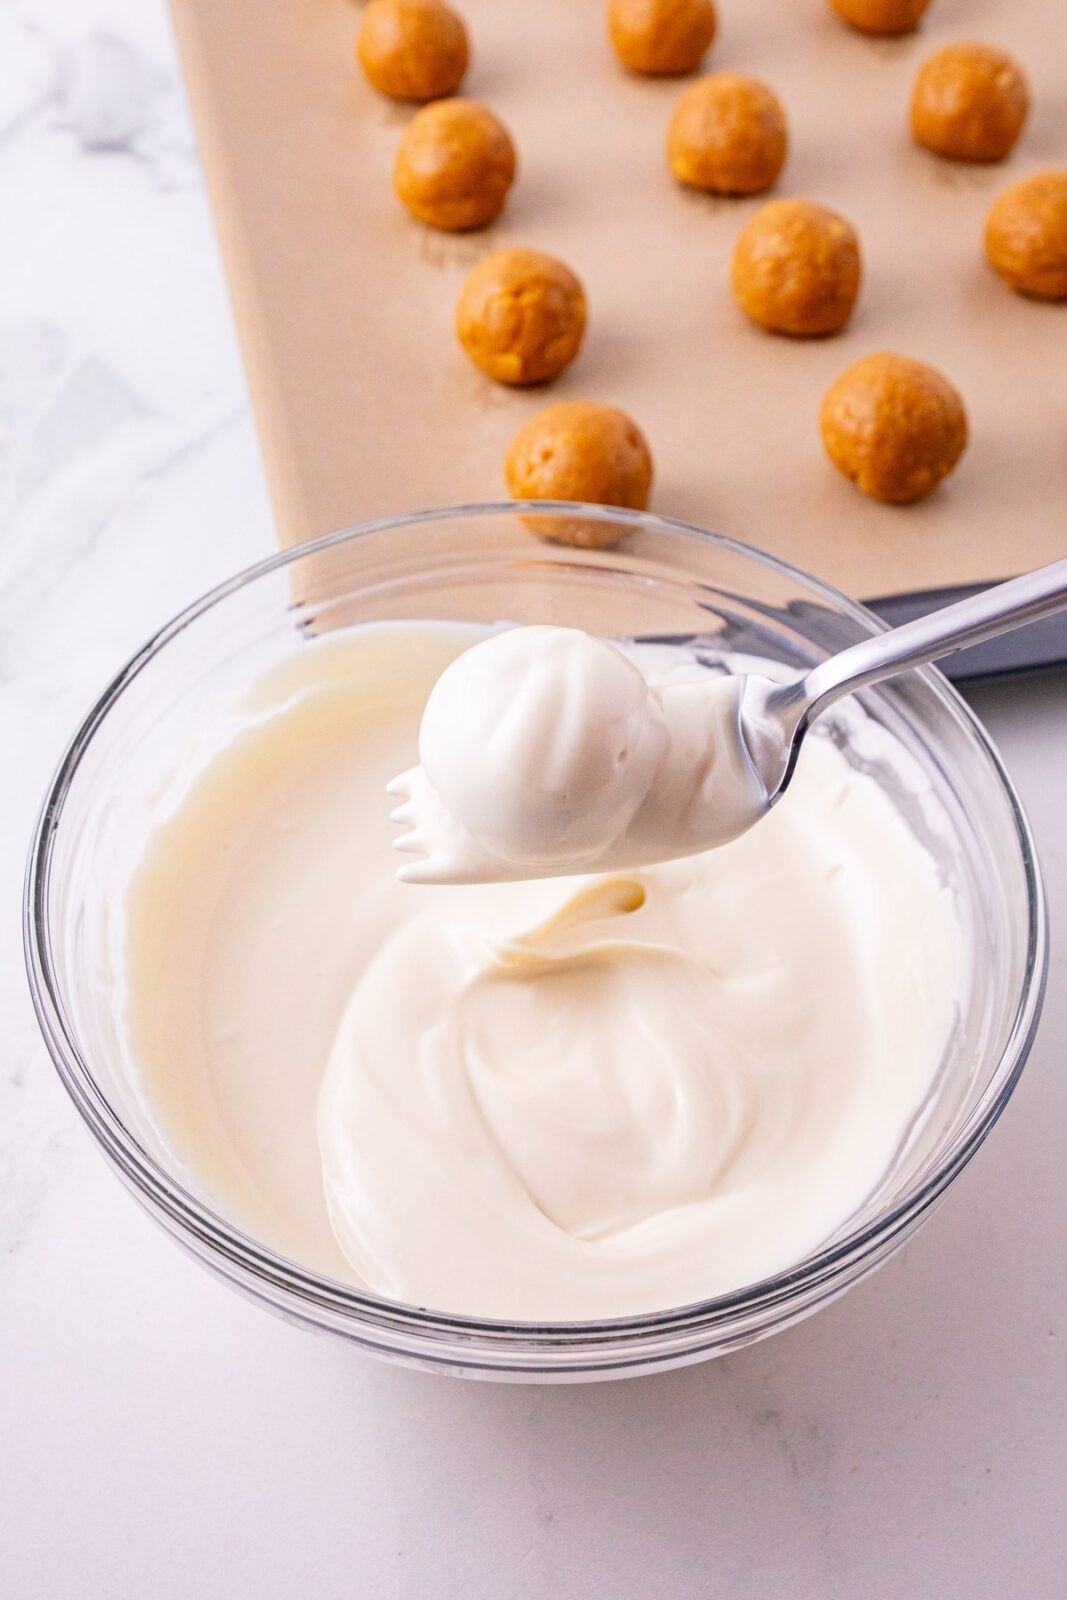
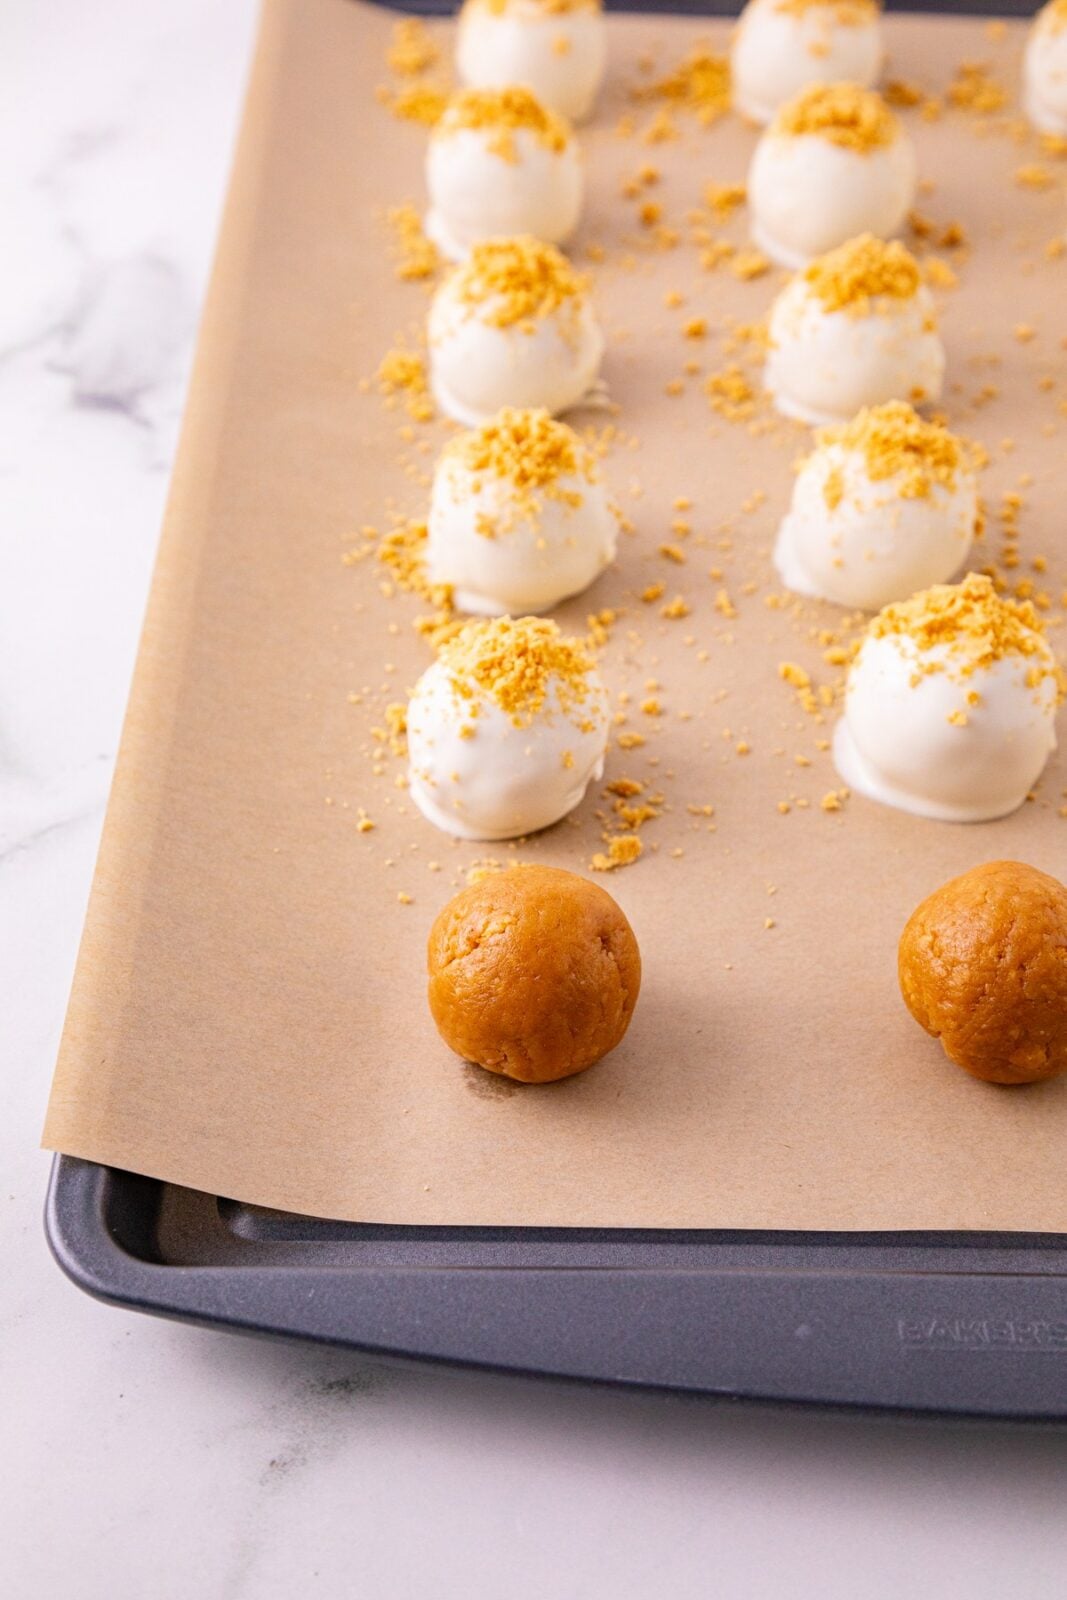
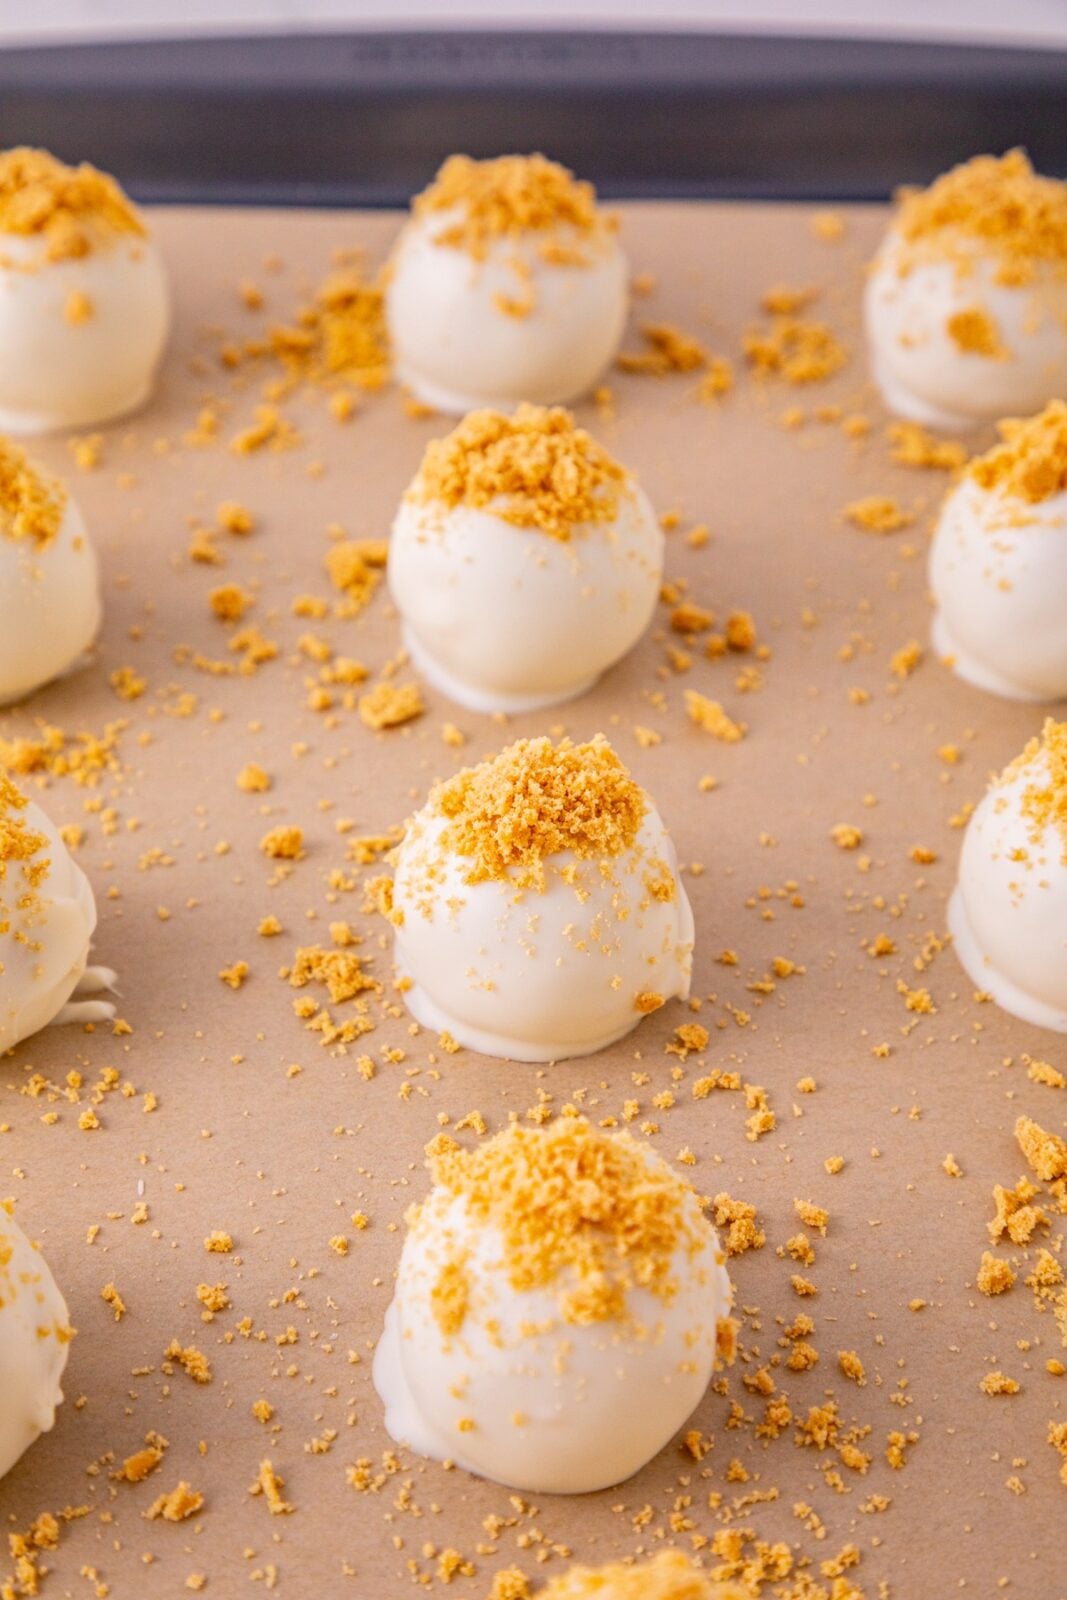
Step 8: Gently lift it out with the fork, letting excess drip back into the bowl, then place each ball onto the parchment with a second fork or spoon. Sprinkle the top with reserved crumbs right away, before the coating sets. Repeat until all are coated and garnished.
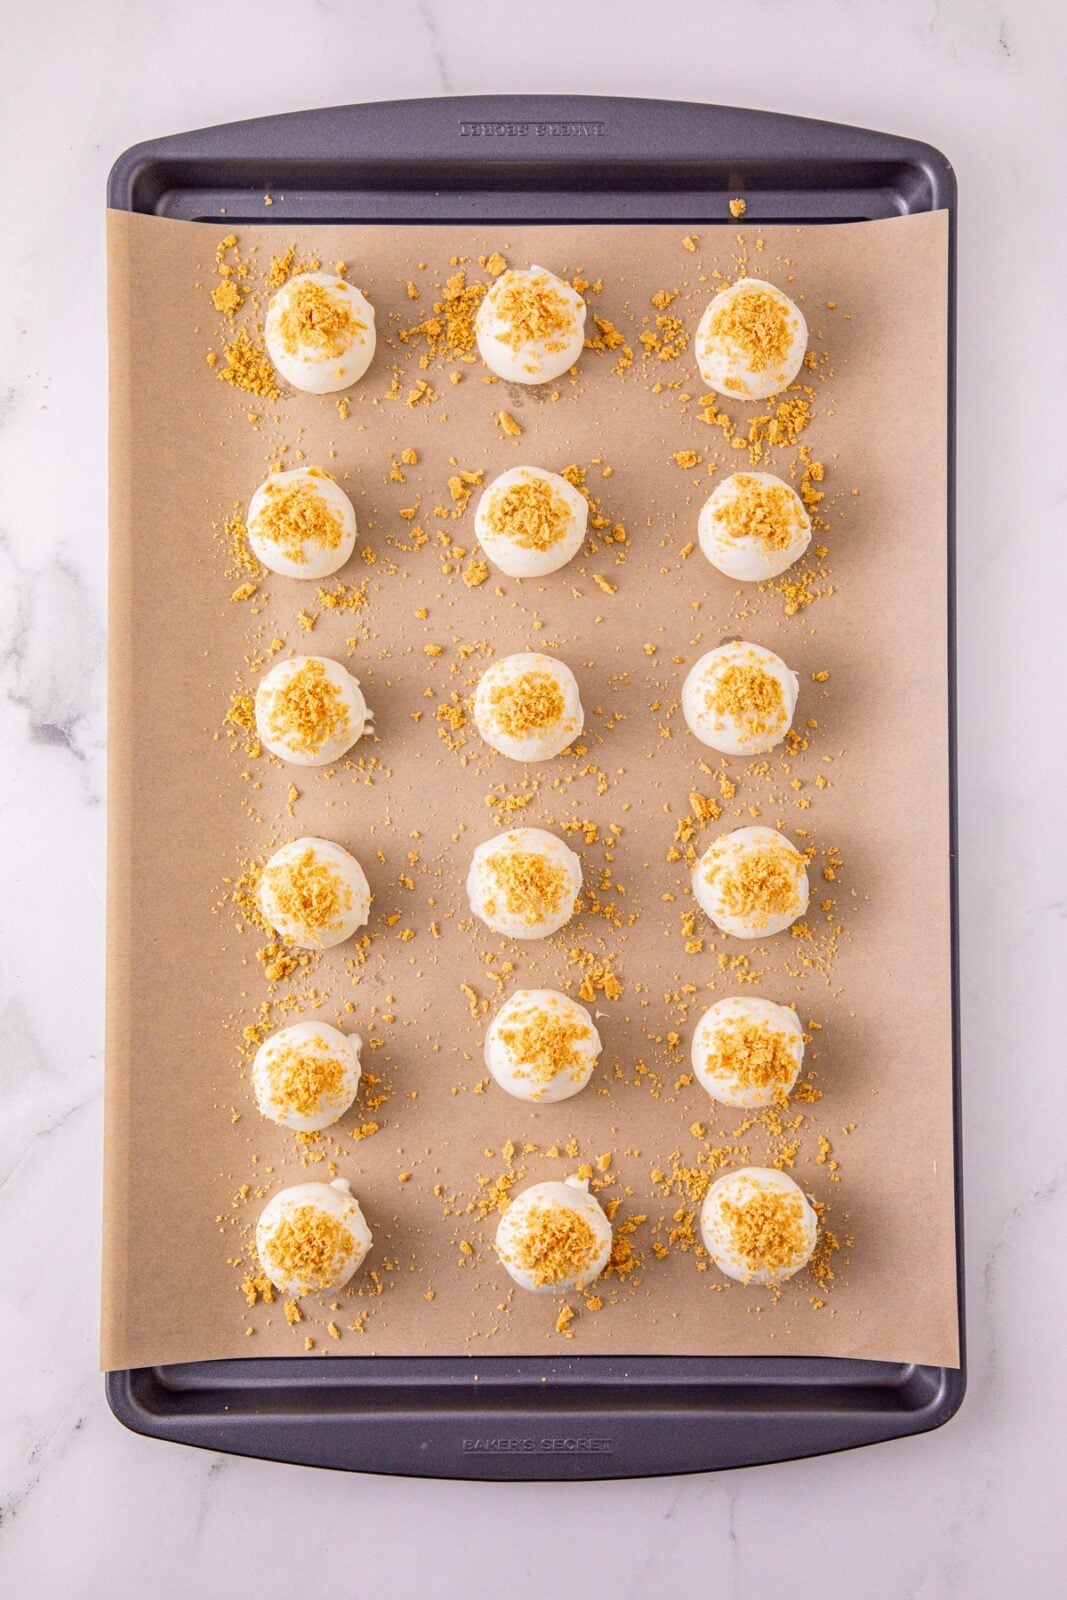
Step 9: Repeat until all are coated and garnished. Let them sit at room temperature for about 15 minutes, or chill briefly, until the coating is firm. They should be easy to pick up and eat when they are set.
Tools & Equipment
- Food processor or blender
- Mixing bowls
- Electric hand mixer
- Tablespoon cookie scoop
- Large baking sheet
- Parchment paper
- Microwave safe bowl
- Forks or candy dipping tool
Tips for Success
- About not leaving utensilsI repeat myself a lot on this because I’ve learned it the hard way: if you take a break or need to run an errand in the middle of coating these Nutter Butter Christmas cookies, remove any utensils from the bowl that the melted coating is in or it will get stuck in the bowl of now-hardened coating. Not only does it make it hard to remove but you will end up with a large chunk of perfectly good coating or chocolate on the spoon. Just tap or scrape off the melted chocolate back into the bowl and set the utensil aside or wash/dry it until you can pick it back up again.
- See above. 🙂
WANT TO SAVE THIS?
Nutter Butter Balls
Ingredients
- 16 oz Nutter Butter cookies 1 package
- 8 oz full-fat cream cheese softened at room temperature
- 1/3 cup creamy peanut butter
- 1/4 cup powdered sugar
- 10 oz vanilla melting wafers
Instructions
- Crush the Nutter Butters into fine crumbs using a food processor or blender. Reserve 1/4 cup for topping.
- Place the cream cheese, peanut butter and powdered sugar in a bowl and use a hand mixer to blend until creamy.
- Add the Nutter Butter crumbs and mix with a spoon until evenly combined and the mixture has a moldable, dough-like consistency.
- Use a 1 tablespoon cookie scoop to portion the mixture into even pieces. Roll into balls and place on a parchment lined baking sheet.
- Melt the wafers in a microwave safe bowl at 50% power in 30 second intervals, stirring at each interval, until melted and smooth.
- Use a fork to dip a ball into the melted wafers and shake off the excess before placing it back on the parchment lined baking sheet. Use another fork or a spoon to slide it off.
- Immediately top with some of the reserved Nutter Butter crumbs before the coating sets. Repeat with the rest of the balls.
- Let the balls sit at room temperature for 15 minutes, or until the coating hardens. You can also pop them in the fridge to speed this up.
Notes
- Use full-fat cream cheese. It is firmer and more stable than low fat varieties.
- Let the cream cheese soften at room temperature so it blends smooth and creamy.
- A 1 tablespoon cookie scoop keeps the balls even. Bigger balls work too, they just make fewer.
- There is no need to chill the balls before dipping. They hold their shape and can be dipped as soon as they are rolled.
The bottom line
If you have one of those family size packs, you’re here because you want to know Nutter Butter recipes, and I’m here for it. Customize these with a dark chocolate coating instead of vanilla, or top them with festive nonpareils or sprinkles instead of more crushed cookies.
Want more festive desserts? Here’s my list of a few for the season:
- Christmas Tree Brownies
- Christmas Tree Buttercream Board
- Christmas Treats Recipes
- No Fail Christmas Candy
- Snowman Cake Pops
- Festive Butterfinger Balls
- Christmas Graham Cracker Pralines
- Cool Whip Candy