
This post contains affiliate links. As an Amazon Associate I earn from qualifying purchases.
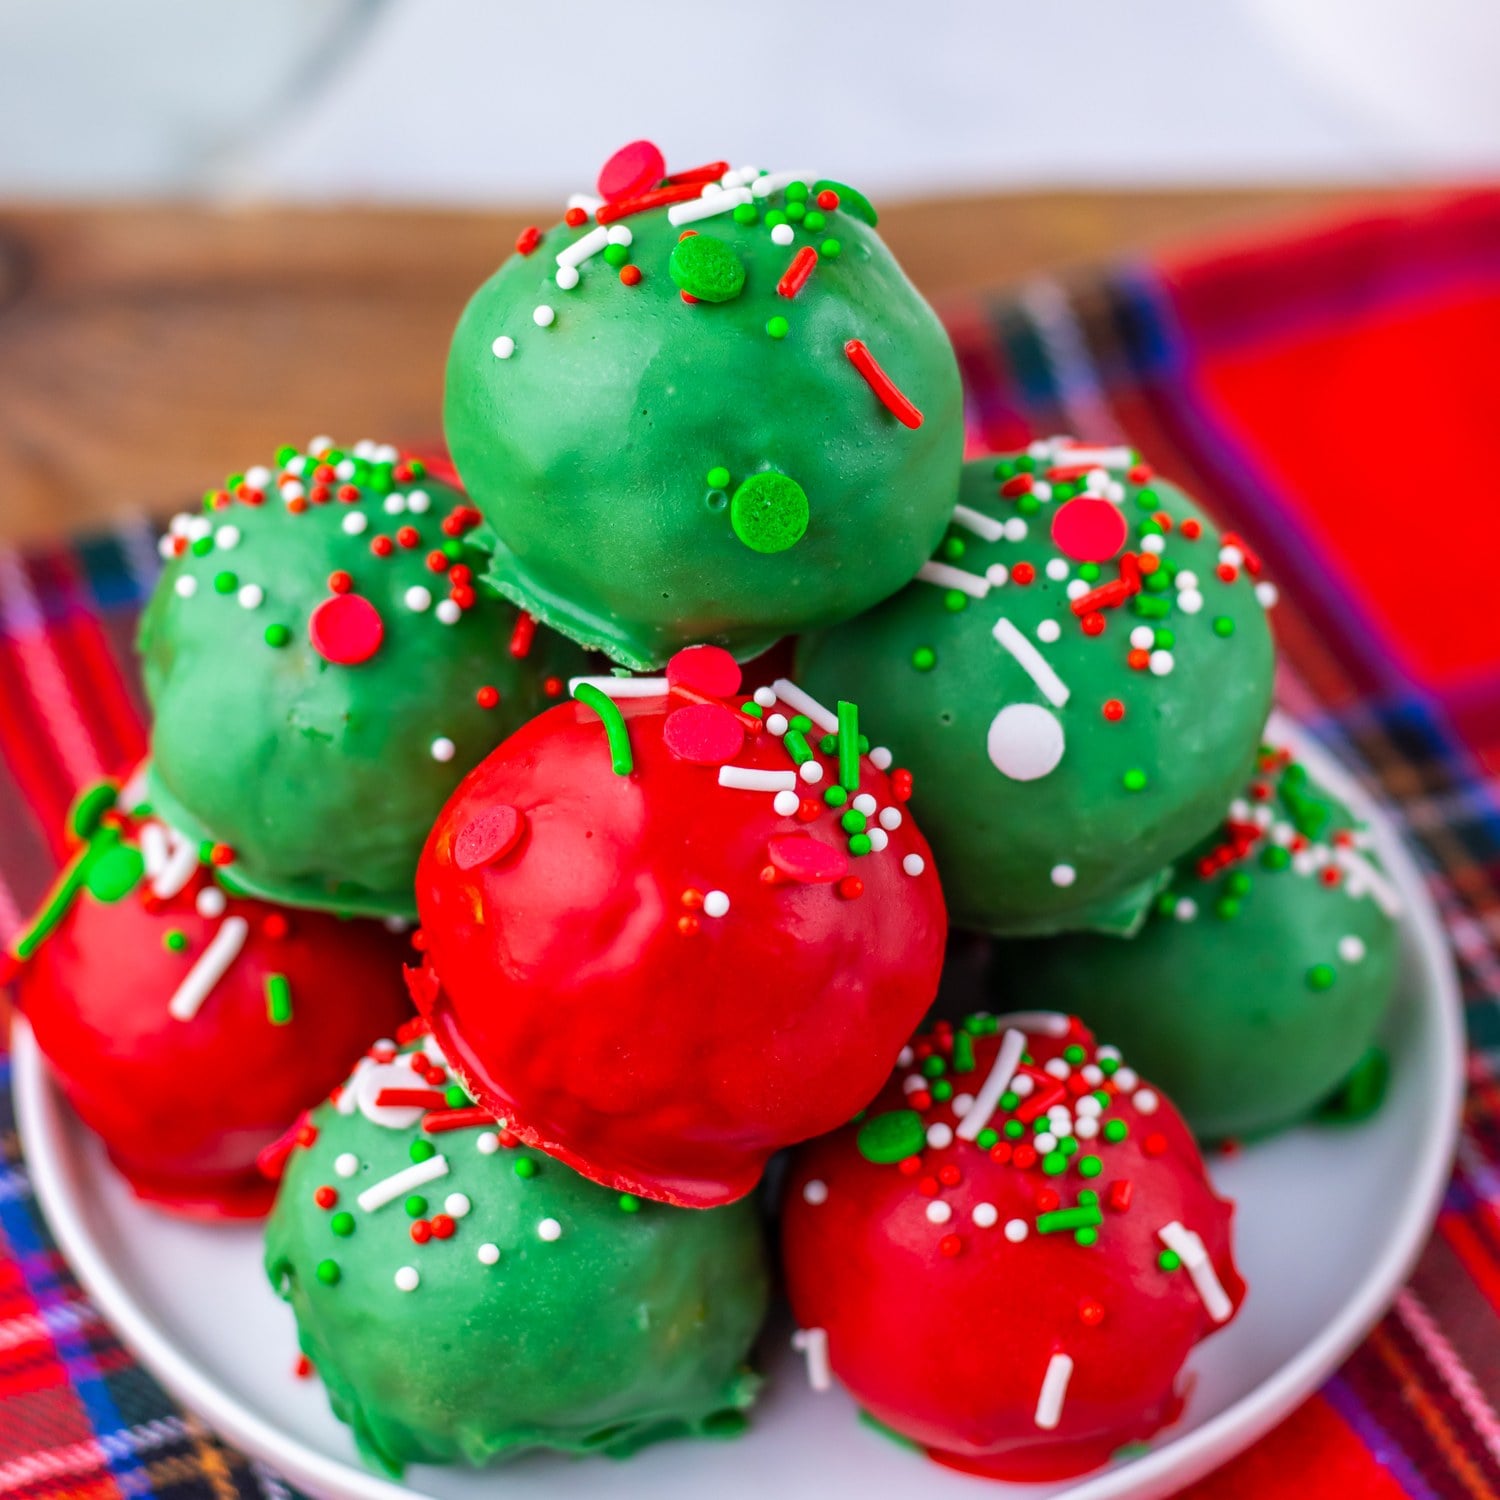
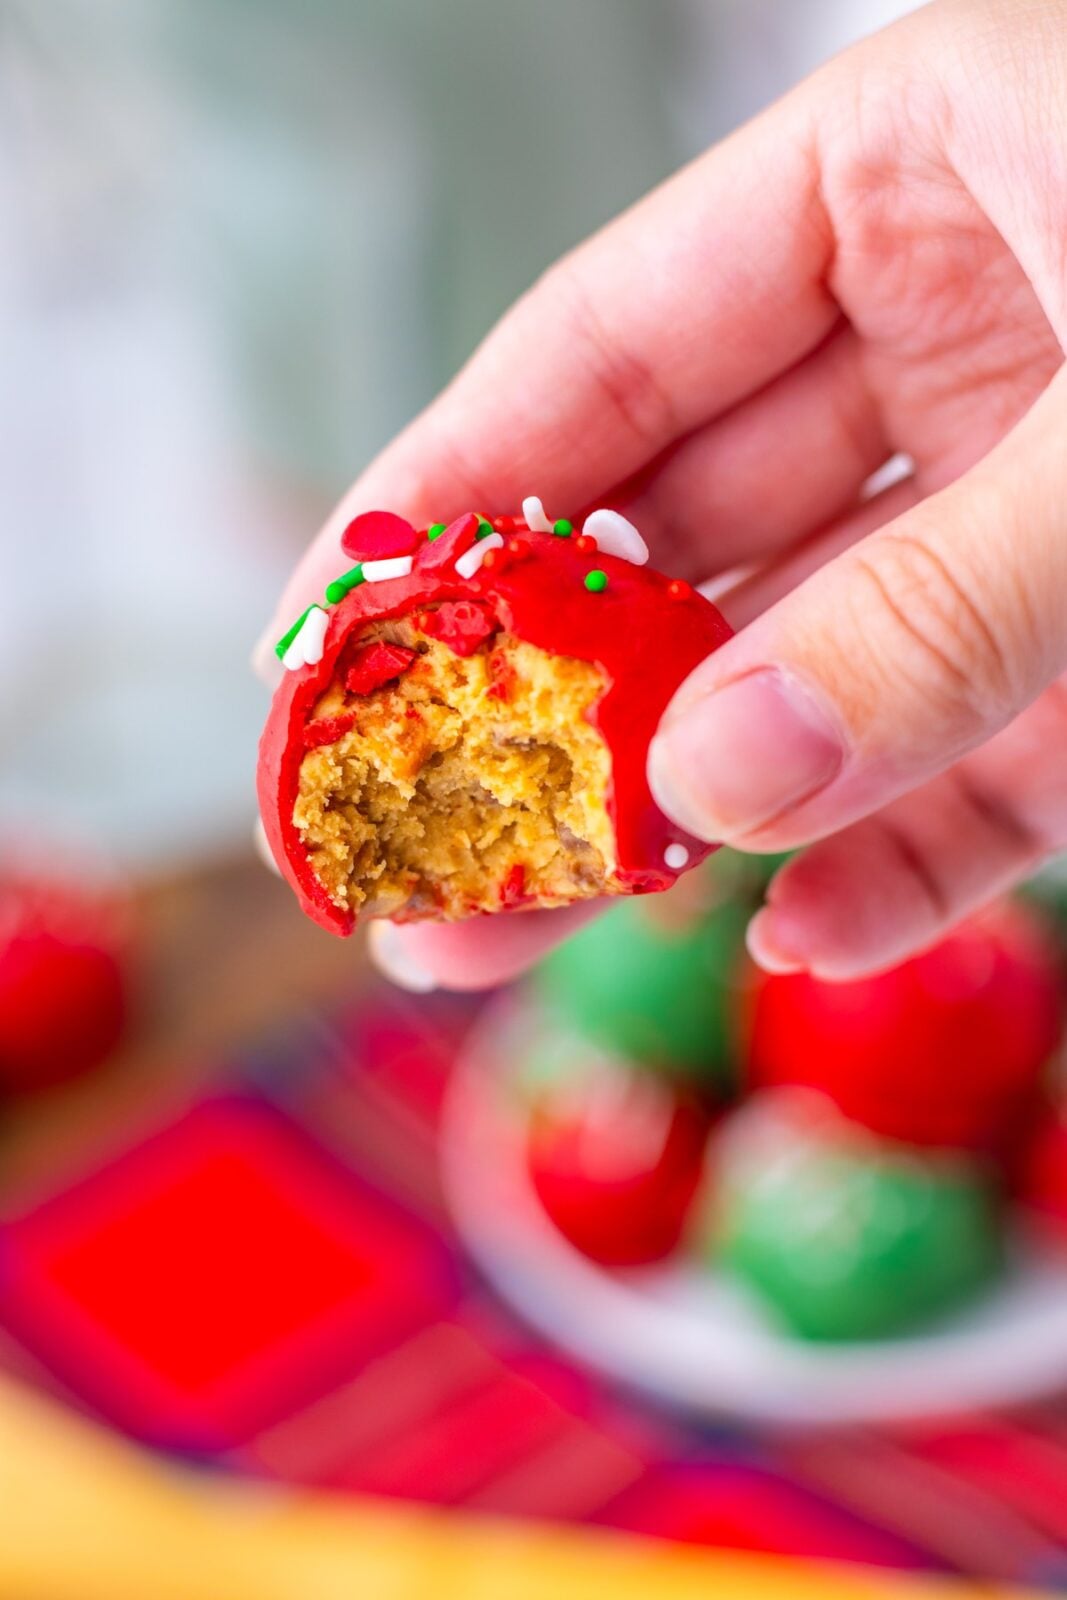
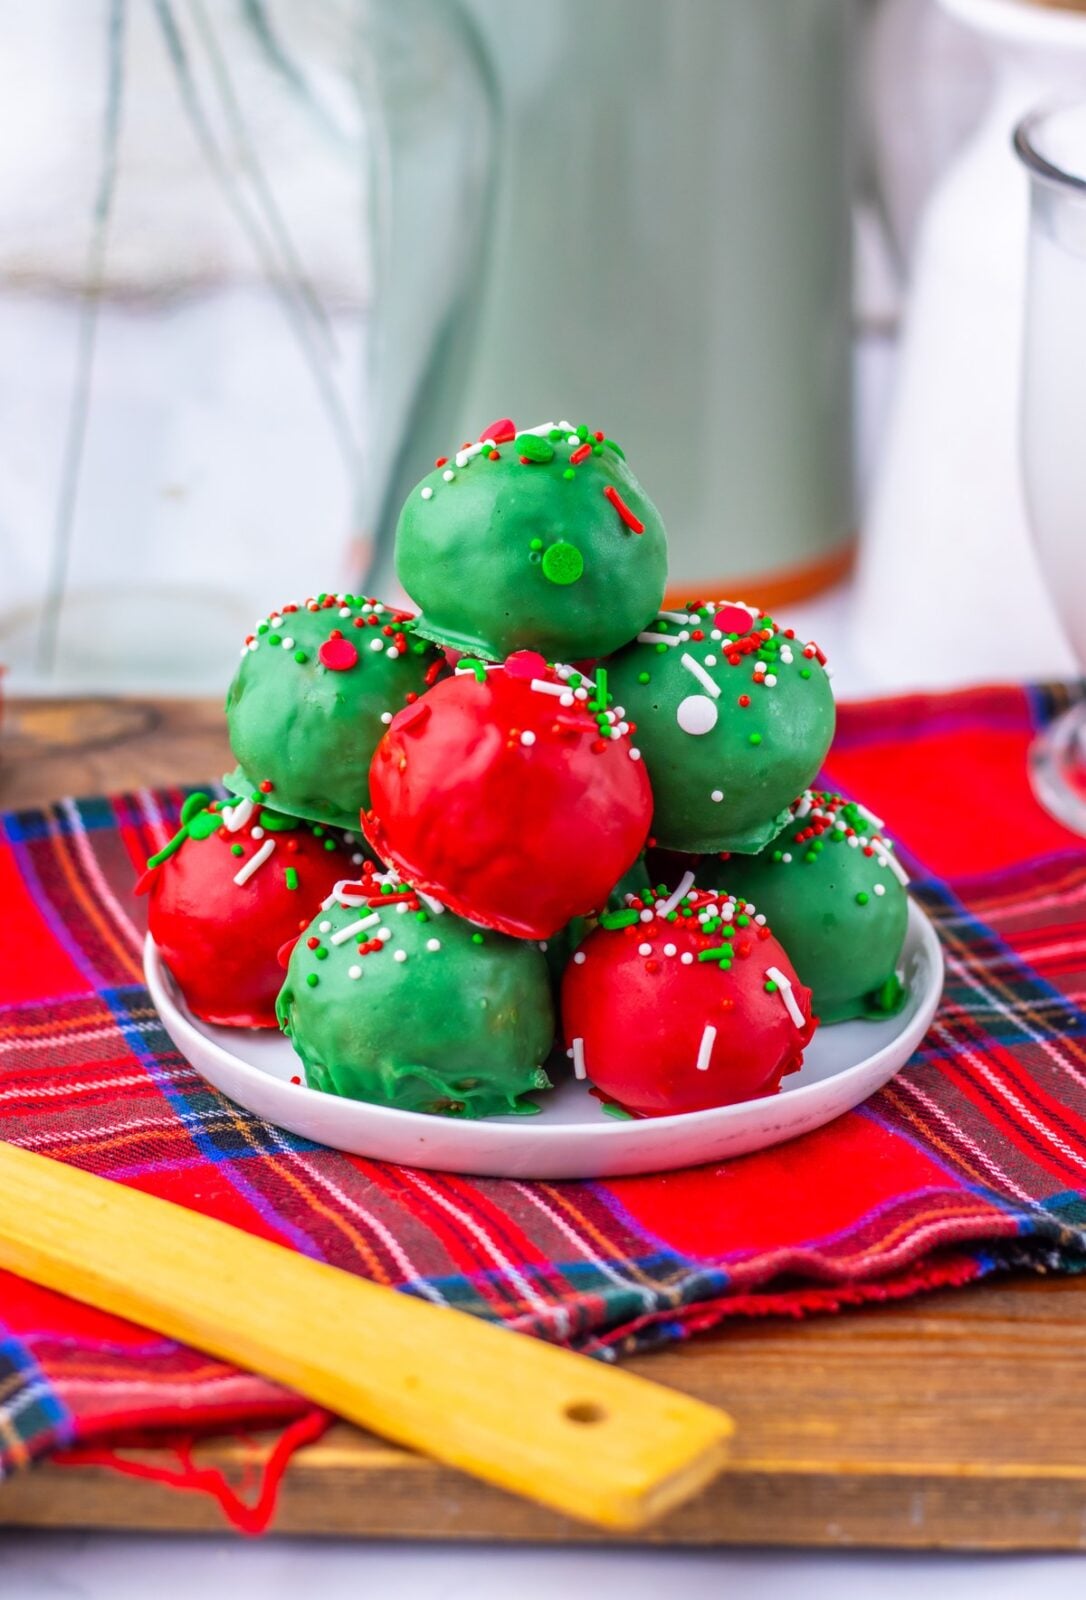
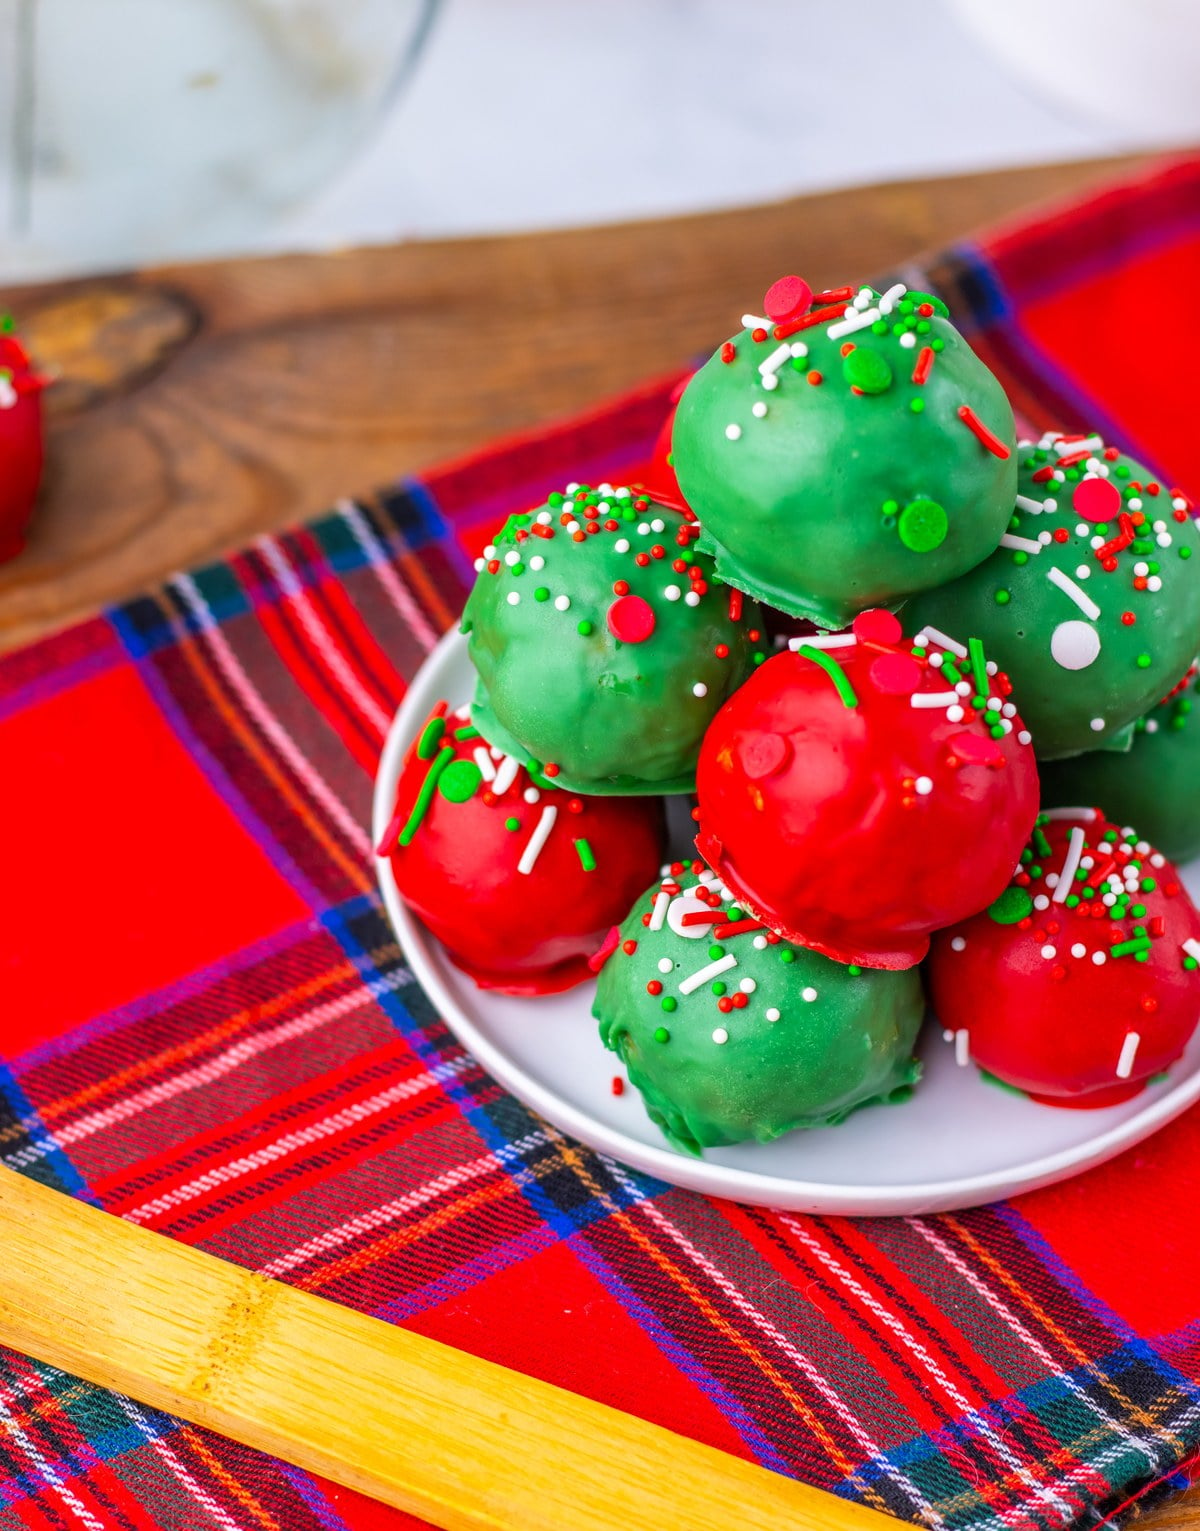
These are bold, fun and delicious additions to your platter of no bake Christmas treats! You can find the red and green colored melting candy wafers at most Walmart stores or Amazon, so you don’t need to pull out the food coloring gel. The peanut butter balls use creamy peanut butter, crushed Butterfinger candy (hello, leftover Halloween candy!), butter, powdered sugar, a few cute sprinkles, and candy melts.
WANT TO SAVE THIS?
How to Make Butterfinger Balls for Christmas
Check out my tips for success below. You can also find ingredients with measurements in the recipe card below.
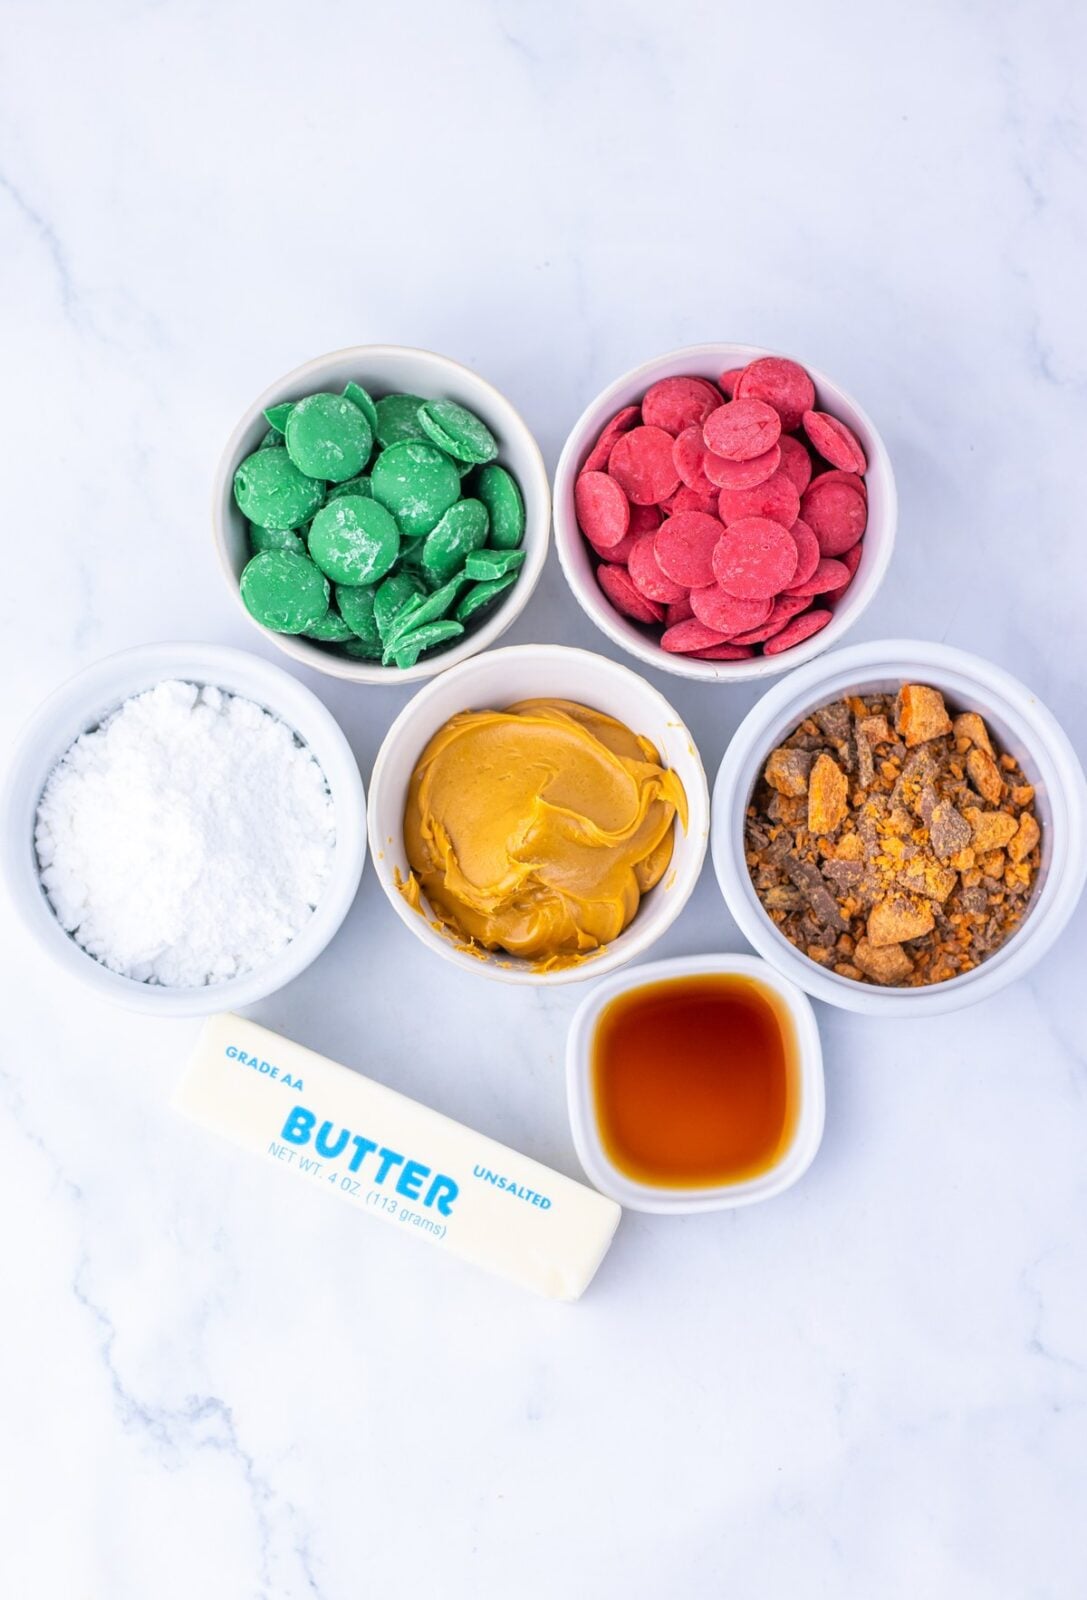
Step 1: Gather the creamy peanut butter, softened butter, vanilla, powdered sugar, crushed Butterfinger bars, and red and green candy melts. If using FANCY colored sprinkles, have them open and ready to shake out or apply since you’ll want to add them to the top of the balls before the candy sets and hardens. If you prefer to use extra Butterfinger, crush an extra bar and have the crumbs in a small bowl ready to go.
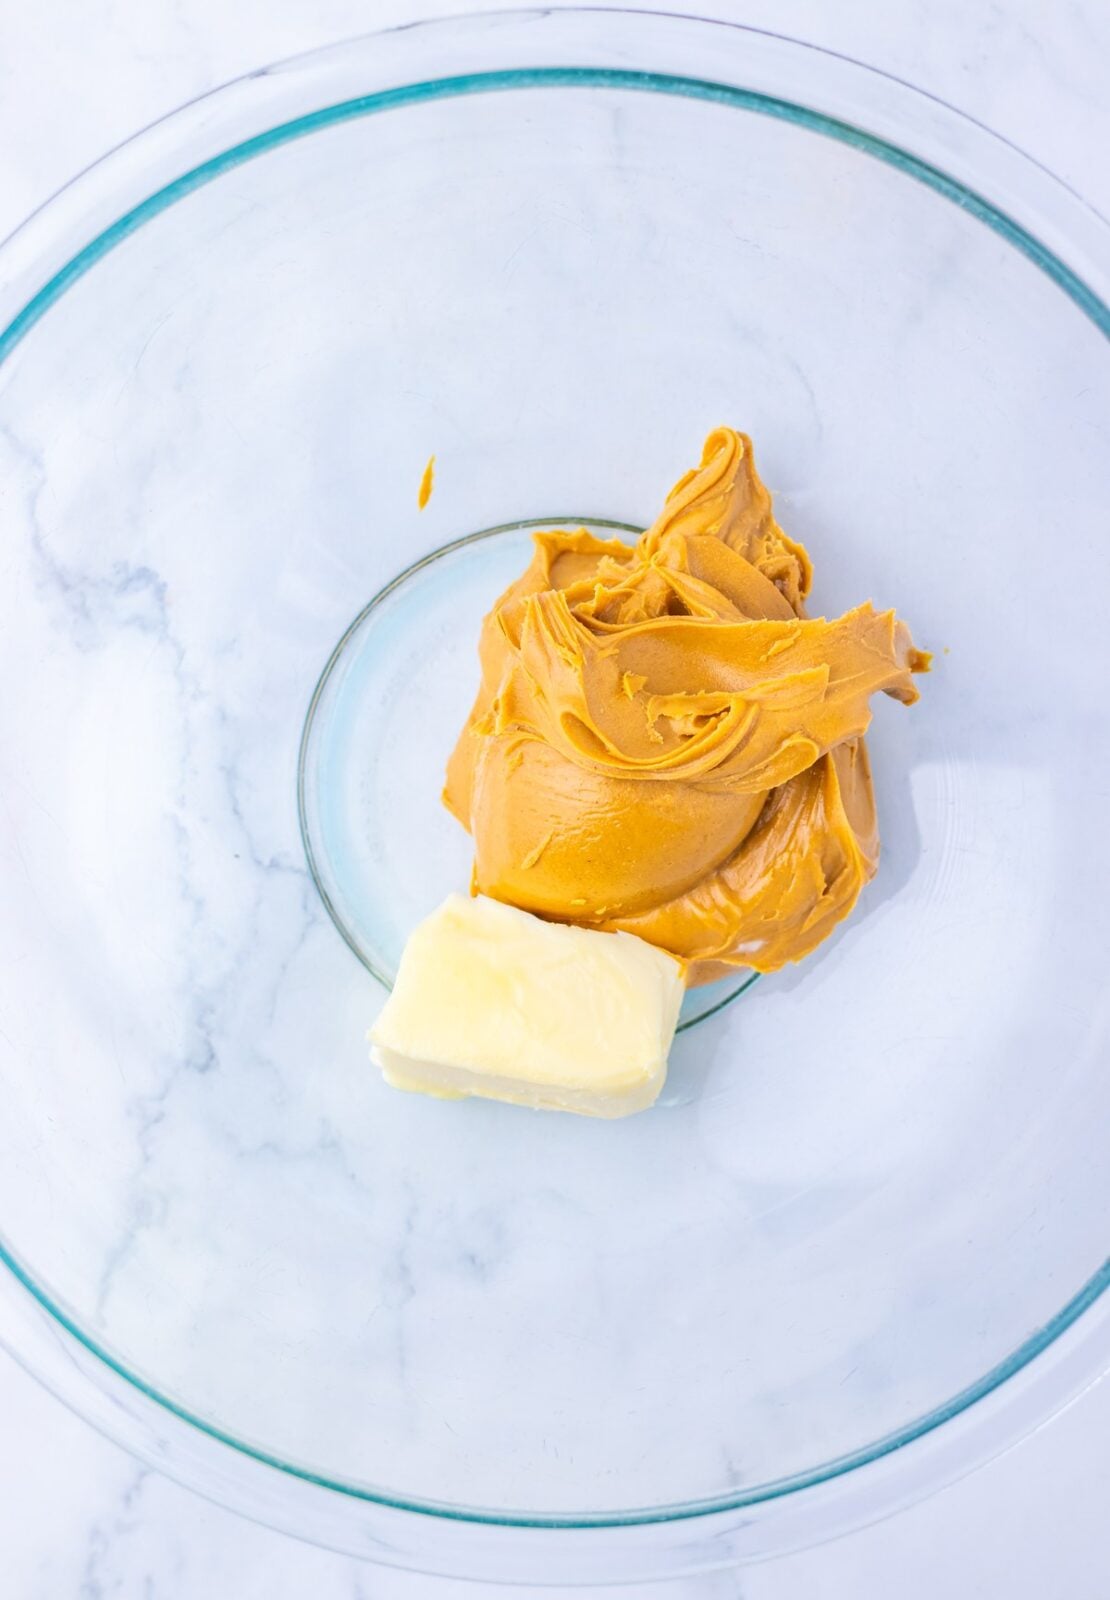
Step 2: Add the peanut butter and softened butter to a large bowl and beat until smooth and creamy.
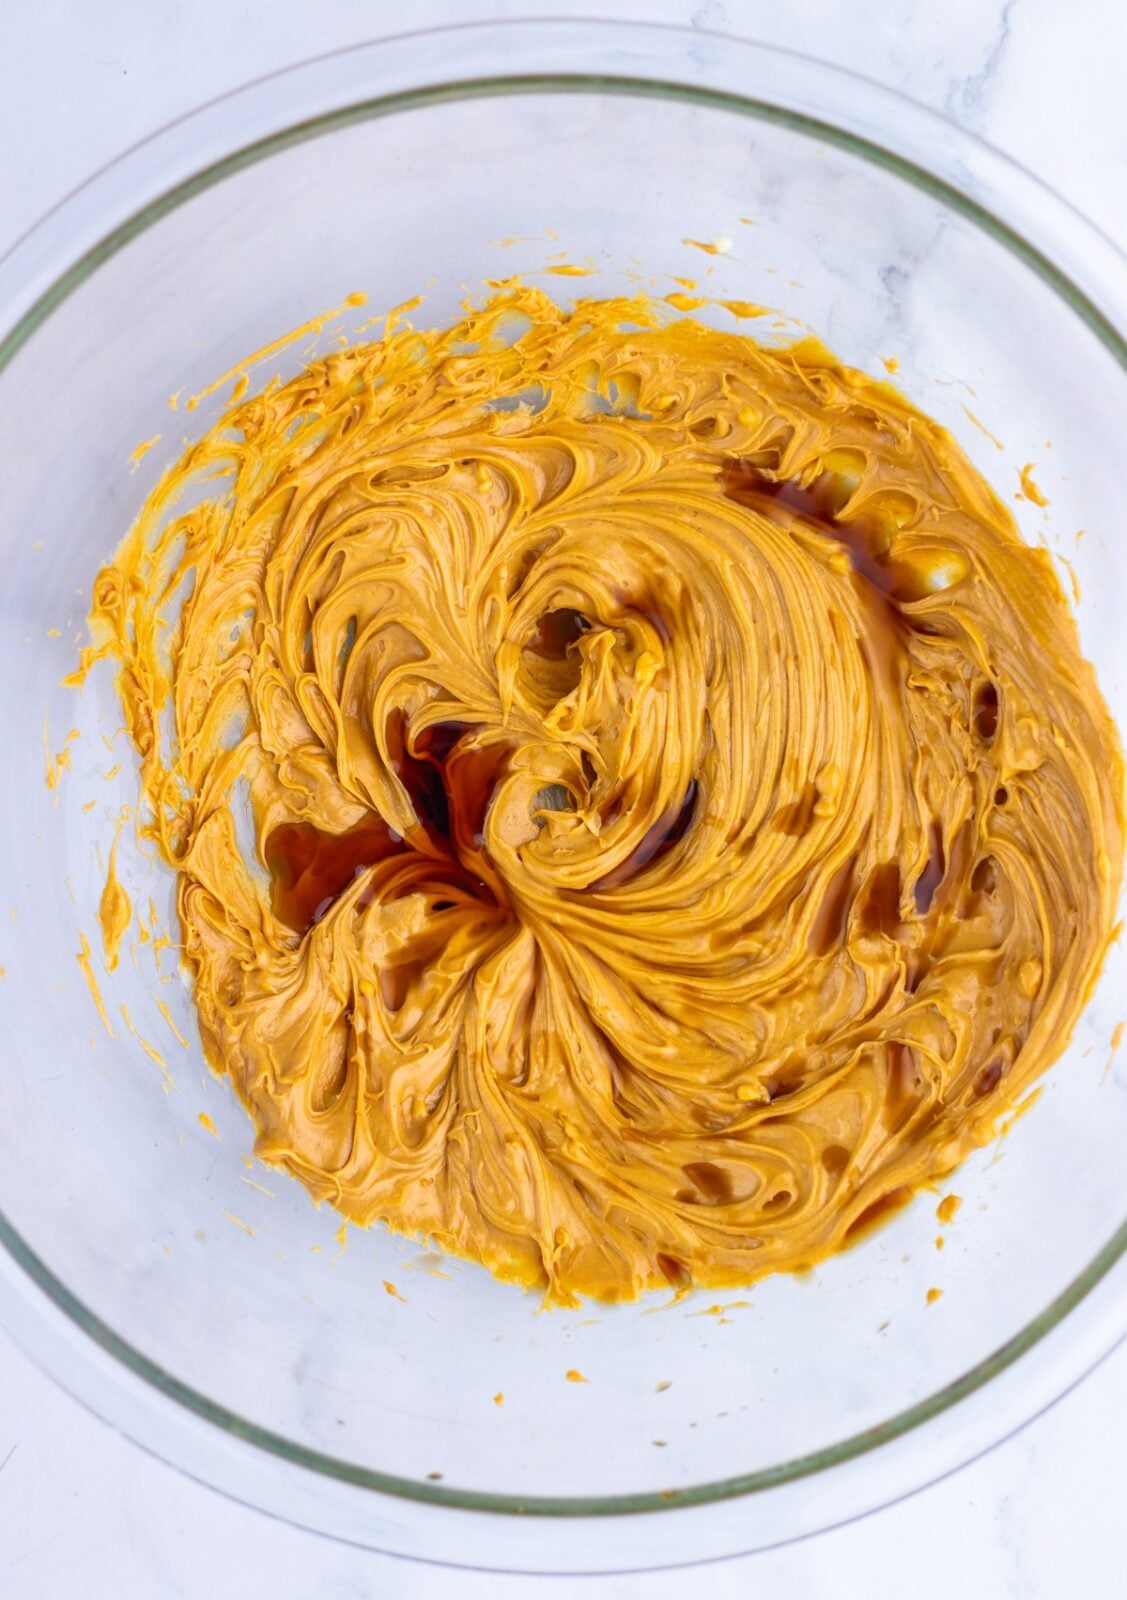
Step 3: Mix in the vanilla extract.
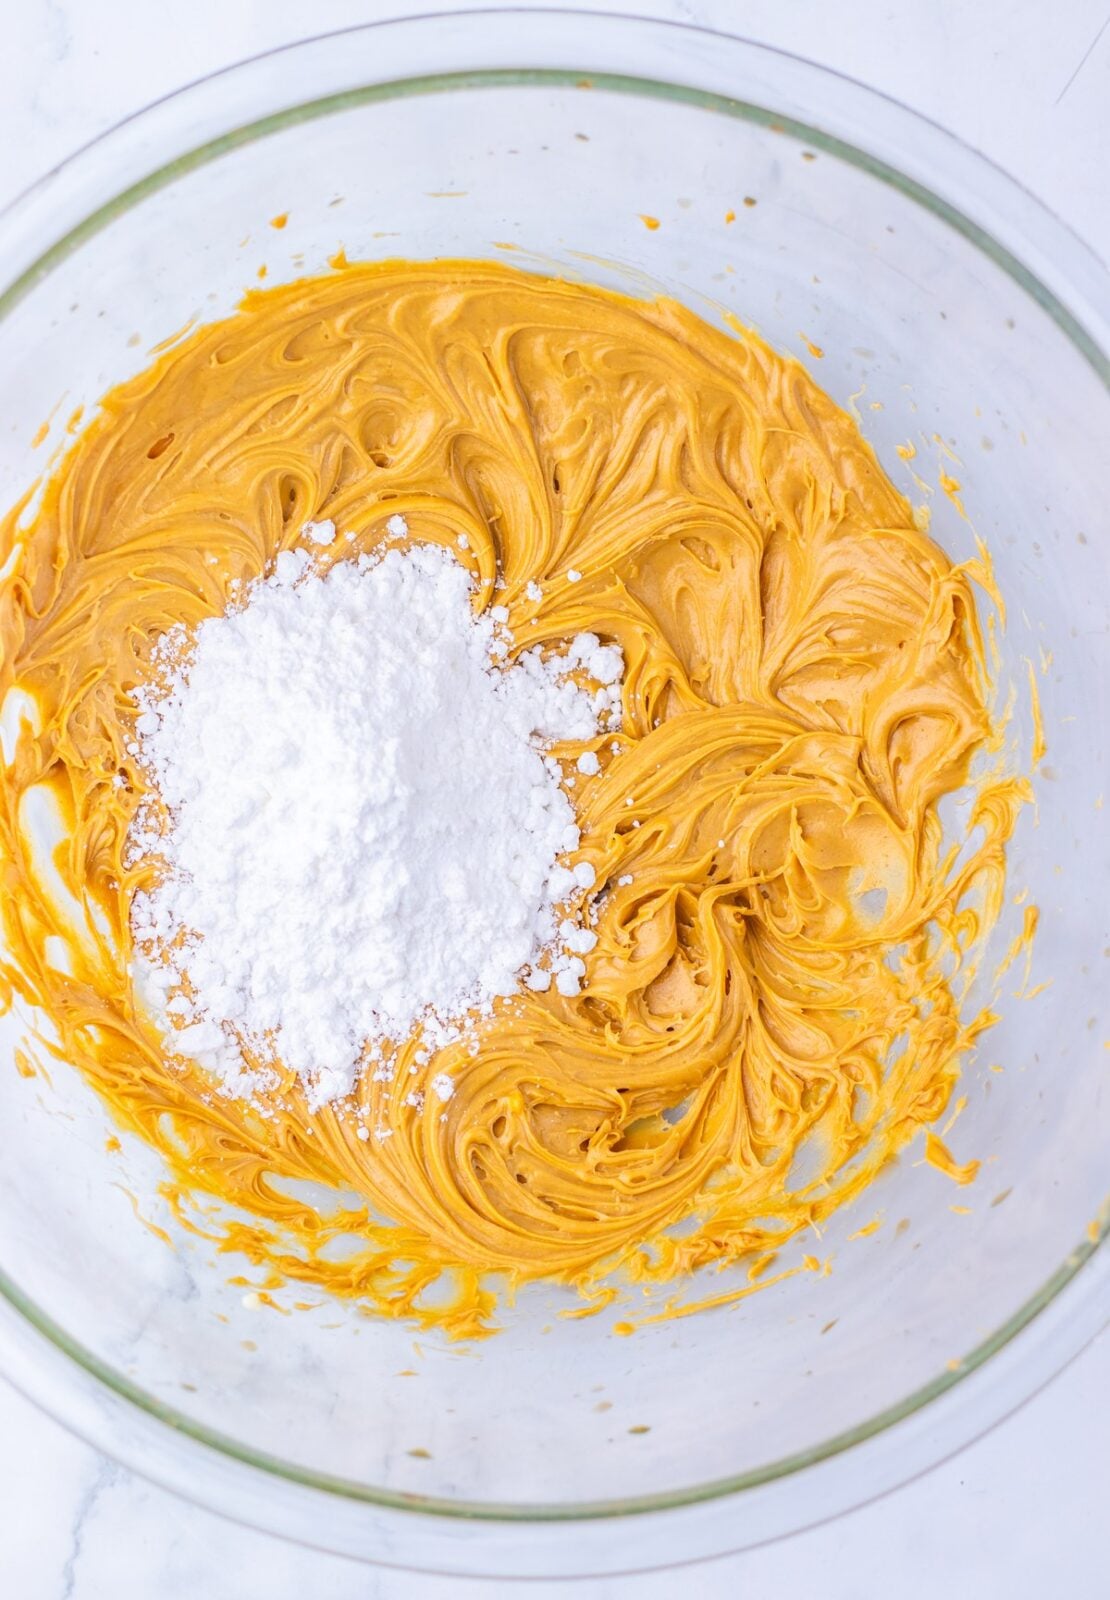
Step 4: Add the powdered sugar gradually, mixing until it is fully combined.
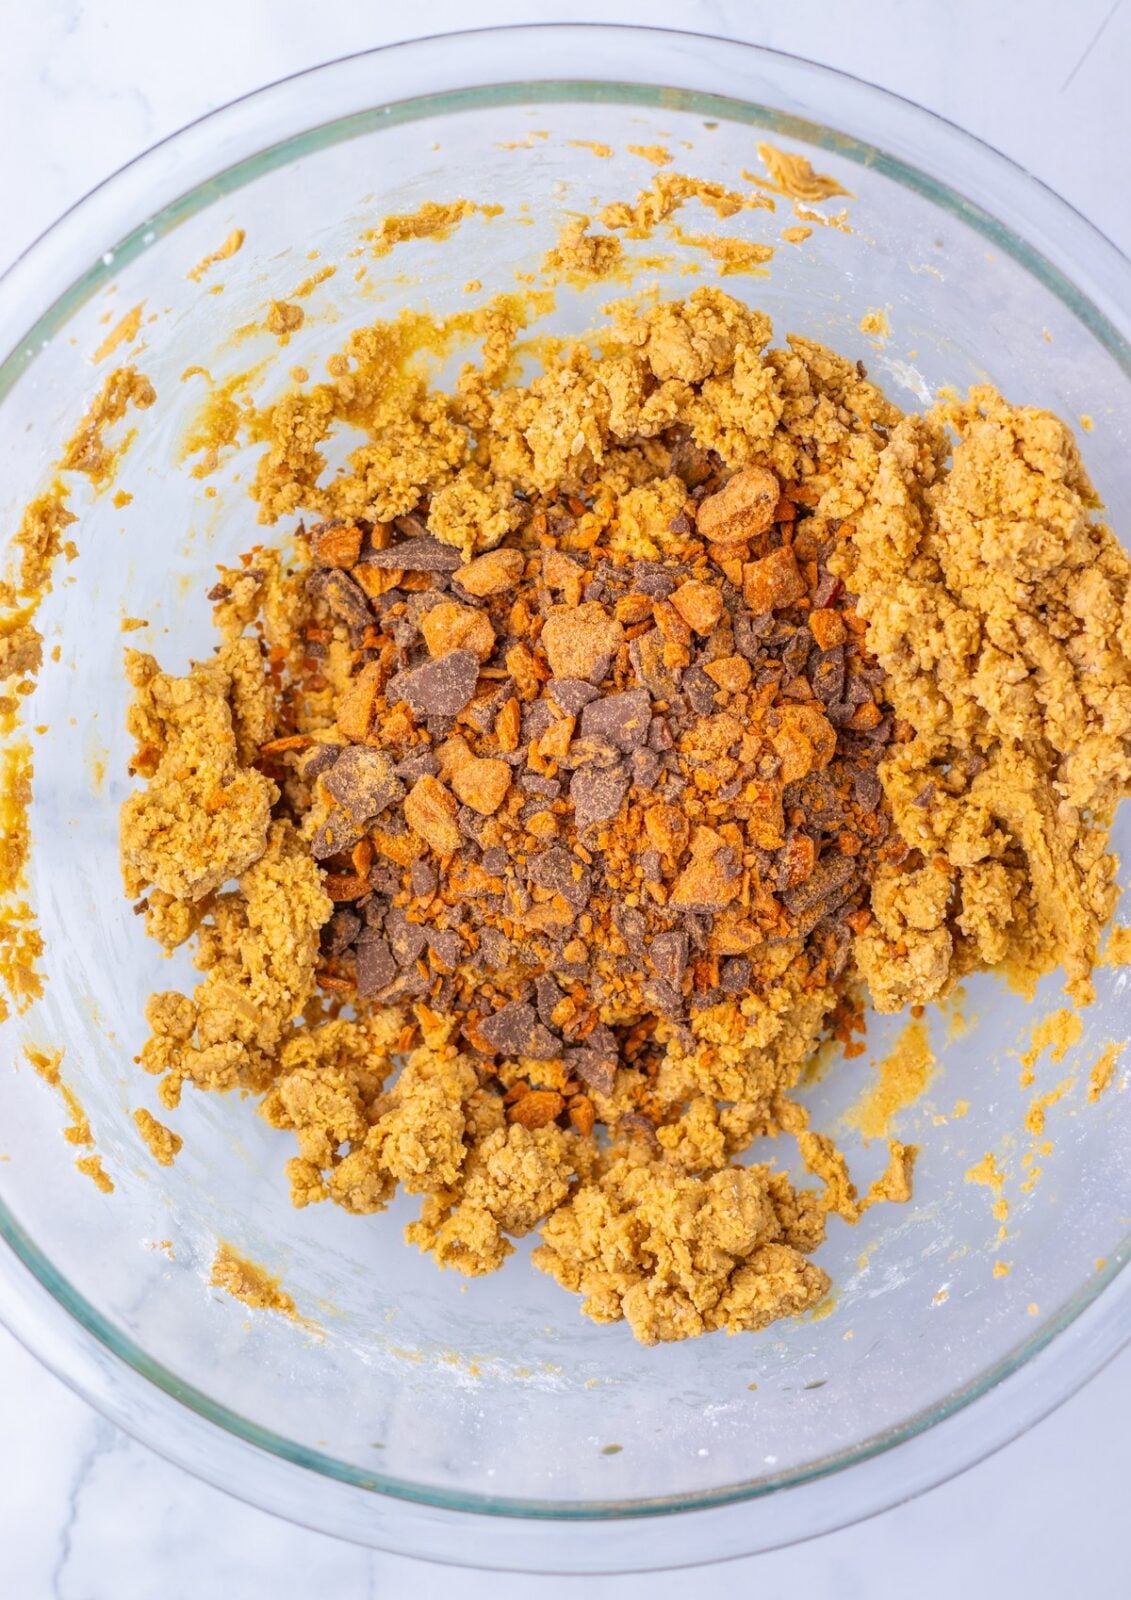
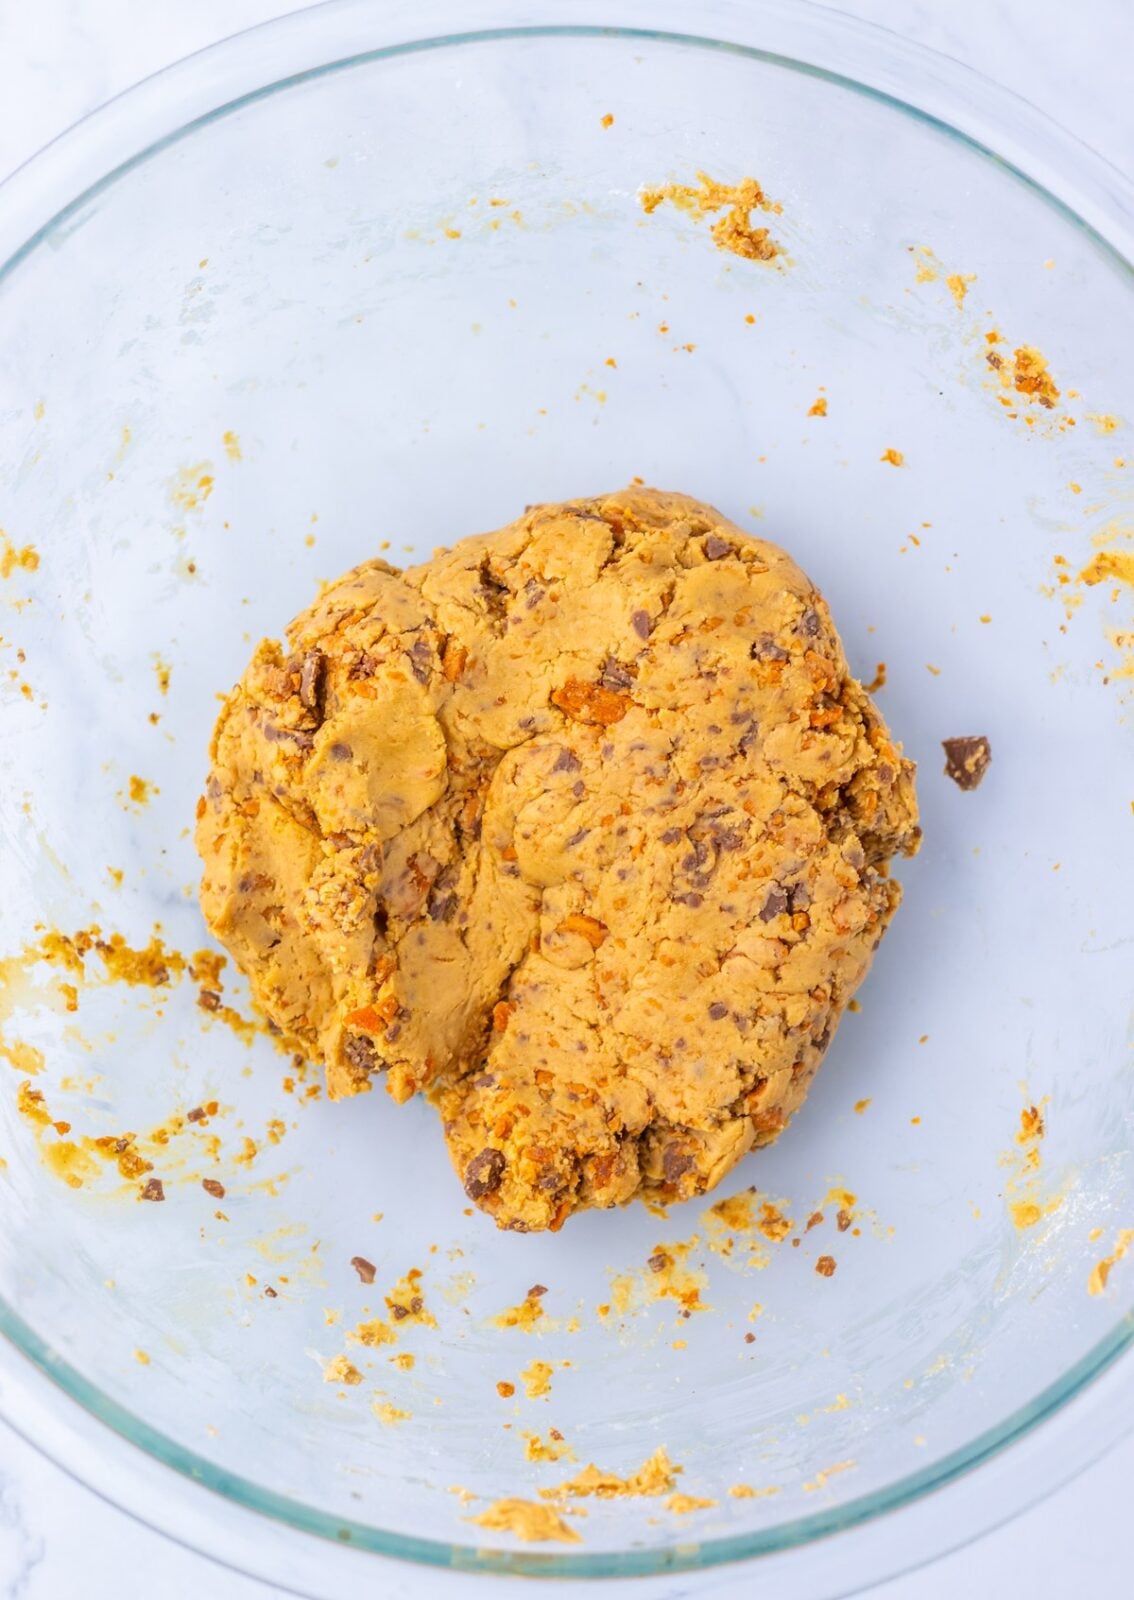
Step 5: Fold in the crushed Butterfinger until it’s distributed evenly through the mixture. The dough will be pretty stiff. It should be thick enough to roll into balls. (See below.)
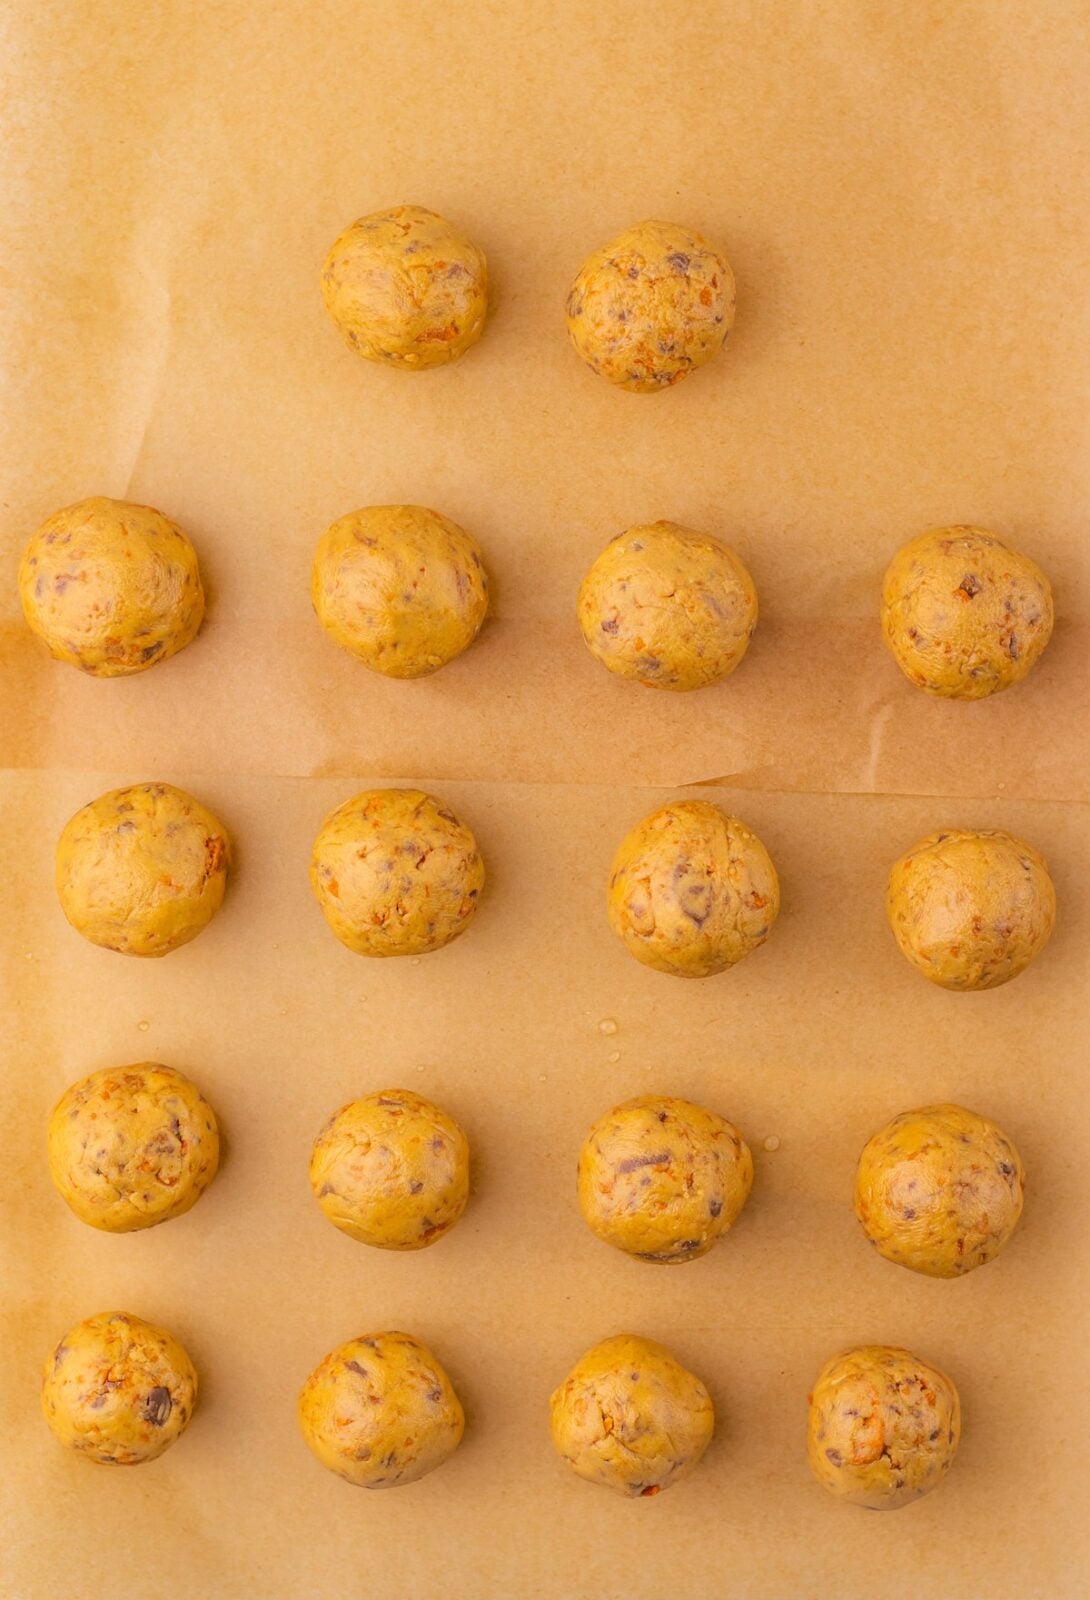
Step 6: Scoop about a tablespoon at a time, roll it into a smooth ball, and set it on a parchment-lined baking sheet. Repeat until all the dough is used. Refrigerate the balls for about 30 minutes, until firm. (Or set in the freezer for 15 minutes.)
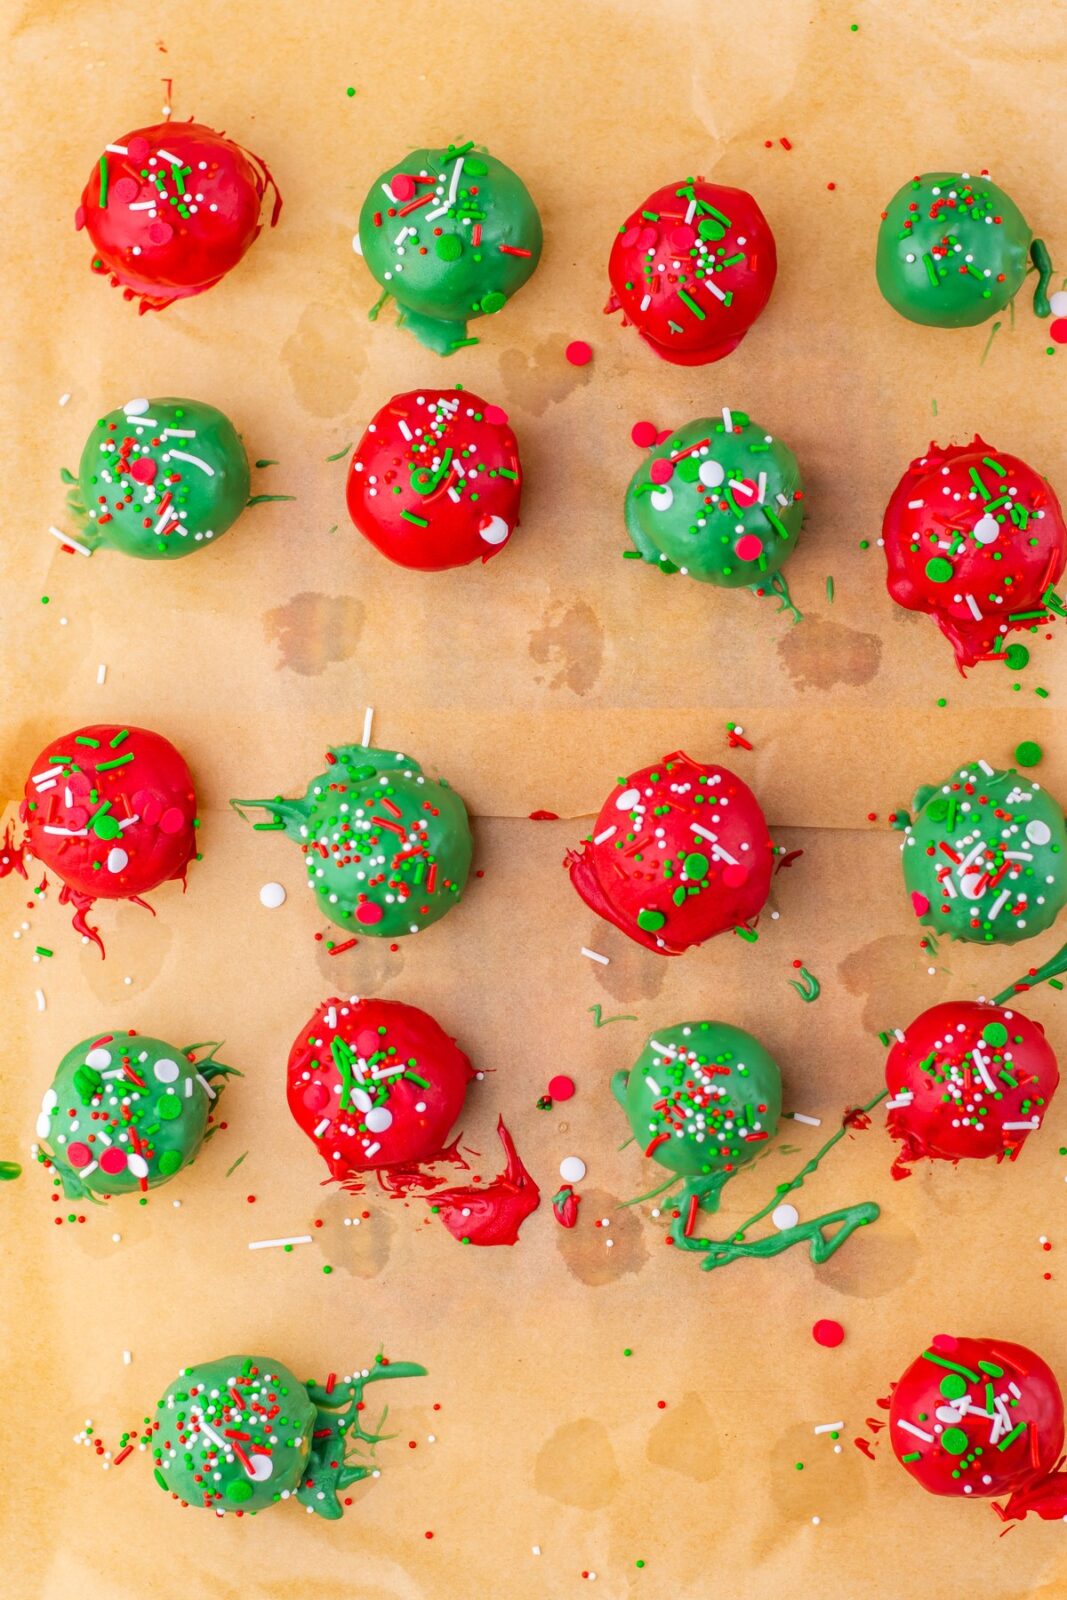
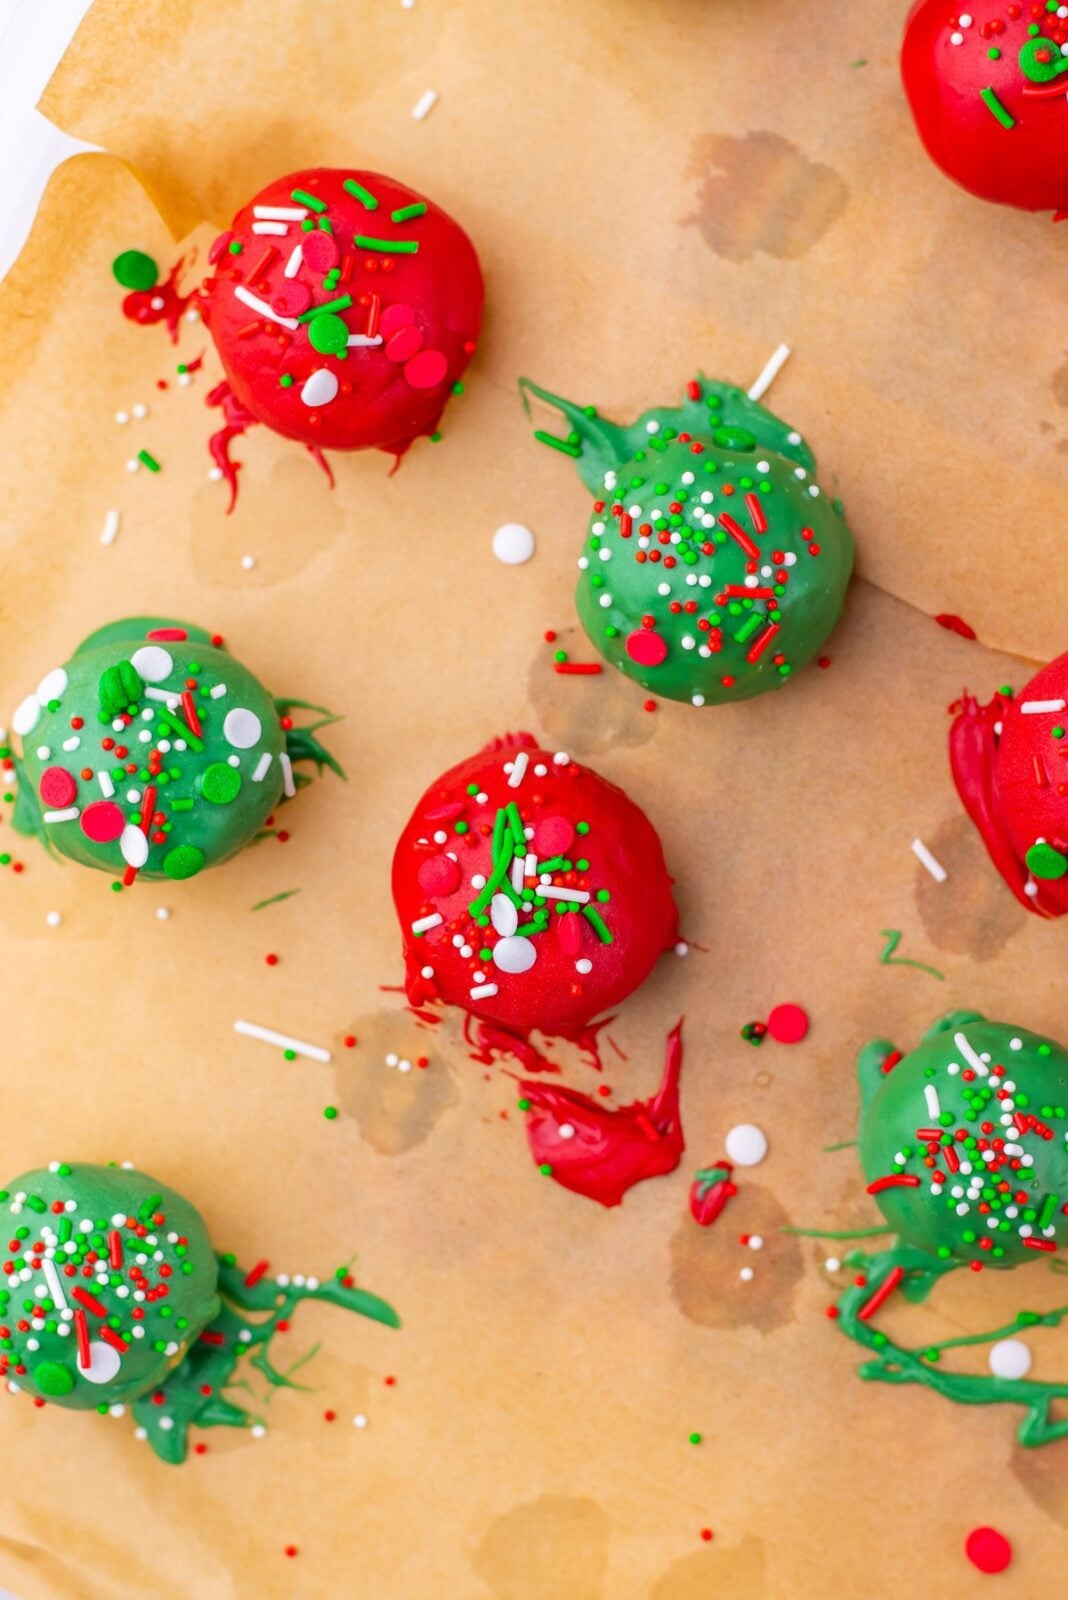
Step 7: In the microwave: Melt the red and green candy melts in separate bowls using short bursts on high, stirring frequently. Using a fork/spoon or candy dipping tool, dip half the balls in red and half in green, let the extra drip off. Add sprinkles or extra crushed Butterfinger while the coating is still wet.
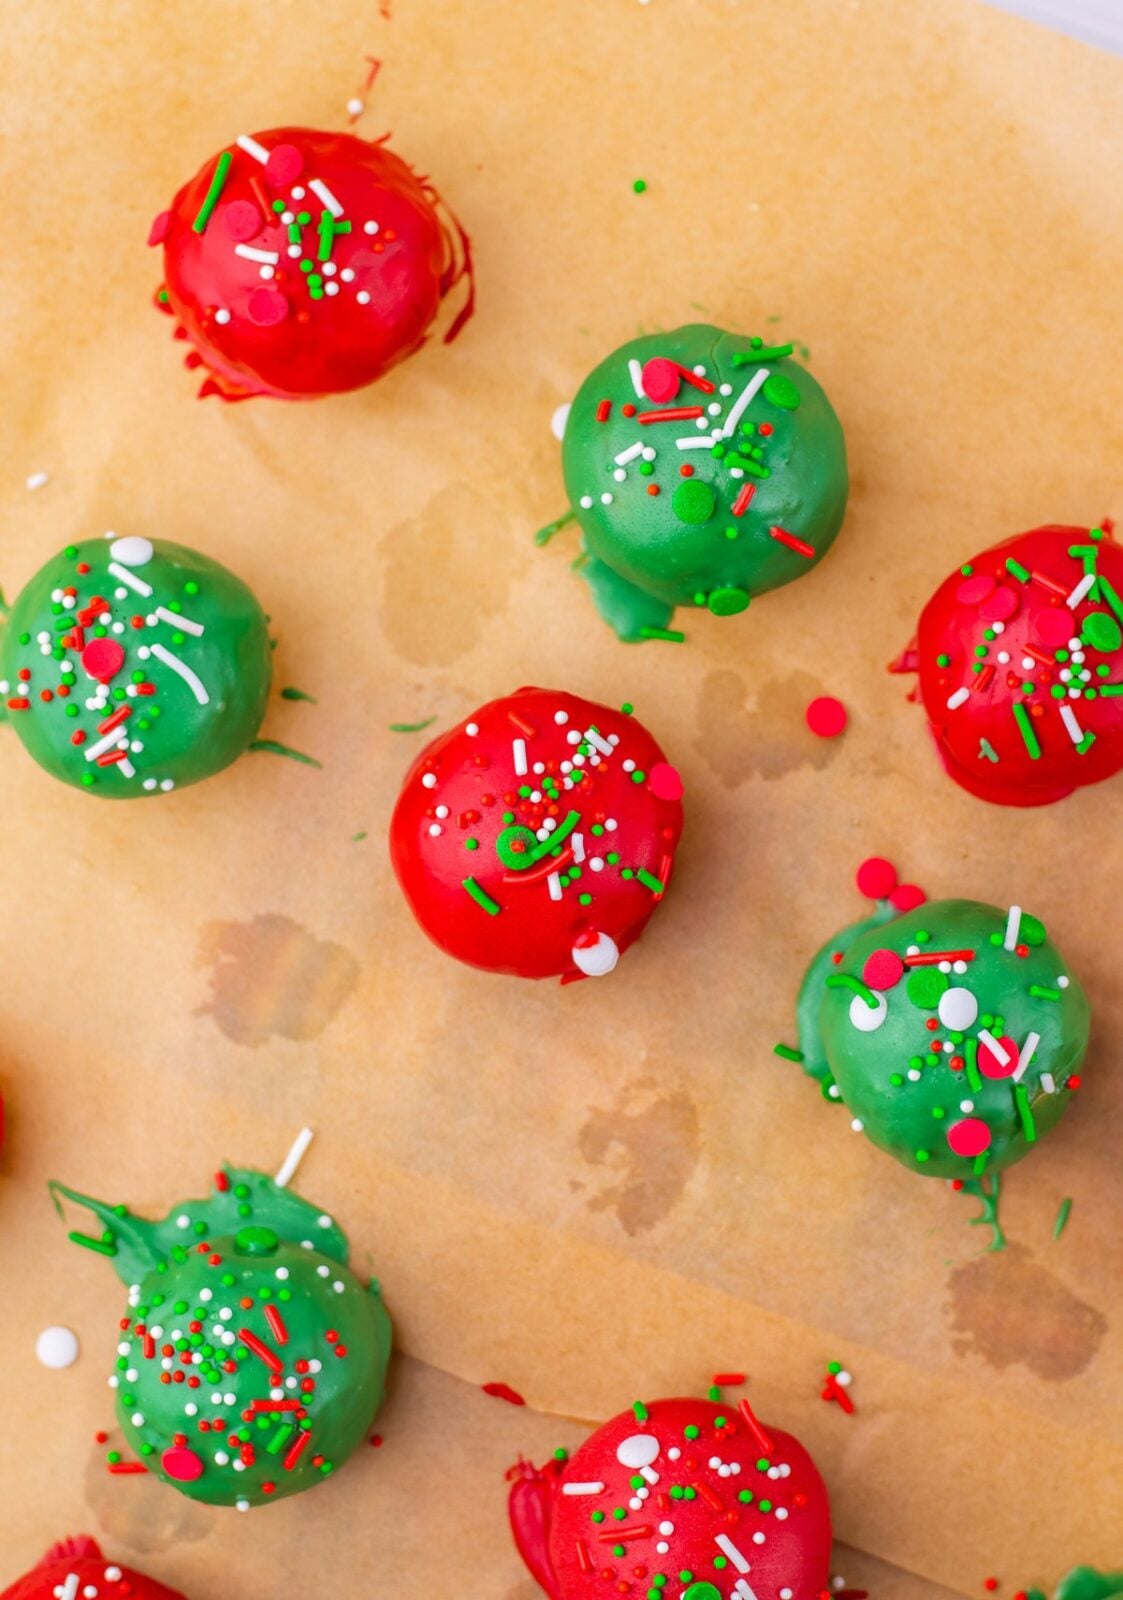
Step 8: Refrigerate 20 to 30 minutes until the coating is completely set, and keep them chilled until serving.
Tools & Equipment
- Hand mixer
- Large mixing bowl
- Tablespoon cookie scoop
- Baking sheet
- Parchment paper
- 2 microwave-safe bowls
- Fork and spoon or candy dipping tool
Tips for Success
- If you’d rather use real white chocolate for the coating, here are my tips for melting and using high quality white chocolate.
- When dipping the candy balls, you can use a fork and immerse the balls into the chocolate. If they fall off, you can fish them out and let the candy drip off. If you want to use a little more finesse, skewer each ball deeply with a toothpick and with your dominant hand spoon over the melted candy coating, turning until it’s completely coated.
- the candy coating will eventually set in the bowl and on your utensils, so work swiftly to get the balls coated. You can always re-warm the bowl of candy wafers in the microwave. Stir and heat in short bursts, like 10-15 seconds.
- Don’t forget to remove any balls, utensils or toothpicks from the candy bowl or they will set hard in it. Ask me how I found that out!
- I mentioned this in Step 1 too but it’s important enough to repeat: If using colored sprinkles, have them open and ready to shake out or apply since you’ll want to add them to the top of the balls before the dipped candy ball sets and hardens. If you prefer to use extra Butterfinger instead of sprinkles, crush an extra bar and have the crumbs in a small bowl ready to go.
WANT TO SAVE THIS?
Festive Butterfinger Balls
Ingredients
- 1 c creamy peanut butter
- 4 T butter softened
- 1 t vanilla extract
- 1 1/2 c powdered sugar
- 1 1/2 c Butterfinger candy bars finely crushed
- 8 oz red candy melts
- 8 oz green candy melts
- 1-2 t coconut oil or vegetable shortening optional, for thinning the coating
- holiday sprinkles or extra crushed Butterfinger optional, for topping
Instructions
- Add the peanut butter and softened butter to a large mixing bowl and beat until smooth and creamy. Mix in the vanilla.
- Gradually add the powdered sugar, mixing until combined. With a sturdy wooden spoon: Fold in the crushed Butterfinger until evenly distributed; the dough will be stiff. The mixture should be thick enough to roll into balls.
- Scoop about 1 tablespoon at a time and roll into smooth balls. Place on a parchment-lined baking sheet or countertop.
- Refrigerate the balls about 30 minutes, until firm. Or set in the freezer for 15 minutes. Set aside.
- Melt the red and green candy melts in separate microwave-safe bowls in 20 to 30 second intervals, stirring between each, until smooth. Stir in a little coconut oil or shortening if needed to thin it out for easier coating.
- Using a fork or dipping tool, dip half the balls in the red coating and half in the green. Let the excess drip off and return them to the baking sheet.
- While the coating is still wet, top with sprinkles or extra crushed Butterfinger if desired.
- Refrigerate 20 to 30 minutes, until the coating is set. Store refrigerated.
Notes
- Crush the Butterfinger bars fine so the candy dough filling holds together.
- For smaller bites, use about 2 teaspoons of filling per ball.
- If the dough feels too soft to roll firmly into balls, refrigerate or freeze it 15 to 20 minutes and try again.
- Storage: airtight in the refrigerator for 2 to 3 days. Bring to room temp before serving.
Nutrition
The bottom line
Not only is this a great no bake dessert, it’s a fun holiday treat that you can make, to use up leftover Halloween candy! If you love doubling up on peanut butter flavor, you’ll love these Christmas Butterfinger balls. Want more Christmas treats? Check out my list below: